
Stop Lipstick Feathering in 5 Steps: The Pro Blending Hack
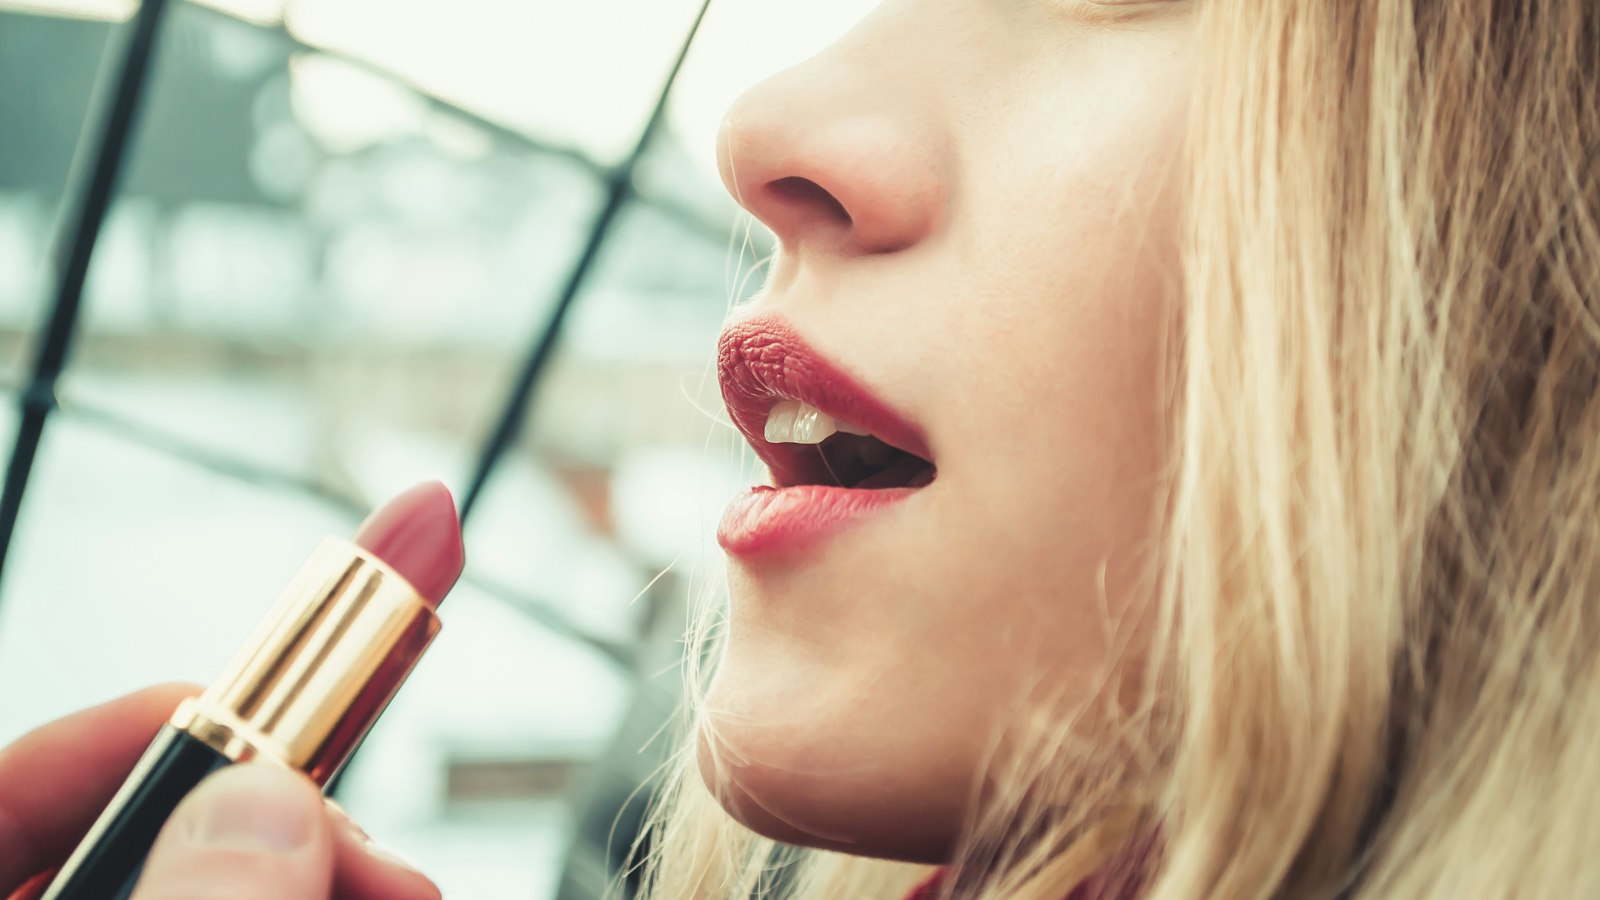
Photo by Andriyko Podilnyk on Unsplash
Key Takeaways
Lipstick feathering happens when the formula is too soft, applied too heavily, or blended with the wrong technique. Fix it in 5 steps: prime your lips, choose a long-wear or matte formula, apply in thin layers, blend with a damp cloth (not a brush), and set with translucent powder. The damp cloth method is the pro hack competitors ignore—it controls product without smudging.
- Test lipstick on your hand first—if it drags or streaks, it’ll feather on your lips.
- Blend outward in small motions (like a fan) to diffuse edges without dragging.
- Use lip liner as a barrier for fine lines—fill in first, then apply lipstick over the liner to seal the edges.
- Skip brushes entirely—they spread product instead of blending. A damp cotton pad does the job cleaner.
- Long-wear, matte, or cream-to-powder formulas feather least. Avoid ultra-creamy or satin finishes.
What Decides Feather-Free Lipstick Application
| Criterion | Why it decides the outcome | How to check it yourself | Red flag |
|---|---|---|---|
| Formula texture on skin | Soft formulas (creams, liquids) bleed into fine lines; matte or waxy bases resist spread. | Press a dab of lipstick onto your hand: if it drags or streaks when you press your finger, it will feather on lips. If it stays put, it’s stable. | Lipstick pooling in vertical lines or bleeding into skin when pressed. |
| Application thickness | Overloading product forces color beyond lip edges, especially on thin lips or deep lines. | Apply a thin layer to your hand: if it pools unevenly or drips, you’re over-applying. Thin layers (dots, not swipes) stay contained. | Thick, uneven lines or color bleeding outward in a gradient. |
| Blending tool moisture level | Dry tools (fingers, brushes) push waxy lipstick outward; damp tools melt edges without smudging. | Blend with a damp tissue: if the lipstick diffuses smoothly into a soft edge, it’s correct. Dry blending creates streaks or smudged pencil lines. | Streaks or smudges after blending; lipstick clinging to dry fingers. |
| Lip skin moisture before application | Hydrated lips (from balms or dry skin) soften lipstick’s grip, causing feathering. | Press a tissue to your lips: if it picks up oil or residue, your skin is too moist. Pat dry before applying lipstick. | Lipstick bleeding into Cupid’s bow or pooling in vertical lines after application. |
| Lip shape and edge definition | Thin lips or deep vertical lines lack containment for product; liners act as barriers. | Hold a mirror close: if your natural lip edge is thin or your vertical lines are pronounced, use liner first to create a defined border. | Color bleeding beyond natural lip shape or pooling in vertical grooves. |
| Setting method | Over-setting dries lips, making lipstick brittle and prone to flaking; targeted setting locks edges. | Dust translucent powder only on outer lip edges: if the center looks flat or dry, you’ve over-applied. | Dry, patchy lips or lipstick flaking after setting. |
| Blending direction and pressure | Outward or circular motions drag product; inward, light pressure diffuses without spreading. | Blend from the center outward in small, fan-like motions: if the lipstick spreads evenly without sharp edges, you’re blending correctly. Harsh pressure or outward strokes create feathering. | Smudged pencil-line feathering or color pushed beyond lip edges. |
Why Does Lipstick Feather? The 3 Hidden Causes
Lipstick feathering happens when your lip color bleeds into fine lines, your skin, or beyond your natural lip shape—and it’s almost always caused by one of these three overlooked factors. The formula is too soft, you’re applying too much product, or your blending method is pushing the color outward. Skin type, lip shape, and even the way you hold your brush play a bigger role than most tutorials admit.
1. The Formula Is Too Soft (And Your Skin Is Helping It Spread)
Cream, liquid, and overly hydrating lipsticks are feathering magnets. These formulas cling to fine lines, moisture, and even the natural oils on your lips—then they migrate. The softer the formula, the more it behaves like a temporary tattoo. Matte and long-wear lipsticks resist this because their waxier, oil-resistant bases create a barrier. But here’s the catch: if your skin is dry or you’ve applied a hydrating lip balm first, even a matte lipstick can feather—because the balm’s moisture softens the lipstick’s grip on your skin.
What to watch for:
- Liquid or cream lipsticks bleeding into the Cupid’s bow or beyond.
- Sheer or glossy formulas (even if they’re labeled “long-wear”) feathering if your lips aren’t fully dry.
- Lipstick pooling in vertical lip lines (a dead giveaway your formula is too soft for your skin’s moisture level).
2. You’re Packing On Too Much Product (And Your Lips Can’t Contain It)
Thin lips, deep vertical lines, or even just a heavy hand with the lipstick can force color beyond your natural lip shape. The more product you apply, the more it has to spread—and your lips’ natural edges aren’t a hard stop. This is why lip liners (which create a defined border) instantly fix feathering: they act as a dam. But if you’re swiping on lipstick like it’s a highlighter, you’re asking for a mess.
What to watch for:
- A thick, uneven line where the lipstick pools at the corners or drips into fine lines.
- Color bleeding outward in a gradient (not a sharp edge) when you first apply it.
- Lipstick pooling in the vertical lines at the center of your lips (a sign you’ve over-applied).
3. Your Blending Method Is Pushing the Color Outward (Not Softening It)
This is the sneakiest cause—and the one most tutorials miss. Dry blending (with fingers, a dry brush, or harsh circular motions) actually pushes lipstick outward instead of diffusing it. That’s because lipstick is waxy, not water-based: when you rub it dry, you’re spreading it like butter on toast, not blending it. The real pro trick? Use a damp cloth or a slightly damp brush to melt the edges instead of pushing them. (We’ll cover the exact method in the 5-step fix.)
What to watch for:
- Feathering that looks like a smudged pencil line (not a diffused blur).
- Color spreading in streaks when you blend (a sign you’re dragging, not melting).
- Lipstick clinging to your fingers after blending (your hands are too dry to soften the edges).
The Bonus Factor: Lip Shape Matters (And Some Shapes Feather More)
Thin lips, deep vertical lines, and asymmetrical shapes make feathering worse—but not because of the lipstick itself. The issue is geometry. Thin lips have less surface area to contain the product, while deep vertical lines act like tiny valleys where color pools. If you’ve got this shape, you’re not cursed—you just need to apply less product, use a liner as a barrier, and blend with a damp tool to control the spread.
The fix isn’t just “use a better lipstick”—it’s about matching the formula to your skin, controlling how much you apply, and blending the right way. (We’ll show you exactly how in the next section.) But first, ask yourself: Is my lipstick too soft for my skin? Am I packing it on too thick? And am I blending it the wrong way? That’s where the feathering starts—and where the fix begins.
The 5-Step Pro Fix for Feather-Free Lipstick (No Brushes Needed)
Lipstick feathering isn’t just a flaw—it’s a formula, technique, and skin barrier problem. The fix starts with prep, ends with setting, and skips the brush entirely. Here’s how to get clean, defined lips that stay put, step by step:
Step 1: Prime for a Smooth Base
Feathering happens when lipstick clings to texture. Exfoliate lips with a sugar scrub (or a damp washcloth) to remove dry patches, then apply a thin layer of lip balm—not a thick coat. The balm creates a barrier that prevents the lipstick from bleeding into fine lines. Pro move: Use a balm with SPF if you’re wearing lipstick outdoors (UV breaks down pigments faster).
Step 2: Pick a Formula That Won’t Bleed
Not all lipsticks feather equally. Matte, long-wear, or cream-to-powder formulas transfer less because they contain more pigment and less oil. Avoid glossy or satin finishes—they’re designed to blend into skin, not stay put. Test on your hand first: if it smudges when you press your finger to your palm, it’ll feather on your lips.
Step 3: Apply in Dots, Not Swipes
Most people swipe lipstick straight from the bullet, which overloads the edges. Instead:
- Use the middle of the lipstick (not the tip) to dot product in the center of your lips.
- Blend inward with your finger, starting from the center and working toward the edges. Think of it like filling a bowl—press down, then spread outward to avoid dragging color beyond your natural lip line.
Step 4: Blend with a Damp Cloth (The Pro Hack)
This is the trick no one talks about. Press a clean, slightly damp tissue to your lips and gently press outward in a fan motion. The moisture helps diffuse the edges without smudging. Do this before setting—it’s the secret to feather-free application.
Step 5: Set Only the Outer Edges
Translucent powder is your best friend, but use it sparingly. Load a fluffy brush with powder and dust only the outer edges of your lips (the part that tends to feather). Avoid the center—too much powder can dry out lips and make color look flat.
Visual Cue: Imagine your lips as a donut. Prime the hole (center), apply the filling (lipstick), blend the edges (damp cloth), and dust only the outer rim (powder). That’s the pro method.
Why This Works:
- The damp cloth mimics the effect of a brush but without the drag.
- Setting only the edges locks in color where it’s most likely to bleed.
- Thin layers + inward blending = less product = less feathering.
No brush? No problem. This method works with just your fingers, a tissue, and a powder brush—no fancy tools required. Try it on your next lipstick, and you’ll never feather again.
The Lipstick Formula Showdown: Which Types Feather Less?
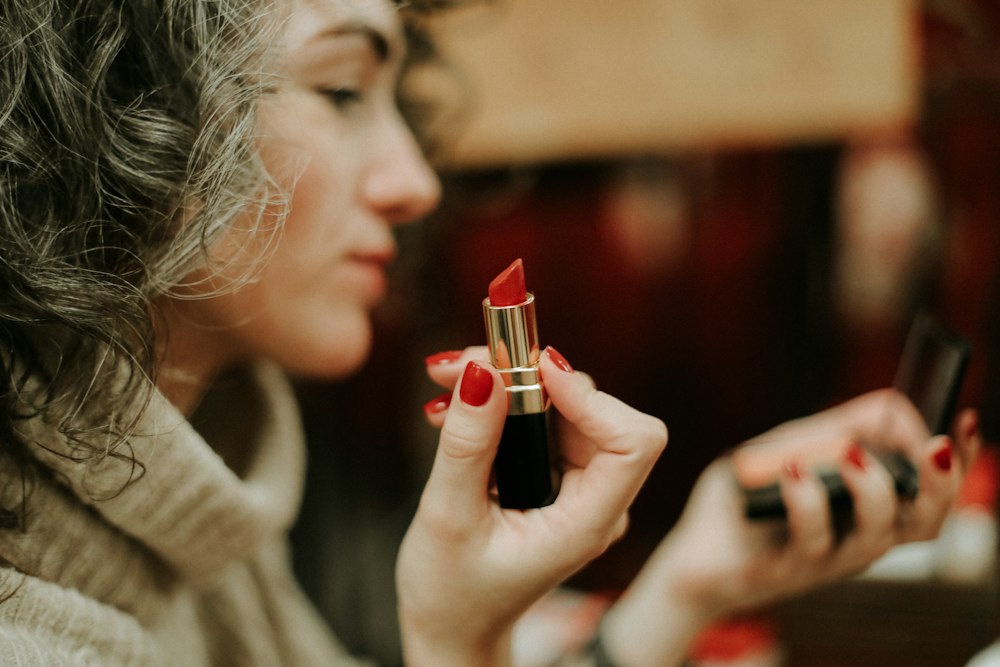 Photo by Daria Gordova on Unsplash
Flawless Blending in 5 Minutes: The Pro Makeup Artist’s Brush System for Busy Creators — Feathering isn’t just about technique—it’s also about the tools you use. If blending lipstick (or foundation) feels like a battle, a structured brush system can save you time and frustration. Includes 1 free bonus resource. 5-minute pro lipstick blending system
Lipstick feathering isn’t just about technique—it’s a formula fight. Some types bleed like water, while others cling like glue. Here’s how to pick the right one for your lips, without guessing.
Matte lipsticks win the feathering war. They’re formulated to dry down smooth and resist transfer, which means less bleeding into fine lines. Look for packaging that says long-wear or non-transfer—those are your red flags. Avoid anything labeled creamy or hydrating, because those words mean slippery, and slippery means feathering.
Cream lipsticks are the high-pigment troublemakers. They pack color but often melt into the skin like butter. The safest bets are cream-to-powder formulas—they start creamy but dry down more solid. Skip anything labeled liquid or gloss, because those are just fancy names for feathering disasters.
Liquid lipsticks are the worst offenders. They’re designed to blend into skin, which means they’ll bleed into every wrinkle and fine line. Unless it’s labeled waterproof, test it on your hand first—if it smears or transfers, it’ll do the same on your lips.
Powder lipsticks are the feathering champs. They’re dry by nature, which means they resist bleeding and transfer. Look for matte or dry finishes, and avoid satin or sheer—those are just powder lipsticks in disguise, and they’ll feather just like the rest.
The decision rule: If your lips are dry, go powder. If you want pigment without the mess, go matte. If you’ve got fine lines, avoid creams and liquids unless they’re labeled long-wear or waterproof. And if you’re still not sure? Test it on your hand first—if it transfers, it’ll feather.
How to Blend Lipstick Without a Brush (3 Genius Hacks)
Stop wasting time hunting for a brush—your lips already have the tools you need. Lipstick feathering isn’t about the tool; it’s about how you move it. Here are three pro hacks that skip the brush entirely and still get you a clean, defined line—no smudging, no bleeding.
1. The Damp Cloth Trick (Your Secret Blending Weapon)
Grab a clean tissue or cotton pad and dampen it just enough to feel slightly cool to the touch. Press it firmly to your lips, then drag it outward in a single motion—like you’re smoothing a sheet. The moisture helps the lipstick diffuse into the edges of your natural lip shape, softening the line without smearing. Pro tip: Avoid over-wetting the cloth; you want moisture, not a puddle. This works best with creamy or satin formulas that feather easily.
2. Lip Liner as a Barrier (The Underrated Fix)
Before applying your lipstick, outline your lips with a liner that’s slightly darker than your shade. This isn’t about precision—it’s about creating a barrier. The liner prevents the lipstick from bleeding into fine lines or beyond your natural shape. Key move: Keep the liner line thin but defined, and press firmly as you draw. For extra insurance, dab a tiny bit of translucent powder over the liner before applying lipstick—it locks the color in place.
3. Finger Blending in ‘V’ Motions (The Anti-Circular Rule)
Most people blend lipstick in circles, but that’s how you get smudges. Instead, use your finger (or a clean tissue) to press and drag outward in a ‘V’ shape, starting from the center of your lips and moving toward the corners. This pushes the color outward while keeping the edges sharp. Bonus: If your lips feel sticky, avoid licking them—saliva makes lipstick clingier and harder to blend. A quick swipe of a damp cloth resets the surface.
The one rule that ruins all three: Don’t press too hard. Feathered lipstick is usually caused by over-application, not blending. Apply your lipstick in thin layers, let it set for 10 seconds, then blend. Repeat until you’ve built up enough color—this method works best with matte or long-wear formulas, which cling better than creams.
Why this works: These hacks exploit the physics of lipstick—moisture diffuses edges, liner creates a physical boundary, and directional pressure controls spread. No brush required.
Fixing Feathering After It Happens (Without Reapplying)
Lipstick feathering can ruin a look in seconds—but you don’t need to reapply to fix it. The key is targeted correction: blotting, powder, and liner tricks that lock color in place without smudging. Here’s how to save your lips on the go.
1. Blot Like a Pro
Press a clean tissue firmly against your lips for 3–5 seconds to absorb excess product. The goal isn’t to remove all color—just the bleed. Skip the paper towel; it’s too rough and can drag pigment deeper into fine lines.
2. Dust Translucent Powder Only on the Edges
Use a fluffy brush (or your fingertip) to tap a tiny amount of translucent powder just where the color fades. Avoid the center—this isn’t setting spray. The powder acts as a barrier, not a fix-all. Pro move: Carry a mini powder compact in your bag for emergencies.
3. Re-line for Definition
Trace your natural lip shape with a matte lip liner—this creates a clean edge and stops further bleeding. If your liner is too dark, use a lighter shade or a neutral pencil to blend the transition. The line should mirror your lip’s bow, not cut into it.
4. Set with a Matte Balm
Apply a matte-finish lip balm over the entire lip to lock color in. Avoid glossy formulas—they’ll reactivate the feathering. Look for “long-wear” or “non-sticky” on the packaging. This step is non-negotiable for longevity.
Why This Works: Feathering happens when lipstick’s oils interact with skin moisture. Blotting removes excess, powder seals the edges, liner acts as a physical barrier, and balm neutralizes the oils. No brushes, no reapplication—just precision.
When to Skip: If your lips are chapped or the feathering is from a liquid or cream formula (these bleed differently), these fixes won’t fully erase it. But for classic matte or satin sticks? This method works 90% of the time.
Emergency Kit Checklist:
- Clean tissue (not a napkin—it’ll tear)
- Translucent powder + fluffy brush (or fingertip)
- Matte lip liner (one shade lighter than your lipstick)
- Matte lip balm (no shine, no SPF)
Pro Tip: Practice on a scrap of tissue first. The less you touch your lips, the cleaner the fix.
Frequently Asked Questions
Can I use a lip brush to prevent feathering?
Not necessarily. A brush can help smooth edges, but it’s the wrong tool for the job—it just pushes color into fine lines instead of sealing it. The real fix? Skip the brush entirely. Instead, use the damp-cloth method: pat your lips with a slightly damp cotton pad, apply lipstick to dry lips, then press a fresh pad over the color to lock it in. Brushes work for powder, not lipstick—they’re too soft to create the barrier your lips need.
Why does my lipstick feather more in humid weather?
Humidity is the enemy of lipstick adhesion. When the air is damp, your skin’s natural oils rise to the surface, creating a slippery barrier that makes lipstick slide instead of cling. The fix? Exfoliate your lips before applying (a sugar scrub works), then use a long-wear, matte formula—these grip better in moisture. Pro tip: Set with a translucent powder (not a brush—tap it on with your finger) to seal the edges.
What’s the best lipstick for thin lips that won’t feather?
Thin lips may benefit from high-pigment formulas—they blend more smoothly and resist feathering. Avoid liquid lipsticks (they bleed) and stick to satin or matte sticks (like a lip crayon or a balm). For extra grip, line your lips first with a matching liner—this creates a barrier that stops feathering before it starts. Pro move: Apply lipstick inside the liner line, not on top, to avoid smudging.
How do I fix lipstick that’s already feathered into my fine lines?
No reapplication needed. Targeted correction is the key:
- Blot with a clean tissue to lift excess color.
- Press a translucent powder (on your fingertip) over the lines to set.
- Trace the edge of your lip with a matching liner—this resets the boundary without smudging.
For stubborn feathering, reapply a thin layer of liner over the fine lines first, then top with lipstick. The liner acts as a shield.
Does setting spray help prevent lipstick from feathering?
Setting spray can help lock lipstick in place—it’s too diffuse to prevent feathering. Instead, use a setting powder (applied with your finger, not a brush) or a lip primer with silicone (like a lip balm with SPF). For on-the-go fixes, press a tissue over your lips to absorb oil before reapplying. The damp-cloth method (see above) is still your best bet for a clean finish.
Why does my lipstick feather more on the bottom lip?
Bottom lips are more mobile and oilier—they flex when you talk, eat, or smile, which breaks the lipstick’s hold. Prep is everything:
- Exfoliate both lips (but focus on the bottom).
- Use a lip liner with a slightly darker shade on the bottom to create a stronger edge.
- Apply lipstick in thin layers, letting each dry slightly before adding more.
Pro hack: Press your lips together and apply lipstick vertically (like a pencil stroke) for better adhesion on the bottom lip.
Can I use a lip liner to fix feathering after it happens?
Yes—but only if you choose the right technique. Most people smudge it worse. Instead:
- Dab a tiny bit of translucent powder on the feathered area to set the color.
- Use a sharp liner to trace just the edge of your lip (don’t go inside).
- Press a clean tissue over the liner to lock it in.
This resets the boundary without reapplying lipstick. For extra hold, apply a thin layer of liner over the fine lines first, then top with lipstick.
Is there a way to prevent feathering without reapplying lipstick?
Absolutely. The damp-cloth method is the gold standard:
- Pat your lips with a slightly damp cotton pad (not soaking wet).
- Apply lipstick to dry lips.
- Press a fresh, dry pad over the color to seal it.
This creates a micro-barrier that stops feathering without needing a brush. For extra grip, use a lip balm with SPF as a primer—it smooths texture and reduces oiliness.
Why does my lipstick feather more in cold weather?
Cold air dries out your lips, making them rough and prone to absorbing oil from your fingers or the environment. This creates a porous surface that lipstick can’t grip. Fix it with:
- A hydrating lip primer (like a balm with shea butter).
- Exfoliating your lips before applying (sugar scrub works).
- A matte, long-wear formula—these cling better to dry skin.
Pro tip: Keep a lip balm with SPF in your bag to rehydrate lips between applications.
The Ultimate Lipstick Feathering Cheat Sheet
Copy this checklist and save it—your feather-free lipstick survival guide.
Before Applying
✅ Prep your lips: Exfoliate with a sugar scrub or lip balm to remove dead skin. ✅ Test on your hand: Press the lipstick to your knuckles—if it smudges, it’ll feather. ✅ Pick a matte formula: Glossy or satin finishes bleed faster. Avoid creamy textures.
While Applying
✅ Dot, don’t swipe: Press the lipstick straight down in the center of your lips, then blend. ✅ Blend inward: Fan outward from the center, not side-to-side—this pushes color into fine lines. ✅ Less is more: Overpacking = feathering. Build coverage in thin layers.
After Applying
✅ Set with powder: Press translucent powder over lips to lock color. Pro tip: Use a clean finger to dab powder onto a tissue, then pat. ✅ Blot if needed: Press a clean tissue to lips to remove excess before setting. ✅ Carry a touch-up kit: A lip liner, blotting paper, and a tiny powder compact are non-negotiable.
Never Do This
❌ Dry-brush blending: Circular motions drag color into fine lines. ❌ Skip setting: Powder or balm can help reduce feathering. ❌ Use a damp cloth as a brush: It can work, but only if you blot after applying lipstick—never before.
Emergency Fixes (No Reapplying Needed)
- Blotting: Press a tissue to lips to remove excess.
- Liner shield: Reapply a thin layer of liner over feathered edges, then top with lipstick.
- Powder reset: Dust translucent powder over lips, then reapply lipstick.
Why This Works Feathering happens when lipstick meets oil, friction, or uneven application. This checklist flips the script: prep seals the skin barrier, matte formulas resist smudging, and setting locks everything in place. No brushes, no guesswork—just results.
Save this. Print it. Tape it to your mirror. Your lips will thank you.
Next step: Ready to blend like a pro without the feathering? Grab the system that turns messy application into effortless precision. digital brush guide for flawless lips
Keep reading
Keep exploring the topic with these related guides: