
Stop Smudging: 5 Pro Fixes for Clean Eyeliner Lines
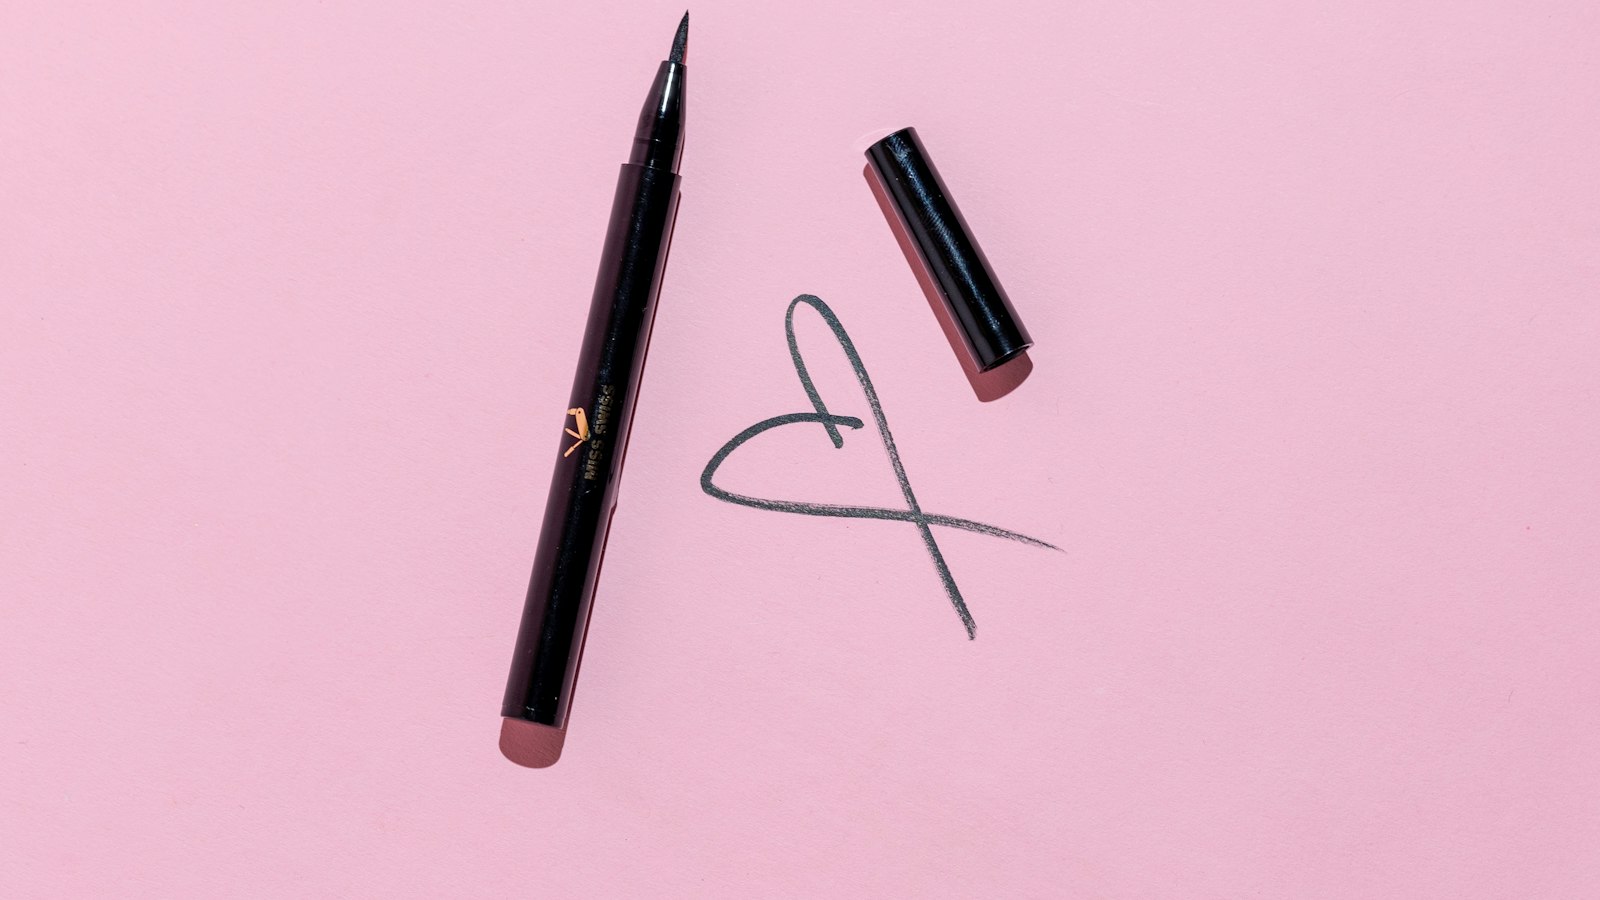
Photo by Ashley Piszek on Unsplash
Key Takeaways
Eyeliner smudging is almost always a technique problem—check your brush, prep, and application order first. Skip the blending brush, dry your skin and tools, and apply liner to dry eyeshadow first if you have oily lids. If it’s already smudged, a damp cotton swab and fresh liner saves you from reapplying.
- Brush matters more than product: Use a flat or angled brush—blending brushes smudge sharp liner by design.
- Prep oily lids first: Apply a mattifying primer or eyeshadow base before liner to lock in the line.
- Dry everything: Pat your lids and brush with a clean tissue before applying—oil or moisture transfers instantly.
- Fix smudges fast: Wipe with a damp cotton swab, then reapply liner with a fresh brush—no need to start over.
What Decides Sharp Eyeliner Every Time
Before blaming the product, check these five hidden factors—each one directly controls whether your liner stays crisp or dissolves into a blur.
| Criterion | Why It Decides the Outcome | How to Check It Yourself | Red Flag |
|---|---|---|---|
| Brush bristle stiffness | Soft bristles pick up oil and smear liner before it sets. | Press the brush against your lid: if the bristles bend flat or fan out, they’re too soft. Stiff bristles should hold their shape and leave a clean, unbroken line when dragged across a blank page. | Brush flares out when pressed; leaves a fuzzy line on paper. |
| Lid oiliness | Oil dissolves liner’s hold, turning it into a slippery mess. | Press a clean tissue to your closed lid for 5 seconds. If the tissue comes away shiny or greasy, your lids need drying. For extreme oiliness, hold an ice cube against your lids for 10 seconds before blotting again. | Tissue shows visible oil; liner smudges within 30 seconds of application. |
| Application order | Shadow particles cling to wet liner, smudging it on blink. | Apply a thin layer of eyeshadow to your lid first, then trace your lash line on top of it. If you’re doing a winged look, use waterproof liner first, then add shadow over it. | Liner smudges when you blink or rub your eyes post-application. |
| Surface dryness | Moisture (from skin or brush) weakens liner adhesion. | Tap your lids gently with a tissue—if they feel damp or dewy, they’re not ready. A dry lid should feel matte to the touch. For stubborn oil, use a damp (not soaking) cotton swab to wipe the lash line after applying primer. | Lids feel slick or sticky; liner transfers to the brush mid-stroke. |
| Brush shape for the job | Wrong shape = feathering or imprecise lines. | Hold the brush against your lid: a flat brush should let you draw a straight line without lifting; an angled brush should let you see the tip clearly for tight lines. A blending brush will drag and smudge. | Brush tip is too wide for wings or too soft for graphic details; leaves uneven strokes. |
The 3 Hidden Causes of Smudged Eyeliner (And How to Stop Them)
Eyeliner smudging isn’t about the product—it’s about the mechanics. Oily lids, the wrong brush, and application order are the real culprits, and fixing them means crisp lines every time. Here’s how to diagnose and stop them before they ruin your look.
1. Oily Lids: The Silent Smudge Saboteur
Even waterproof liner can’t fight oil. Your lids produce natural sebum, and if your skin isn’t prepped, the liner will dissolve into a blur within minutes. The fix? Dry your lids before application. Skip the heavy primer—it can cake and actually increase smudging. Instead, use a matte primer (a tiny dab of concealer works) or a drying sheet mask applied 10 minutes before your liner. The goal is to remove excess oil, not add more.
Why it works: Oil and liner don’t mix. A dry base gives the liner something to grip, while a greasy one turns it into a slippery mess. Pro tip: If you’re prone to oiliness, store a blotting sheet in your makeup bag and swipe your lids right before lining.
2. The Wrong Brush: Why Your ‘Blending Brush’ Is the Problem
Blending brushes are for softening edges—not for lining. Their soft bristles pick up liner and smudge it before it even hits your lash line. Flat or angled brushes (think tight-liners or pencil brushes) create sharp lines because they distribute product evenly without dragging. If you’re using a blending brush, you’re already fighting the tool.
How to pick the right one: Look for stiff, tightly packed bristles that hold their shape. A brush that flares out when you press it against your lid is too soft—it’ll smudge. (See our guide on fan brush mastery for alternatives when you do want a smoky effect.)
Why it works: A stiff brush applies liner in a single, controlled stroke. A soft one picks up product and smears it as you move.
3. Application Order: The Layering Trap
Most people apply liner before eyeshadow—big mistake. Shadow particles stick to the liner and smudge it when you blink or rub your eyes. The fix? Apply liner after eyeshadow. If you’re layering shadow over liner (like a winged look), use waterproof liner first—it won’t budge when you add color on top.
Exception: If you’re doing a smoky liner (where the shadow blends into the line), apply the liner first and set it with a translucent powder before adding shadow. But for sharp wings or tight lines? Shadow first, liner second.
Why it works: Liner is your base layer. If shadow goes on first, it stays put. If liner goes first, it becomes a magnet for shadow fallout.
The smudge fix checklist: ✅ Prep your lids—dry them, don’t cake them. ✅ Use the right brush—flat or angled, never blending. ✅ Layer liner last—unless you’re waterproofing it for shadow.
These three steps often solve smudging issues—no matter how waterproof your liner claims to be. The rest? Technique. (See our step-by-step guide for the exact order.)
The Brush Checklist: How to Pick One That Won’t Smudge
Eyeliner smudging starts with the wrong brush—and the right one isn’t just about the label. Precision bristles, shape, and stiffness are the only things that matter. Here’s how to pick a brush that delivers crisp lines, every time.
Bristle Type: Synthetic for Sharpness, Natural for Smudge
Natural bristles (sable, goat hair) are soft and blendable—but they’re also oil magnets. If you want smudgy, smoky lines, they’re your tool. For sharp, defined liner, synthetic (nylon) bristles are non-negotiable. They resist oil transfer and hold the formula in place. Look for ‘precision’ or ‘sharp’ in the description—not just ‘eyeliner brush.’
Shape: Flat for Wings, Angled for Lines, Pencil for Details
- Flat brushes are your winged liner workhorses. Their broad tip lets you draw bold lines and sharp angles without feathering.
- Angled brushes (45–60 degrees) give you precision for tight lines, like a cat-eye flick or a thin wing. The angle lets you see the tip against your lid.
- Pencil brushes (ultra-fine, tapered) are for graphic details—think sharp arrows, geometric shapes, or tiny stars. Skip them for everyday liner; they’re too delicate.
Firmness: Stiff Bristles Win, Soft Bristles Lose
This is where most brushes fail. Soft bristles (like blending brushes) pick up oil and drag the formula. Stiff, tightly packed bristles—what pros call a tight-liner brush—resist oil transfer and let you draw without smudging. If a brush description doesn’t mention firmness, assume it’s soft. And if it’s labeled for blending? Walk away.
Where to Check: The Description, Not the Name
Brushes labeled ‘eyeliner’ are often blending tools in disguise. Look for these keywords in the description:
- Precision
- Sharp
- Tight-liner
- Stiff bristles
- Oil-resistant
If it’s not there, the brush isn’t built for crisp lines. And if it’s a blending brush? You’re already setting yourself up for smudges. (We’ll cover why blending brushes are the enemy in the next section.)
The One Rule That Covers Everything
Here’s the decision rule: If the brush isn’t stiff, it’s not for liner. Period. No exceptions. The rest is detail work—shape for the line style you want, bristle type for the finish. But stiffness is the non-negotiable. Skip the soft brushes, and your lines stay sharp.
Step-by-Step: How to Apply Eyeliner Without Smudging (Even on Oily Lids)
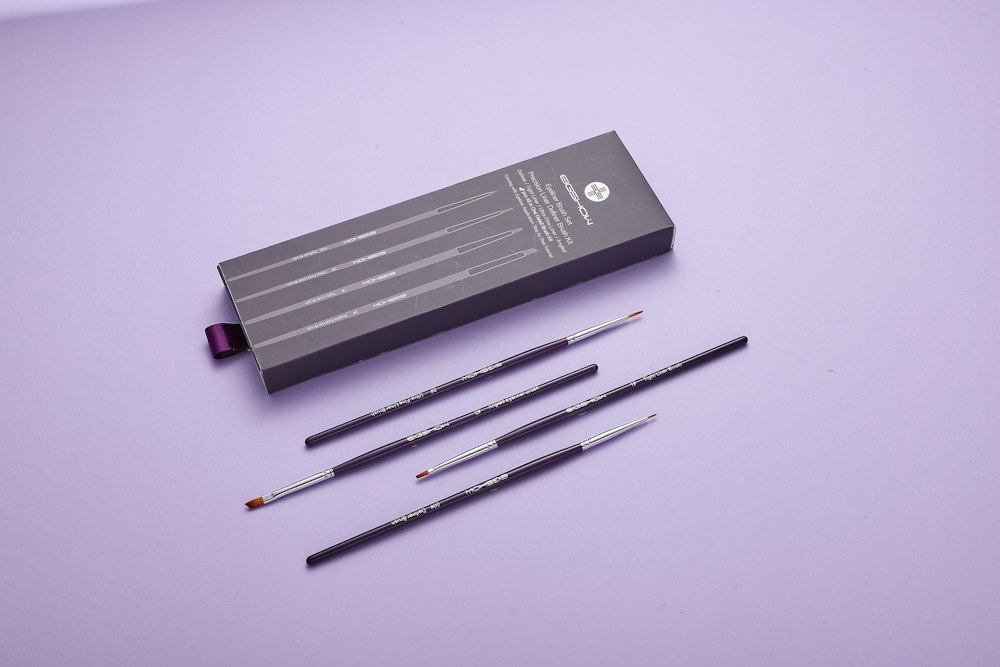 Photo by William Shu on Unsplash
Flawless Blending in 5 Minutes: The Pro Makeup Artist’s Brush System for Busy Creators — If blending brushes are your go-to but still smudging your liner, the issue might be how you’re using them—not the brush itself. Includes 1 free bonus resource. 5-minute pro eyeliner blending system
Oily lids are the real enemy of crisp eyeliner—but the fix isn’t about the product. It’s about prepping your skin, choosing the right tool, and applying with control. Skip the blending brush, dry your lids, and apply liner to a barrier—not bare skin. Here’s how to do it right, step by step.
1. Prep: Dry Your Lids (No, Really)
Oil is the silent smudge culprit. Most guides skip this step, but blotting your lids before you even think about liner is non-negotiable. Here’s how:
- Pat, don’t wipe. Use a clean blotting paper (the kind you’d use on your T-zone) or press an ice cube (yes, really) against your lids for 10 seconds. The cold constricts oil glands, and the paper soaks up what’s already there.
- Avoid alcohol wipes. They strip your skin and trigger rebound oiliness—smudging’s worst enemy.
- Test your prep. If your finger comes away greasy after blotting, repeat.
Why this works: Oil and liner don’t mix. A dry surface = a line that stays put.
2. Prime: Create a Barrier (Matte Concealer or Primer)
Liner needs grip, and oily skin doesn’t provide it. A tiny dab of matte concealer or eyelid primer along your lash line acts as a sealant. Here’s the pro trick:
- Use a flat brush (not a blending brush—those feather and smudge) to dab a matchstick-thin line of concealer right where your liner will go. Let it dry for 10 seconds.
- No concealer? A tiny dot of loose powder (like translucent setting powder) pressed into the lash line works too.
Why this works: Primer or concealer locks in oil and gives liner something to adhere to. Skip this, and your line will slide right off.
3. Apply: Press, Don’t Drag (The Wing Trick)
Most smudging happens because we drag the brush instead of controlling it. Here’s the correct way:
For Liquid or Gel Liner:
- Press lightly—don’t draw. Think of it like writing with a fountain pen: control comes from the wrist, not the pressure.
- Start at the inner corner and work outward. For wings, lift the brush upward (like you’re drawing an arrow) instead of angling it down. This prevents the line from feathering into your crease.
- Use a sharp brush (more on what that means in the Brush Checklist). A blunt brush = smudged edges.
For Pencil Liner:
- Press firmly—pencils need more grip than liquids. Draw a thin line first, then go over it once more to deepen.
- Warm the pencil between strokes. Rub it between your palms for 5 seconds to soften the tip—this helps it glide without dragging.
The wing fix: If your wing smudges, you’re angling the brush wrong. Hold it vertically and lift upward as you draw.
4. Set: Lock It In (The Tissue Hack)
Liner needs time to dry before you apply eyeshadow or mascara. Skipping this step is how smudges happen. Here’s the fastest way:
- Press a clean tissue (like a cotton pad) over your liner for 5 seconds. This absorbs any residual oil and helps the formula set.
- No tissue? A clean fingertip pressed firmly for 10 seconds works too.
Why this works: Heat and pressure accelerate drying. This is especially critical for oily lids.
5. Fix Smudges: No Reapplying Needed (The Micellar Swab Trick)
If your liner starts to smudge after you’ve applied it, don’t panic. Here’s how to salvage it:
- Dab with a damp cotton swab (soaked in micellar water or plain water). This lifts the smudge without disturbing the rest of your line.
- Reapply only where needed. Use a sharp brush or pencil to touch up the area—don’t drag over the whole line.
Pro tip: If your liner keeps smudging after this, your brush is the problem. Check it against the Brush Checklist—a blunt or too-soft brush is the #1 cause of post-application smudges.
The One Mistake Everyone Makes (And How to Avoid It)
Using a blending brush to “fix” smudges. These brushes are designed to soften edges, not sharpen them. If your liner starts to blur, stop blending. Instead:
- Press a clean tissue over the area (as in Step 4).
- Use a sharp brush to redefine the line—don’t feather it.
Final Check: Did You Skip Any of These?
✅ Dry lids (blotting + ice cube) ✅ Primed lash line (concealer or primer) ✅ Pressed, not dragged (wrist control, not pressure) ✅ Set with a tissue (locks it in) ✅ Fixed with a damp swab (not reapplying over the whole line)
If you did all five, your liner should stay crisp—even on oily lids. The key isn’t the product; it’s the prep and the technique. Now go draw a line that doesn’t budge.
What to Do If Your Eyeliner Is Already Smudged (No Reapplying Needed)
Smudged eyeliner is a nightmare—but you don’t have to start over. The fix depends on how fresh the smudge is. For fresh smudges, grab a damp cotton swab (micellar water or eyeliner remover works best) and dab gently along the smudge to lift the excess. Wipe away any residue, then reapply a thin line over the corrected area—thin is key, or you’ll just smudge it again. The trick? Let the liner dry completely before moving on.
If the smudge has already dried, your best bet is to lock it down. A tiny spritz of setting spray (or a light dusting of translucent powder) will seal the line before you layer shadow over it. Pro move: if the smudge is hidden under shadow, dab a tiny bit of concealer in the same shade as your skin to blend it into the base before setting. This trick makes the smudge disappear without reapplying liner—and no one will ever know it was there.
The real secret? Prevention is easier than fixing. But if you’re in a pinch, these fixes work every time—no smudgy redo required.
FAQ: Why Does My Eyeliner Keep Smudging? (And How to Fix It)
Why does my eyeliner smudge even with waterproof formula?
The problem isn’t the formula—it’s the mechanics. Waterproof eyeliner is designed to resist water, not oil or friction. If your lids are oily, the liner interacts with natural skin oils, breaking down the bond between the product and your skin. The fix? Apply to dry skin (use blotting papers or a mattifying primer first) and let it set for 30 seconds before touching your face. Also, avoid rubbing your eyes or applying cream products over it too soon—wait until the liner is fully dry to the touch.
Can I use a blending brush for sharp lines?
No. Blending brushes are for softening edges, not precision work. Their soft, fluffy bristles pick up liner and smear it before you even start. For crisp lines, use a flat, angled brush with stiff bristles—it glides cleanly and deposits product in a controlled line. If you’re trying to smudge eyeliner on purpose (like for a smoky effect), use a separate brush after the liner is fully dry.
What’s the best way to apply eyeliner on oily skin?
Oily lids are the #1 reason for smudging, and the fix isn’t about the product—it’s about prep. Start with a clean, dry base:
- Blot excess oil with a clean tissue or blotting papers.
- Apply a mattifying primer (or even a thin layer of translucent powder) to absorb oil.
- Let it dry completely before lining.
- Use a sharp, stiff brush (or a pencil for more control) and apply in one smooth motion.
- Set it immediately with a quick puff of setting spray or a tiny bit of loose powder.
If you’re still struggling, try applying liner to your closed eyelid first, then tracing over it with your eye open—this gives you a guide to follow without smudging.
How do I fix smudged eyeliner without ruining my makeup?
The fix depends on how fresh the smudge is:
- Fresh smudges (still wet): Use a damp cotton swab (micellar water or eyeliner remover works best) to gently lift the product. Press lightly—don’t rub, or you’ll spread it further.
- Dried smudges: A tiny bit of translucent powder pressed over the area can help set it without smudging further. For stubborn marks, a dry cotton swab dipped in a bit of setting spray can lift it cleanly.
- If it’s already blended into your skin: You’re out of luck—this is why prevention (dry skin, setting spray) is key.
Pro tip: Keep a small bottle of micellar water or eyeliner remover in your makeup bag for emergencies. Just dab, don’t swipe.
The One Tool You’re Probably Using Wrong (And How to Fix It)
The blending brush is the silent villain of crisp eyeliner. You’re not smudging because your hand is shaky—you’re smudging because you’re using the wrong tool for the job. Blending brushes soften, but they don’t sharpen. Their fluffy, tapered bristles are designed to diffuse edges, not draw precise lines. If you’re reaching for one to “fix” smudged eyeliner, you’re making it worse.
For sharp lines, you need a flat brush, an angled brush, or a pencil. Even if the label says “blending,” the shape matters more than the name. A flat brush (like the ones used for liquid liner) gives you a clean edge, while an angled brush (the kind meant for tightlining) lets you control the line’s thickness. And if you’re doing graphic liner—think winged or sharp angles—a tight-liner brush or a pencil is your best friend. They’re rigid enough to resist smudging and precise enough to follow your lid’s natural shape.
Here’s the hard truth: If you love smudged looks (smoky eye, diffused liner), embrace the blending brush. But if you’re chasing sharp lines, switch tools. The blending brush isn’t the problem—it’s the wrong brush for the job. And if you’re still smudging after switching? You’re either not prepping your lids (see Step-by-Step: How to Apply Eyeliner Without Smudging), or you’re applying too much product at once. Less is more—a thin, controlled line beats a thick one every time.
Why This Matters
Most guides tell you to “use a sharp brush” or “apply slowly,” but they never call out the real culprit: the blending brush. It’s the tool you grab when you want to soften, not sharpen. The fix isn’t technique—it’s tool selection. Swap it out, and your lines will stay put. No more smudging, no more reapplying, just clean, crisp results.
Pro Tip
If you’re torn between a flat and an angled brush, go for the angled. It gives you better control over the line’s thickness, especially near the inner corner where smudging happens most. And if you’re doing winged liner? A tight-liner brush is your secret weapon—it’s built for precision, not diffusion.
What About Pencils?
Pencils are the ultimate smudge-proof tool, but only if you use them right. Press too hard, and you’ll drag the product. Press too lightly, and you’ll ghost. The fix? A light touch and a steady hand. If you’re new to pencils, start with a fine tip and practice on your closed lid first (see FAQ: Why Does My Eyeliner Keep Smudging? for the full method).
The Bottom Line
You’re not failing at eyeliner—you’re using the wrong tool. Blending brushes soften; flat, angled, and pencil brushes sharpen. If your lines keep smudging, switch tools before you blame your technique. And if you’re still struggling? You’re either not prepping your lids (see Step-by-Step: How to Apply Eyeliner Without Smudging) or applying too much product. Less is more—a thin, controlled line beats a thick one every time.
Need More Tools?
Check out our best eyeliner brushes category for brushes that actually deliver sharp lines. (No fluffy blending brushes allowed.)
Next step: Ready to master eyeliner that stays put? A foolproof brush system ensures crisp lines—even with oily lids—without reapplying. sharp eyeliner in minutes with pro techniques
Keep reading
Keep exploring the topic with these related guides: