
Fan Brush Mastery: 5 Pro Techniques for Flawless Blending
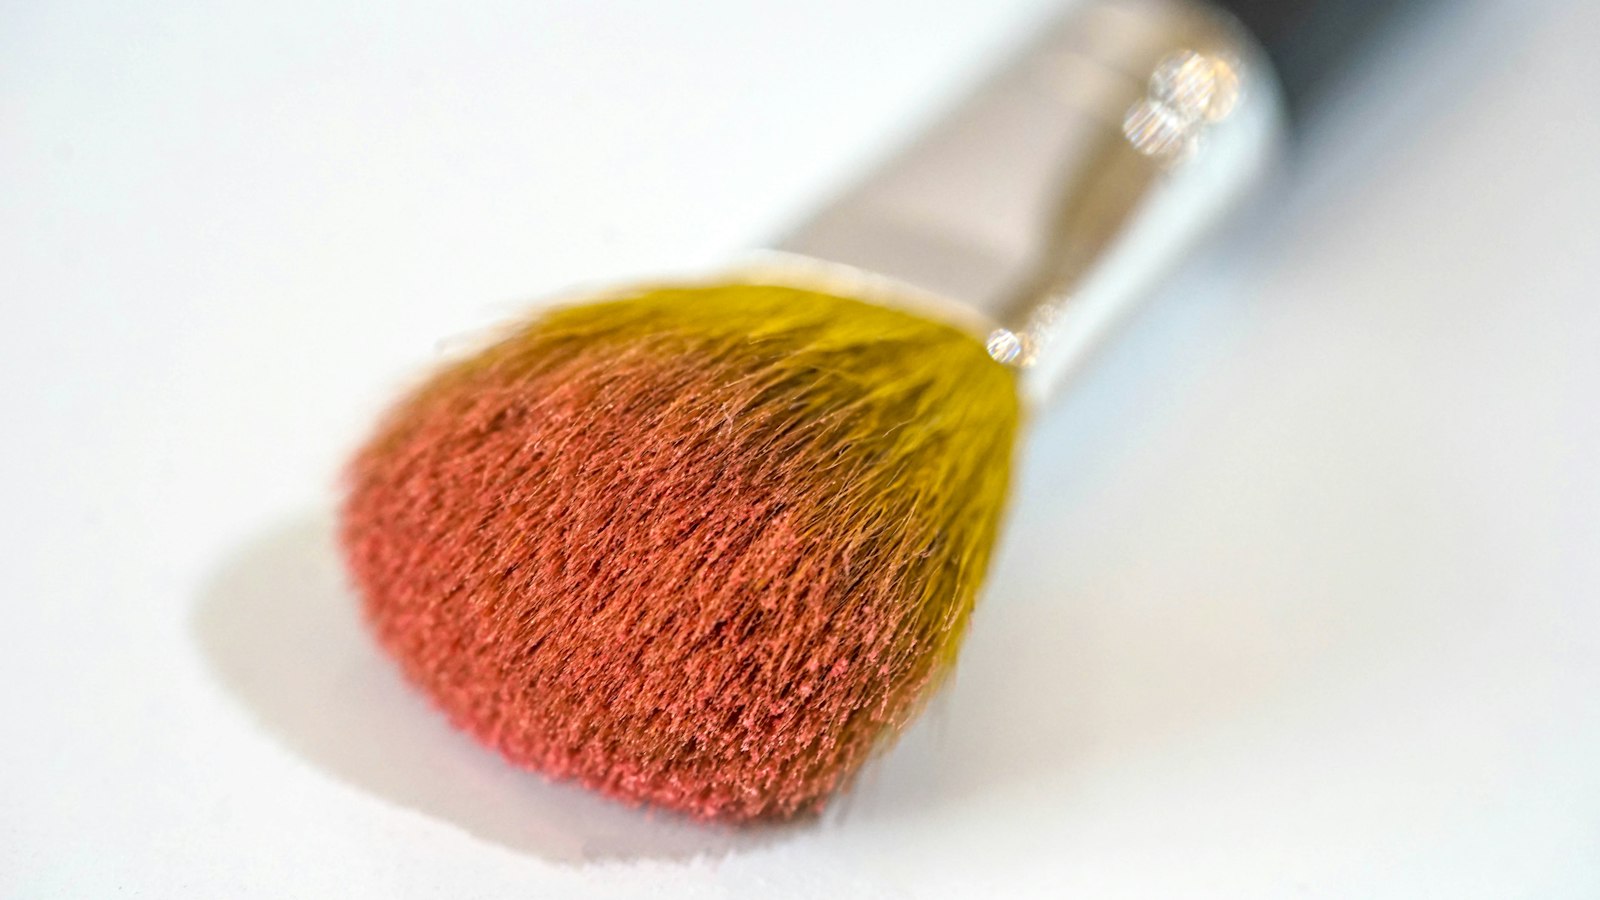
Photo by Laura Rivera on Unsplash
Key Takeaways
Master a fan brush for flawless diffusion, powder application, and luminous highlights—these five techniques deliver a seamless finish. The secret? Short, patting motions (never drag) and a light touch to avoid streaks.
- Use short, patting motions (never drag) to diffuse powder or highlight—this prevents streaks and creates a soft, natural finish.
- Fan brushes are for powder only—skip them on liquid or cream products to avoid clumping and uneven application.
- Avoid three mistakes: overloading the brush, applying to wet skin, or pressing too hard—all cause cakey makeup.
- Fluff the bristles before applying by tapping the brush against your palm—this creates a softer, more controlled application.
The 3 Core Uses of a Fan Brush (And When to Skip It)
A fan brush isn’t just a powder puff with more flair—it’s a precision tool for diffusion and definition. Its signature shape (flat on one side, flared on the other) makes it the go-to for three key tasks: evenly distributing powder, softening transitions between shades, and dusting luminous highlights. But its versatility has limits: skip it for liquid foundation, cream blush, or contour, where denser brushes (like flat or tapered) handle product better.
1. Powder Application: The No-Clump Secret
The fan’s real superpower? Preventing powder from clumping while setting spray or loose powder. Unlike a fluffy powder brush, which can leave streaks or cake, the fan’s flat side presses product into skin without dragging—just light, patting motions. Think of it as a miniature dusting glove: tap the brush against your wrist to remove excess, then press it lightly onto your face. For setting spray, hold the brush at a 45-degree angle and mist first—let the spray settle before you diffuse it with the fan.
Pro tip: If your powder looks grainy, you’re pressing too hard. The brush should rest on skin, not press into it.
2. Soft Blending: The Anti-Harsh-Line Trick
Fan brushes excel at transitioning between shades—eyeshadow, bronzer, even blush—without visible lines. The secret? Short, patting strokes (never swirling or dragging). For eyeshadow, start with a base color, then use the fan to feather the edge of a deeper shade. For bronzer, apply a small amount to the brush, then lightly tap it onto the cheekbone and blend outward. The key is less product, more coverage: a little goes a long way when diffused properly.
When to skip it: If you’re working with cream products (like cream blush), switch to a denser brush. The fan’s fluff can’t pack down cream effectively—it’ll just smear.
3. Highlighting: The ‘Dust, Don’t Drag’ Rule
Highlighter is where the fan brush shines—literally. Instead of rubbing shimmer into skin (which flattens it), dust it on. Load the brush lightly with highlighter or loose shimmer, then tap it onto high points (cheekbones, brow bone, Cupid’s bow). The fan’s shape catches excess product, so you avoid that glittery overload. For a subtle glow, use a lighter hand and build up in layers.
The mistake most people make: Overloading the brush. A little highlighter goes a long way—think dusting, not painting.
When to skip the fan brush entirely:
- Liquid foundation or cream blush: These need a flat or tapered brush to press product into skin.
- Contour: A dense, angled brush (like a blending brush) cuts cleaner lines.
- Eyeshadow smudge-proofing: A fluffy blending brush works better for locking in color.
The fan brush is a diffusion specialist—master its three core uses, and you’ll never settle for streaky powder or harsh transitions again. (And if you’re still struggling, we’ll fix the three mistakes that ruin fan-brush finishes in the next section.)
Technique 1: The Perfect Powder Application (No Streaks)
The secret to flawless powder application with a fan brush? Light touch, short strokes, and a 45-degree angle. This isn’t about slapping on product—it’s about diffusion. The fan brush’s flared shape is designed to break up powder into fine particles, but only if you use it right. Here’s how to avoid the two biggest mistakes: overloading (which creates cakey patches) and dragging (which leaves streaks).
Step 1: Load Lightly
Dip the brush into your powder once, then tap off the excess on your palm. The goal is a whisper of product—enough to create a veil, not a layer. Overloading clumps the powder, and clumps = visible texture. Think of it like dusting a shelf: you want the powder to settle evenly, not pile up.
Step 2: Pat, Don’t Drag
Use short, patting motions—never swipe or drag. The brush’s flared edge should barely graze your skin with each tap, diffusing the powder as you go. Drag creates streaks because the brush picks up more product than it lays down. Pro move: hold the brush at a 45-degree angle to control the spread. This prevents powder from settling too heavily in one spot while letting it feather into bare areas.
Step 3: Work in Sections
Start at the center of your face and move outward. This ensures even coverage and avoids harsh lines where sections meet. Think of it like frosting a cake: you’d never start at the edge and work inward, or you’d end up with a messy border. The same rule applies here.
The Mistake That Ruins It: Overloading
This is the most common reason powder looks cakey or patchy. The fix? Tap off excess after every few strokes. A fully loaded brush isn’t a tool—it’s a powder dispenser. Keep your strokes light, and the powder will blend smoothly.
Why This Works The fan brush’s design is all about diffusion, not coverage. Its flared shape mimics the way powder naturally settles—like dust on a surface—if you let it work. The key is control: light pressure, short strokes, and a 45-degree angle turn it from a powder puff into a precision tool.
(Note: For extra-smooth skin, try Technique 5—using the fan brush to diffuse setting powder like a soft-focus filter. It’s the pro trick for a natural, skin-like finish.)
Technique 2: Blending Eyeshadow or Bronzer Like a Pro
The fan brush isn’t just for powder—it’s the secret weapon for seamless eyeshadow and bronzer blends that look diffused, not dragged. The trick? Light, quick strokes (never pressing or dragging) and a light enough touch to scatter pigment without packing it down. Here’s how to do it right.
Step 1: Load Lightly, Start Hard
Begin with a dense brush (like a flat or angled brush) to apply your eyeshadow or bronzer in a sharp line or concentrated patch. This creates the foundation for blending. Overloading the fan brush now will just smear color—think precision, not coverage.
Step 2: The Windshield-Wiper Motion
Hold the fan brush at a 45-degree angle and use quick, back-and-forth strokes—like a windshield wiper clearing rain. The key:
- No dragging: The fan’s flared shape is designed to scatter, not push. If you drag, you’ll pull color instead of softening it.
- Work outward: Start from the center of your lid or cheekbone and move toward the edges. This prevents color buildup where you begin.
Step 3: Build Gradually for Depth
For eyeshadow, layer lightly—each pass should add subtle dimension, not a block of color. Bronzer? The same rule applies: pat, don’t press. The fan brush’s ability to diffuse finely means you can create gradients (e.g., a smoky eye or a sun-kissed cheek) without visible streaks.
Why This Works
The fan brush’s flared shape acts like a built-in diffuser. When you use light, quick strokes, you’re not just blending—you’re breaking up pigment into tiny, even particles. That’s how you get that “no-makeup makeup” look, whether you’re softening a bold shadow or warming up your bronzer.
Pro Tip: The “Two-Pass” Trick for Eyeshadow
- First pass: Blend a dark shade (like a deep brown or plum) into the crease using the windshield-wiper motion.
- Second pass: Take a lighter shade (a taupe or champagne) and blend it over the top, but this time work from the lid outward. The result? A natural gradient that looks like your shadow melted into your skin.
Common Mistake: Overblending
Problem: If your blend looks muddy or the color fades too quickly, you’re likely overworking the brush or using too much product. Fix: Work in three light layers instead of one heavy one. The fan brush is for diffusion, not coverage—let the base brush do the heavy lifting.
Technique 3: Highlighting Without the Shimmer Overload
Flawless Blending in 5 Minutes: The Pro Makeup Artist’s Brush System for Busy Creators — Mastering fan brush techniques takes practice. This ebook walks you through a brush-by-brush blending system, step by step. Includes 1 free bonus resource. 5-minute pro makeup brush system
Here’s the secret to luminous highlights that look natural, not neon: less is more. A fan brush isn’t for slapping on product—it’s for dusting it. The goal isn’t coverage; it’s catching the light just enough to make your skin glow without screaming for attention.
Step 1: Pick the Right Highlighter
Not all formulas play nice. Powdered or finely milled highlighters (think loose, glitter-free) are your best bet—they load evenly and blend smoothly. Avoid chunky pastes or creams: they’ll clump on the brush and leave you with patchy, glittery hot spots. Pro tip: If your highlighter has visible flecks, sieve it through a fine mesh first.
Step 2: Load Like a Feather
Tap the brush once into the product, then tap off the excess on your cheekbone. The rule? If you can see the bristles, you’ve loaded too much. A well-loaded fan brush should look like it’s holding a whisper of product, not a snowstorm. Too much = harsh, glittery buildup. Too little = no glow. Find the sweet spot where the brush looks bare but still catches the light when you pat it onto skin.
Step 3: Dust, Don’t Drag
High points are your canvas: cheekbones, brow bone, Cupid’s bow, and the inner corners of the eyes. Hold the brush at a 45-degree angle and use short, upward patting motions—never sweep. Think of it like dusting a shelf: light, controlled, and intentional. Press too hard or drag, and you’ll drag product into creases, which is how you end up with a raccoon mask.
Step 4: Blend Immediately (The Soft Focus Trick)
Here’s where the magic happens. Use the same brush to blend—don’t switch to a fluffy brush. Pat lightly over the applied highlighter, feathering the edges into your skin. The goal is to diffuse the product so it melts into your natural contour, not sit on top like a spotlight. If you’re going for a dewy finish, here’s the pro move: Mist the brush lightly with setting spray before applying. The moisture helps the highlighter adhere more evenly and gives it a satin-smooth, skin-like sheen.
The Mistake That Ruins It
Most people load too much product and press too hard. The result? Overly bright, uneven patches that look like you’ve been dusted with fairy glitter. Fix it by:
- Lightening your hand: Highlighter should feel like a second skin, not a mask.
- Blending in the direction of your natural contour: Follow the curve of your cheekbone, not straight across.
- Less is always more: If you’re unsure, apply half the amount and blend twice.
If your highlighter is too fine or too dry, a fan brush can scatter it everywhere. In that case, a small, dense blending brush (like a fluffy shadow brush) will give you more control. But for most powdered or finely milled highlighters? The fan brush is your best friend for subtle, diffused glow—no streaks, no glitter bombs, just a soft, catch-the-light effect that looks like you’ve got an inner radiance, not a spotlight.
Technique 4: Creating Texture (Without the Cake)
The fan brush isn’t just for blending—it’s your secret weapon for dimensional makeup that looks natural, not cakey. The key? Stippling, not pressing. This isn’t about slapping on product; it’s about building texture in layers, like a painter’s dots that merge into a gradient. Whether you’re adding freckles, a subtle shimmer, or a dimensional contour, the fan brush lets you control the density with precision.
Step 1: Pick the Right Product
Not all powders play nice with texture. Glitter, loose shimmer, and freckle powders are your best friends—they’re fine enough to stipple without settling. Cream-to-powder formulas? Skip them here. The goal is a dotted, diffused effect, not a flat wash.
Step 2: Load Lightly, Tap Off Excess
Dip just the tips of the bristles into the product, then tap the brush against the side of the pan to remove excess. A heavy load = muddy texture. Think of it like dusting: you’re not filling the brush, you’re just collecting a whisper of product.
Step 3: Stipple, Don’t Press
Here’s where the fan brush shines. Press the brush lightly onto the skin, then lift immediately—this creates a dotted effect. For freckles, tap the brush in a random pattern (no symmetry!). For shimmer, stipple in a circular motion on cheekbones or collarbone. The rule? Never drag. A drag = a flat, settled look. A stipple = dimension.
Step 4: Layer Strategically
Build texture in small sections. Start with a light stipple, then add more product in the same spots for depth. Focus on highlights (cheekbones, brow bones) or shadows (under eyes, jawline) to create a sculpted effect. Pro tip: less is more. A fan brush lets you control the density—if it looks heavy, you’ve overdone it.
The Biggest Mistake? Pressing Too Hard
This is how you turn texture into cake. The moment you press, you flatten the product and lose the stippled effect. Instead, let the brush do the work: the flared shape catches the product and distributes it in tiny dots. If your texture looks settled, you’ve pressed. If it looks like it’s melting into the skin, you’ve nailed it.
Why This Works The fan brush’s flared shape is designed for diffusion, but its short, dense bristles are perfect for stippling. Unlike a dense blending brush, it doesn’t pack product—it scatters it. That’s how you get luminous freckles that look hand-painted or shimmer that catches light without looking glittery.
Next Up: In Technique 5, we’ll use the same brush for a soft-focus powder finish—no diffusion needed, just a patting motion to blur the lines and smooth the skin.
Technique 5: The ‘Soft Focus’ Trick for Flawless Skin
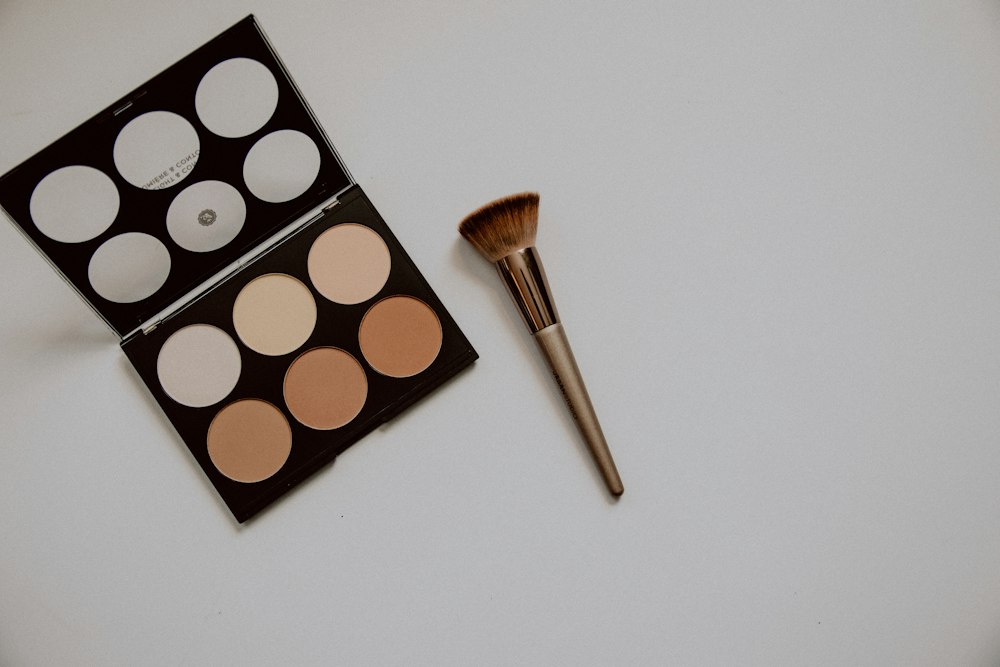 Photo by Kelly Sikkema on Unsplash
This isn’t just another powder application—it’s the diffusion technique that turns setting powder into a second skin. The secret? A fan brush isn’t for pressing powder down; it’s for dissolving it into the skin’s surface. Skip the heavy hand, and you’ll end up with a matte mask. Instead, follow these steps to create a finish so natural it looks like you skipped powder entirely.
Step 1: Lock It In
Start with a fine mist of setting spray. This isn’t about drying your makeup—it’s about creating a sticky canvas for the powder. Without it, your brush will just slide off, leaving streaks or patchy coverage. Think of it as the primer for your powder application.
Step 2: Load Lightly, Diffuse Heavily
Dip your fan brush into translucent powder, but don’t overdo it. Tap off the excess—you’re not painting, you’re dusting. The goal is to mimic the way skin reflects light, not to bury it under product. A well-loaded brush will leave visible streaks; a properly diffused one will disappear into the skin.
Step 3: Pat, Don’t Swipe
Work in upward motions—forehead first, then cheeks, chin, and neck. The key? Short, patting strokes. Swiping or dragging will drag product with it, creating a pulled-apart look. Instead, think of your brush as a feather: light enough to glide, but firm enough to settle the powder evenly.
Step 4: The ‘Melt’ Trick (Optional but Magical)
Here’s where the fan brush becomes a blender. Hold a hairdryer on low heat, 6 inches away, and pass it over your face in slow sweeps. The warmth doesn’t dry the powder—it softens it, melting it into the skin’s texture. This is the step that turns matte into luminous, and flat into dimensional.
Why This Works
The fan brush’s flared shape isn’t just for drama—it’s designed to scatter powder in all directions, creating a veil so thin it mimics skin’s natural unevenness. Most tutorials stop at application, but the real magic happens when you diffuse the powder into the skin’s surface, not just onto it.
The Pro’s Secret: When to Skip the Heat
If you’re working with sensitive skin or thin makeup, skip the dryer. The patting technique alone will give you a flawless finish—just ensure your setting spray is fully dry before blending. The heat is for those who want that just-set-but-not-done glow, but it’s optional for a reason: less is more.
Common Mistake: Overblending
Here’s where people go wrong: they keep patting long after the powder’s settled. Stop when the brush strokes disappear. Any more, and you’ll start dragging product, which brings us back to square one—streaks and a cakey finish. The goal is invisibility, not coverage.
Pro Tip: This technique works best with loose, finely milled powders—think translucent or skin-tinted. Pressed powders won’t diffuse the same way, and you’ll end up with a chalky texture instead of a seamless blend.
The Takeaway
The ‘soft focus’ trick isn’t about heavy application—it’s about layering powder so thinly it becomes invisible. Master this, and you’ll have a finish that looks airbrushed, not powdered. And the best part? It works for any skin type, from oily to dry, because it’s not about sealing pores—it’s about enhancing them.
The 3 Mistakes That Ruin Your Fan Brush Finish (And How to Fix Them)
The fan brush is a precision tool, not a powder shovel. Three moves destroy its magic: overloading, wet skin, and pressing too hard. Each one turns flawless blending into visible texture—here’s how to spot and fix them before they happen.
Mistake 1: Overloading the Brush
The fix is simple: tap off excess product on your palm before applying. A fan brush isn’t for scooping—it’s for dusting. Load it lightly, then use short, patting motions (never sweeping) to distribute. The goal isn’t coverage; it’s diffusion. If your brush looks like it’s carrying a snowball, you’ve already lost control.
Mistake 2: Using It on Wet Skin
Powder needs dry skin to set properly. A fan brush on damp foundation or misted skin = visible cake. Always apply to dry skin, or use a light setting spray first—just enough to prep, not soak. The brush dissolves powder into the skin; it doesn’t press it down. If your finish looks patchy, start over on dry base.
Mistake 3: Pressing Too Hard
The brush should barely touch your skin—like a whisper, not a slap. Pressing creates texture; feathering dissolves it. The second your brush leaves a visible mark, you’ve gone too heavy. The fix? Lighten up. Think “dusting,” not “applying.”
Bonus Fix: Clean Your Brush Regularly
Dried-on product stiffens the bristles, turning every stroke into a drag. Clean after every use—tap off excess, then wipe the bristles with a damp cloth (never soak). A stiff brush ruins blending before it even starts.
The real secret? The fan brush isn’t about technique—it’s about control. Overload, wet skin, or pressure are the only things standing between you and a seamless finish. Master these, and you’ll never see streaks again.
Fan Brush vs. Blending Brush: Which One Should You Use?
The fan brush and blending brush are both essential tools—but they solve different problems. Use a fan brush when you need to diffuse powder, soften edges, or add luminous texture without dragging. Its wide, splayed bristles are designed to break up product (think setting powder, loose highlighter, or matte bronzer) into a fine mist, not press it down. That’s why it’s the go-to for highlighting without shimmer overload and the ‘Soft Focus’ trick—where the goal isn’t coverage, but dissolving product into skin.
Switch to a blending brush (tapered, fluffy, or angled) when you’re working with cream, liquid, or dense formulas. These brushes—like the ones used for eyeshadow blending or contouring—are built to pick up and distribute product precisely. Their firm bristles handle the weight of cream foundations, liquid liners, or heavily pigmented eyeshadows without losing control. A fan brush? It’ll just clump and drag—because it’s not meant to hold product, it’s meant to dissolve it.
The Pro’s Choice: Keep Both
Here’s the trade-off: Fan brushes excel at powder and texture, while blending brushes handle denser formulas. Need to set powder without cake? Fan brush. Blending a cream eyeshadow? Blending brush. Diffusing a highlighter for a dewy glow? Fan brush. Contouring with a powder bronzer? Blending brush.
Pro tip: If you’re torn, ask yourself:
- Is the product loose or powdery? → Fan brush.
- Is it cream, liquid, or heavily pigmented? → Blending brush.
For deeper dives into blending brushes, check out our guide on Eyeshadow Blending: 5 Pro Techniques for Flawless Lids—where the focus shifts to precision control, not diffusion. The right brush isn’t just about shape; it’s about what you’re trying to achieve. And in makeup, that’s everything.
How to Choose the Right Fan Brush for Your Needs
A fan brush isn’t one-size-fits-all—bristle type, size, and density decide whether your blend looks airbrushed or amateur. Here’s how to pick the right one without guessing.
1. Bristle Type: Synthetic for Powder, Rarely Natural
Most fan brushes sold for makeup are synthetic (polyester or taklon), and synthetic bristles handle powder, highlighter and setting powder well. Check the listing for the fiber type before you buy.
2. Size: Face vs. Body vs. Eyes
- 1–1.5 inches: The go-to for eyes and lips—small enough to avoid smudging delicate areas.
- 1.5–2 inches: The workhorse for face and body. Larger fans spread product faster but lose precision on fine details.
- 2+ inches: Only for body application—think bronzer on shoulders or setting powder on arms. These are too bulky for facial work.
Pro tip: If you use your fan brush for both face and body, a 1.5-inch is the most versatile choice.
3. Density: Fluffy for Diffusion, Dense for Control
- Fluffier bristles = softer diffusion (ideal for powder, highlights, and the Soft Focus trick).
- Denser bristles = more control (better for stippling texture or sharp edges, but risk streaks if overloaded).
Watch out: A brush that’s too dense will press powder into skin instead of dissolving it—ruining the Soft Focus effect.
4. Handle: Comfort Over Style
A fan brush is a precision tool, especially for body work. Look for:
- A straight handle (angled handles can dig into skin).
- A grip-friendly shape (some brands add ridges or rubberized sections).
- Lightweight materials (aluminum or bamboo handles reduce fatigue).
Where to Check the Specs
Most brands list the bristle type and size on their product pages (e.g., “synthetic sable, 1.5-inch”). If the description is vague, check the packaging or a close-up photo—bristle density is the hardest to judge without seeing it in person.
The Decision Rule: Match the Job
- For powder diffusion (face, body, Soft Focus): Fluffy, 1.5-inch synthetic.
- For eyes/lips: Small (1-inch), dense enough to control but not streak.
- For body work: Larger (2-inch), sturdy handle.
No need to memorize brands—just match the bristle, size, and density to the technique you’re using. The right brush will feel like an extension of your hand; the wrong one will fight you.
Frequently Asked Questions
Can I use a fan brush for liquid foundation?
Short answer: No—this is the one job a fan brush can’t do. Liquid foundation needs a dense, flat brush to spread evenly, while a fan’s sparse bristles would leave gaps or drag. Use a fluffy blending brush instead—its dense bristles glide over skin without pulling, and its flat shape prevents streaks. The fan brush’s only role in foundation is setting it: pat a thin layer of translucent powder over your base with light, dissolving strokes to melt the edges.
How do I clean a fan brush?
Fan brushes are delicate—never soak them. Instead:
- Tap out excess product over a trash bin.
- Gently sweep the bristles against a dry brush cleaner or a damp (not wet) towel, working from the base outward.
- Reshape the bristles with your fingers to restore their natural fan shape.
- Let air-dry flat on a towel—never in direct sunlight or near heat.
Pro tip: Clean immediately after use, or product will harden in the bristles. A stiff brush? The bristles have lost their spring—time for a replacement.
What’s the difference between a fan brush and a fluffy blending brush?
They solve opposite problems:
- Fan brush: Sparse, angled bristles for diffusing powder, softening edges, or adding luminous texture. Think of it as a dissolver—it breaks up product, not spreads it.
- Fluffy blending brush: Dense, flat bristles for even application of powder, blush, or bronzer. It’s a spreader, not a blender.
When to use each:
- Fan brush for finishing (setting powder, softening transitions, adding dimension).
- Blending brush for applying (bronzer, blush, eyeshadow).
Exception: Some hybrid brushes blur the line—but if your brush has both dense and sparse sections, it’s not a true fan brush.
Can I use a fan brush for body makeup?
Absolutely—it’s a big deal for body powder, bronzer, and even freckles. Here’s how:
- Powder: Use the “soft focus” trick (Technique 5) to diffuse translucent powder for a seamless finish.
- Bronzer: Stipple (not press) to build warmth without streaks—ideal for arms, legs, or décolletage.
- Freckles/glitter: Load the brush lightly and dab for a natural, scattered effect.
Avoid: Heavy products like body lotion or cream—fan brushes aren’t designed to distribute liquids. Stick to powders and finely milled products.
Master Your Fan Brush in 5 Minutes
Here’s the secret to fan brush mastery in a nutshell: it’s not about pressure—it’s about control. The brush’s magic lies in its ability to diffuse, not press. Whether you’re blending powder, softening edges, or adding luminous texture, the key is the same: light touch, short motions, and dry skin. No heavy patting, no wet foundation, no rushing. The fan brush is a precision tool, not a powder shovel.
Start with a spare brush—your best one is too precious for trial and error. Practice the patting technique on your wrist or a powder compact first. The motion should be quick, feather-light, and just enough to dissolve the product into your skin. Think of it as painting with air: you’re not covering, you’re blending. Overloading the brush? You’ve already lost. The goal is to dissolve, not deposit.
Now, here’s the pro move: use it on dry skin. Wet or damp skin turns your fan brush into a streaking disaster. The brush needs to glide, not grab. And if your finish looks cakey? You pressed too hard. The fan brush’s job is to soften, not set.
Need more brush tips? Check out our guide on keeping your brushes fresh.
Now go create that flawless, diffused finish—because the difference between a flat-out fail and a show-stopping blend is just a lighter touch. No shortcuts.
Next step: Ready to blend like a pro in minutes? Get the ebook that turns these fan brush techniques into a brush-by-brush routine. Flawless Blending in 5 Minutes ebook
Keep reading
Keep exploring the topic with these related guides: