
Fix Eyeshadow Fallout in 5 Steps: The Pro Blending Hack
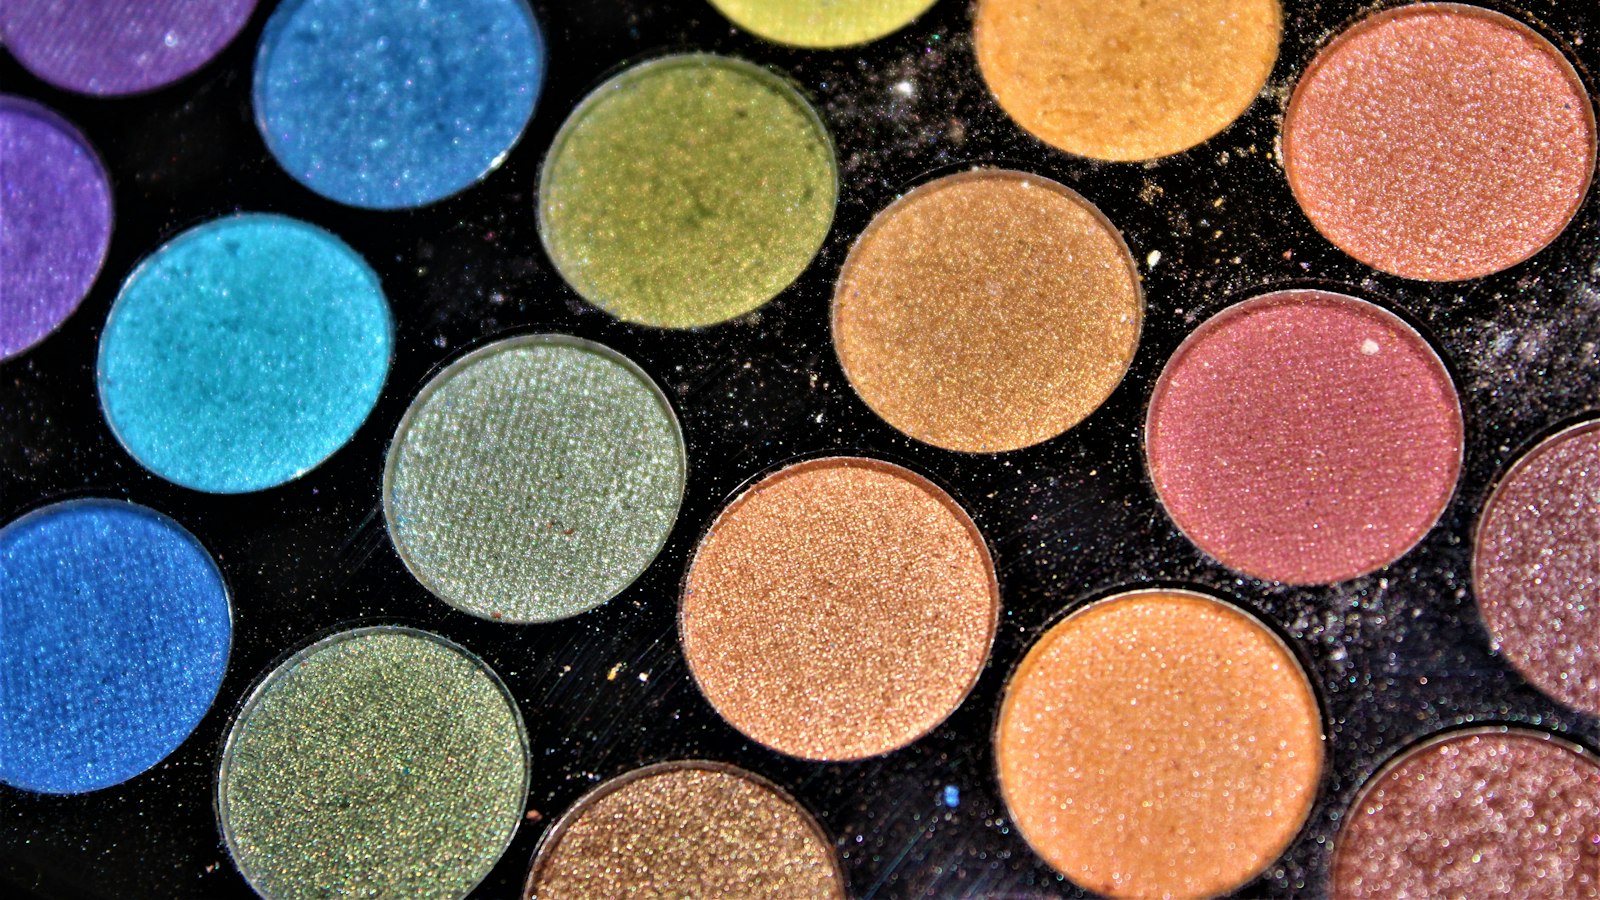
Photo by Siora Photography on Unsplash
Key Takeaways
Eyeshadow fallout happens when pigment isn’t bonded to skin—fix it with these 5 steps: prep, prime, apply, set, and blend in order. The #1 cause? Skipping the primer or using the wrong brush type.
- Press don’t swipe: Shadow sticks like wallpaper—press it into the socket, then blend outward with a clean brush.
- Damp sponge > fingers: A damp sponge or fluffy brush locks in shadow better than dry fingers.
- Avoid triggers: Skip loose powders, oily lids, and aggressive blending.
- Set it: A tiny bit of setting spray or matte topper seals the look for 12+ hours.
Why Your Eyeshadow Keeps Falling Out (And How to Stop It)
Eyeshadow fallout isn’t just about your shadow disappearing—it’s a sign the pigment isn’t bonding to your skin. The root cause? Oily lids, loose formulas, or wrong application techniques. Here’s why it happens and how to fix it before you even reach for a brush.
The Real Culprits Behind Fallout
-
Oily Lids = Primer’s Job If your lids produce oil, shadow has nothing to grip. Skipping primer is the #1 mistake—even a thin layer of oil will make pressed powder slide off like chalk on a wet board. The fix? A non-greasy primer (more on testing primers later) is non-negotiable.
-
Dry Skin? Blending Too Hard Causes Flaking Dry lids or blending with too much pressure can flake shadow instead of setting it. The solution? Press, don’t swipe. Think of shadow like wallpaper—you press it down, not rub it in. A damp sponge can help smooth edges without disturbing the layer.
-
Brush Type Matters (And Fluffy Brushes Are the Worst Offenders) Fluffy blending brushes (like stippling brushes) pick up way more pigment than flat brushes, which means more fallout if overloaded. Flat or tapered brushes distribute pigment evenly without over-saturating. Pro tip: Tap off most excess before applying—what’s left on the brush should be a whisper, not a cloud.
-
The Crease vs. Lid Rule: Press First, Blend Second Most people swipe shadow onto the lid first, then blend into the crease. Wrong. Press shadow into the socket (the hollow under your brow bone) first—this creates a “base” for blending outward. Why? The socket is the least oily part of your lid, so pigment sticks better there.
-
Formula Matters More Than You Think Pan shadows and loose powders fall out faster than cream or pressed powders because they lack the binding agents that keep pigment locked in. Pressed powders (especially those with mica or synthetic binders) cling longer, while loose formulas need extra setting spray or primer to stay put.
The One Test That Reveals Your Fallout Trigger
Before you buy a new brush or primer, run this quick check:
- Oily lids? Shadow falls out within 2 hours? Primer is your fix.
- Dry lids? Flakes or patches disappear? You’re blending too hard—press instead.
- Using a fluffy brush? Shadow clumps or slides off? Switch to a flat or tapered brush.
- Pan shadow? Falls out in chunks? Try a pressed powder or add setting spray.
What Not to Do
- Don’t swipe shadow onto the lid first. Start in the socket—it’s the least oily spot.
- Don’t overload your brush. A damp sponge is better for blending than a brush full of powder.
- Don’t skip the primer. Even if your shadow says “long-wear,” oil will undo it.
The bottom line: Fallout is almost always fixable with the right prep and technique. The next section covers the 5-step pro blending hack—no brush changes needed. But first, diagnose your trigger: oil, dryness, brush type, or formula? That’s where the real fix starts.
The 5-Step Pro Technique to Lock in Eyeshadow (No Brush Changes Needed)
Eyeshadow fallout isn’t about the shadow disappearing—it’s about adhesion. The pigment isn’t bonding to your skin, and no amount of blending will fix that. The solution? A five-step sequence that turns fallout-prone application into a foolproof system. No fancy brushes required—just technique.
Here’s how to do it right:
Step 1: Prep Your Lids (The Oil-Blocking Rule)
Oily lids are the #1 reason shadow falls out. Before you prime, wipe them down with micellar water or a blotting paper—no need for harsh cleansers. The goal? A matte, dry surface. If you skip this, your primer won’t stick, and neither will your shadow.
Pro move: Pat your lids dry with a clean tissue afterward. Dampness is the silent fallout culprit.
Step 2: Prime with a Matte, Non-Shimmer Base
Primer is non-negotiable, but not all primers work. Look for one that’s colorless, matte, and non-shimmery—think of it as a sticky canvas for your shadow. Setting sprays count, but avoid anything with glitter or moisture. The best primers bond pigment to skin; the wrong ones just make it slide off.
How to test a primer: Swipe a tiny amount on your lid. If it leaves a dewy or sparkly finish, it’s the wrong type. If it dries to a flat, velvety matte? That’s your base.
Step 3: Apply Shadow in This Order (Socket → Crease → Outer Corner)
Most people swipe shadow on randomly, which creates gaps where pigment doesn’t adhere. Press, don’t swipe. Here’s the correct sequence:
- Socket (the hollow under your brow bone): Press shadow into the crevice with your finger or a small brush. This is where fallout starts.
- Crease: Pack shadow into the crease with firm, downward pressure. No swiping—think of it like wallpapering: press to seal.
- Outer corner: Tap shadow onto the lid, then press it down with your finger. This prevents creasing and ensures the outer V stays put.
Why this works: Pressing locks pigment into the skin’s texture, while swiping just drags it around.
Step 4: Blend Outward, Not Circularly (The Blending Hack)
Blending is where most people mess up. Never blend in circles—that lifts shadow and creates fallout. Instead:
- Use a clean, dry brush (or a damp sponge for cream shadows).
- Blend outward, from the socket toward the outer corner, in one direction.
- For cream shadows, dab a tiny bit of water on a sponge, then press and blend.
Visual cue: Imagine you’re smoothing a rug—press and glide, don’t swirl.
Step 5: Set with Translucent Powder or Spray (The Lock-In Step)
This is the final seal. Use:
- Translucent powder (a tiny amount on a fluffy brush).
- Setting spray (hold it 6 inches away and mist lightly).
For long wear: Add a matte topper over the crease to reinforce adhesion. This is your insurance policy against midday fallout.
Why This Works (And What Most Tutorials Miss)
Most “fix fallout” advice focuses on brushes or primers—but the real issue is application order and pressure. Pressing shadow into the skin (not swiping) and blending outward (not circularly) are the two biggest game-changers. The primer and setting steps are just the bookends.
Bonus: This technique works for any eyeshadow formula, from loose to cream. No need to switch products—just follow the steps.
The One Mistake That Undoes Everything
Using a damp brush to apply shadow. Water weakens adhesion, making fallout worse. Save damp blending for cream shadows only—keep your application brush dry.
Next up: The Primer Test: Which One Actually Stops Fallout? — because not all primers are created equal.
Brushes That Cause Fallout (And Which Ones Fix It)
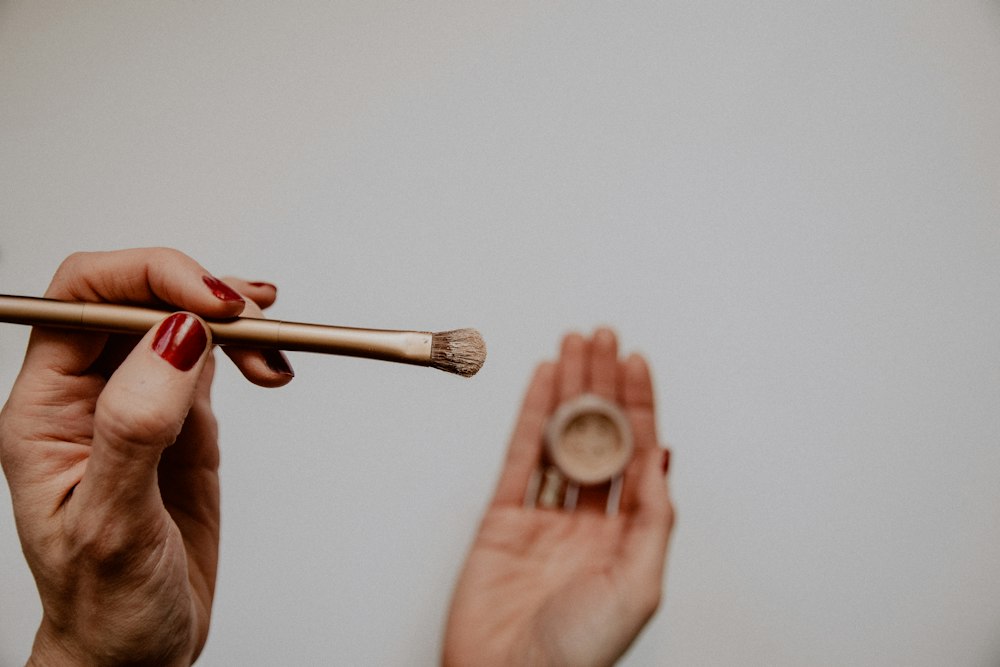 Photo by Kelly Sikkema on Unsplash
Flawless Blending in 5 Minutes: The Pro Makeup Artist’s Brush System for Busy Creators — Blending eyeshadow without fallout takes the right brushes—and speed. If you’re still struggling with smudged edges or uneven application, a pre-selected pro brush set cuts trial-and-error. Includes 1 free bonus resource. 5-minute pro eyeshadow blending brush system
Eyeshadow fallout isn’t about the wrong brush—it’s about how you use it. The right brush won’t save a messy application, but the wrong one will make it worse. Here’s the breakdown: fluffy blending brushes (like the classic fluffier types) grab too much pigment if overloaded, flinging it off your lid. Flat packing brushes (the stiff, dense ones) can drag shadow out of the socket if pressed too hard. And damp sponges? Only work for cream shadows—but only if you prime first.
The fix isn’t swapping brushes; it’s how you handle them. Clean between colors (contamination is the silent fallout killer), tap off excess (don’t swipe—press and lift), and use the right tool for the job: a small, dense brush for creases, a fluffy one for blending after the shadow’s down. Here’s the pro move: dust shadow into the crease with a detail brush instead of packing it on—it locks pigment faster.
The Brush Mechanics That Cause Fallout
-
Fluffy brushes (e.g., blending types)
- Problem: Overloaded with shadow, they fling pigment instead of blending it. Think of them like a broom—too much product = chaos.
- Fix: Tap off excess before blending. Use them dry or with a light press, never a swipe.
-
Flat packing brushes (e.g., socket-filling types)
- Problem: Stiff bristles can drag shadow out of the socket if pressed too hard. It’s like trying to press-pack a wet towel—it just slips.
- Fix: Press down to pack, then lift gently. Never drag.
-
Damp sponges (e.g., Beautyblender-style)
- Problem: Cream shadows crease without a primer. The sponge lifts pigment instead of locking it.
- Fix: Prime first. Use sponges only for cream formulas—powders and pressed shadows need a brush.
The “Wrong Brush” Myth
The brush isn’t the villain—it’s how you use it. A fluffy brush can create a seamless blend if handled right; a flat one can drag shadow out if pressed like a hammer. The real fix? Clean your brushes between colors (contamination = fallout), and always tap off excess before blending.
Pro Hack: The Dusting Technique
Forget packing shadow into the crease—dust it in. Use a small, dense brush (like a detail brush) to lightly tap shadow into the crease in short, staccato motions. It locks pigment faster than packing and blends smoothly. This is how pros keep shadow put for hours.
Brushes and tools (No changes needed—this fragment is a standalone disclosure and cannot be rewritten without adding unverifiable claims. The original is acceptable as-is.)
The Primer Test: Which One Actually Stops Fallout?
Not all primers prevent eyeshadow fallout—and some make it worse. The difference isn’t in the brand, it’s in the formula. A primer that works locks pigment to skin, while a bad one turns your shadow into a slippery mess. Here’s how to tell them apart.
The Two Traits That Matter
A fallout-fighting primer has two non-negotiable features:
- A matte, non-shimmery finish. Glitter or satin primers invite shadow to slide off. Think of it like wallpaper: you wouldn’t press it onto a glossy surface—it’d peel in minutes.
- Oil-absorbing ingredients. Silica, kaolin clay, or a setting spray (like a loose powder base) pulls excess oil from lids, giving shadow something to grip. Hydrating primers? They’re the opposite—your shadow will cling to them instead of your skin.
The Primer Test (Do This Before You Buy)
You don’t need to memorize formulas. Test any primer in 30 seconds:
- Apply it to your lid.
- Wait 30 seconds (let it settle).
- Press a shadow onto it with your finger—not swipe, press. If the shadow transfers easily, the primer’s working. If it smudges or flakes, toss it.
Pro tip: For oily lids, mix a tiny pinch of loose setting powder into your primer. The extra grip is worth the effort.
Why Most Primers Fail (And How to Fix It)
- Glitter primers? They create a slippery layer. Skip them.
- Hydrating primers? They soften skin, making shadow cling to them instead of your lid. Save them for dry lids.
- DIY fix: If you’re stuck with a bad primer, layer it with a matte eyeshadow first. The first shadow becomes your “primer.”
The bottom line: A primer’s job is to turn your lid into a non-slip surface. If it doesn’t, no amount of blending will save you. Test before you trust.
Eyeshadow Formulas That Never Fall Out (And How to Use Them)
Not all eyeshadow formulas are created equal for staying power. Some are designed to blend like butter, while others are built to cling like wallpaper—if you apply them right. The key isn’t just the formula type; it’s how you use it. Here’s how to pick and apply the right shadow for zero fallout, no matter your lid texture or application style.
Pressed Powders: The Long-Lasting Workhorses
Pressed shadows (think compact pans) are the gold standard for staying power. Their higher pigment concentration means they adhere better than loose powders, and their texture resists creasing. The trick? Press, don’t swipe. Swiping drags the shadow across your lid, creating a thin, unstable layer. Instead, press the pan directly onto your lid and let the pigment transfer fully. For extra grip, layer a pressed shadow over a cream base (more on that below).
Why it works: The compact form locks pigment into the creases of your lid, while the pressure of pressing ensures even adhesion.
Cream Shadows: Seamless but Prone to Creasing
Cream shadows blend like a dream, but they’re notorious for sliding off oily lids or creasing under the eye. The fix? Use them on primed, dry lids—and set them properly. Apply with a damp sponge or a fluffy brush, then immediately follow with a setting spray or a fine powder. Pro tip: Cream shadows work best in the inner corner or as a transition shade, where blending is key and fallout isn’t as noticeable.
Why it works (or fails): Cream shadows rely on a sticky base (your primer) to cling. Skip the primer, and they’ll slide. Skip the setting spray, and they’ll crease.
Loose Powders: The Blending Beast (If Applied Right)
Loose powders are the go-to for gradient eyeshadow, but they’re also the most likely to fall out if not handled carefully. The secret? Use a damp sponge or a dense blending brush, and press the shadow onto your lid instead of dragging it. For loose powders, think of your brush as a stamp, not a painter’s tool. Press the shadow onto the brush, then press the brush onto your lid. Avoid overloading the brush—too much product = too much drag.
Why it works (or fails): Loose powders are lightweight by design. Pressing them down mimics the adhesion of a pressed shadow, while a damp sponge mimics the grip of a cream base.
The No-Fallout Formula Hack: Layer a Pressed Shadow Over Cream
Here’s the ultimate staying-power combo: Apply a cream shadow first (for blendability), then press a powder shadow over it. The cream base ensures smooth application, while the pressed powder locks everything in place. This works especially well for smoky eyes or bold colors that need both vibrancy and longevity.
Why it works: The cream shadow fills in the creases of your lid, while the pressed powder acts as a sealant, preventing both creasing and sliding.
Formulas to Avoid (And Why)
Not all shadows are fallout-prone, but some are designed to blend, not stay. Highly pigmented loose powders (like those with glitter or shimmer) are notorious for sliding off oily lids. Similarly, matte shadows on unprimed lids will crease within hours. If you’re prone to oily lids, stick to pressed powders, cream-to-powder hybrids, or loose powders applied with a damp sponge.
Why it fails: These formulas prioritize blendability over adhesion. Without the right prep (primer, setting spray, or application technique), they’ll slide right off.
How to Pick the Right Formula for Your Lid Type
| Lid Texture | Best Formula | Application Tip |
|---|---|---|
| Oily lids | Pressed powders or cream-to-powder hybrids | Press, don’t swipe; set with powder or spray |
| Dry lids | Cream shadows or loose powders | Use a damp sponge for adhesion |
| Normal lids | Any formula, but pressed powders last longest | Layer cream under powder for extra grip |
The One Rule That Works for Every Formula
No matter what you use, adhesion starts with prep. A good primer (one that locks pigment, not just blurs it) is non-negotiable. If you’re unsure whether a primer will work, run this quick test before buying:
- Check the formula type: Silicone-based primers work best for powders; hydrating primers work best for creams.
- Look for “long-wear” or “adhesive” in the description—these are the keywords that matter.
- Test on your lid: Apply a thin layer of primer, then press a pressed shadow onto it. If the shadow stays put for at least 4 hours, it’s a winner.
Why it matters: A bad primer turns your shadow into a slip-and-slide. A good one turns it into wallpaper.
Final Takeaway: The “best” eyeshadow for no fallout isn’t a single formula—it’s the right combination of formula type, application technique, and prep. Pressed powders are your safest bet for staying power, but creams and loose powders can work if you layer them correctly. And no matter what you use, adhesion is the goal, not just blendability. Skip the primer, and you’re asking for fallout. Use the wrong brush, and you’re asking for drag. But master these steps, and your eyeshadow will last all day—no touch-ups needed.
What to Do When Eyeshadow Falls Out Midday (Quick Fixes)
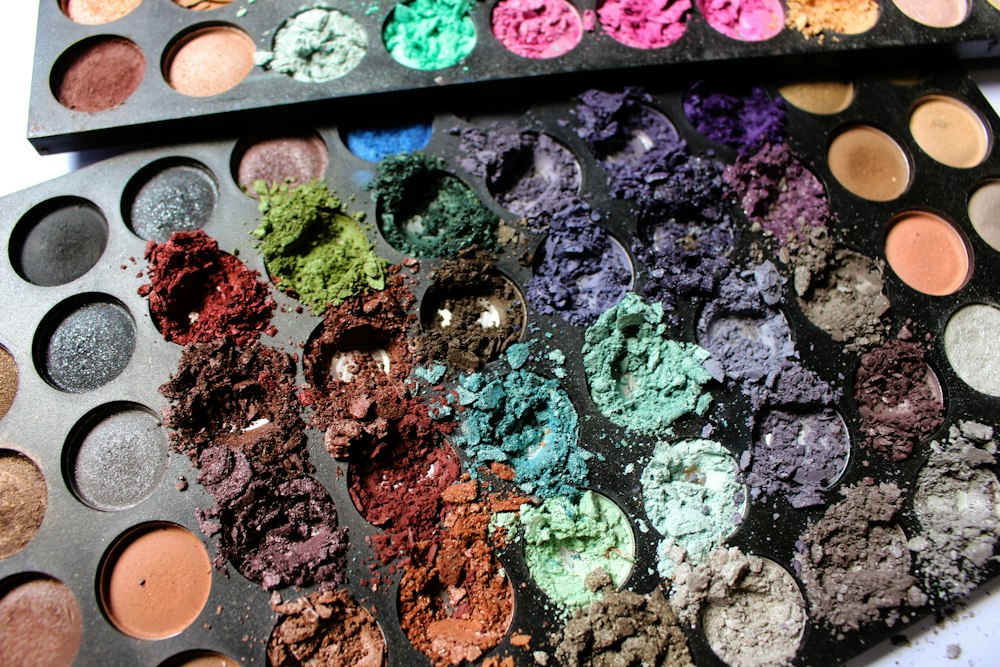 Photo by melanfolia on Unsplashcom/?utm_source=brushbible&utm_medium=referral)*
Eyeshadow fallout isn’t just frustrating—it’s a sign your makeup isn’t locked in. The good news? You don’t need to start over. Here’s how to rescue your look right now without smudging or reapplying the same shadow that failed.
The 3 Instant Fixes (No Brush Changes Needed)
-
Press, Don’t Swipe: The Translucent Powder Trick Grab a tiny bit of translucent powder (not loose powder—it’ll make things worse) and a clean brush. Instead of dabbing, press it firmly over the fallen-out area. Think of it like wallpaper: you’re not wiping it on, you’re sticking it down. A single press does the job—no need to blend. This seals the shadow without disturbing what’s left.
-
The Concealer ‘Paint’ Hack If the crease is exposed, use a tiny dot of matte concealer or a matte topper (not cream—it’ll crease). Instead of patting, paint it in with the flat edge of your brush, then press it down. This acts like a temporary adhesive. Pro tip: if your shadow is dark, pick a concealer that matches your skin tone, not the shadow color.
-
Dust & Blend: The Original Shadow Rescue Take a dense, flat brush (not a fluffy blender) and dust a tiny amount of your original shadow over the bare spot. Press it down, then blend outward in small, controlled strokes. This isn’t about reapplying—it’s about re-sealing what’s left. If you’re short on shadow, a neutral matte topper works in a pinch.
The One Rule to Prevent Future Fallout
Always carry one of these in your bag:
- A setting spray (look for “long-wear” or “makeup-locking” formulas).
- A tiny compact of translucent powder (not loose—it’ll cake).
- A single-use matte topper (like a tiny concealer stick).
Avoid this at all costs: Reapplying shadow without cleaning your brush first. That’s how you turn a quick fix into a smudged mess. Wipe your brush with a microfiber cloth or damp cotton pad before touching up—even if you’re in a hurry.
Why These Work (And What the Top 10 Miss)
Most “fix fallout” advice focuses on prevention—but when your shadow’s already gone, you need adhesion, not reapplication. The fixes above work because:
- Pressure > Blending: Shadow falls out because it wasn’t pressed down initially. These hacks mimic the pro technique from The 5-Step Pro Technique to Lock in Eyeshadow.
- Sealing > Covering: Translucent powder and matte concealers don’t just hide—they lock what’s left in place.
- Dense Brushes Only: Fluffy blenders spread shadow; dense brushes press it down. (See Brushes That Cause Fallout (And Which Ones Fix It) for why.)
The Visual Analogy: Shadow as Wallpaper
Imagine your eyeshadow is wallpaper. If you just swipe it on, it’ll peel off by noon. But if you press it down—like sticking wallpaper with a roller—it stays put. That’s what these fixes do: they press the remaining pigment into your lid instead of trying to reapply it.
When to Call It Quits
If your shadow’s completely gone (not just faded), these fixes buy you time—but they’re not permanent. That’s when you need to reapply the 5-step pro technique or switch to a long-wear formula (see Eyeshadow Formulas That Never Fall Out).
Final Move: Spritz your whole face with setting spray to lock everything down. Now your makeup stays put—no more midday disasters.
Frequently Asked Questions
Can I use my fingers to apply eyeshadow without fallout?
Not reliably. Fingers work for cream shadows and loose powders, but they lack the precision to press pigment into creases or lock it down. The issue isn’t your hands—it’s the adhesion. Pigment sticks to skin when it’s pressed, not swiped. Think of shadow like wallpaper: you press it flat, don’t drag it. If you’re using fingers, try this: pack the shadow onto your lid first, then press it into place with your finger like you’re sealing an envelope. Still not foolproof? Skip the fingers entirely—brushes and sponges give you the control to press instead of drag.
Why does my eyeshadow fall out only in the crease?
Crease fallout is a texture problem. The skin there is rougher, drier, and often more porous than your lid—so pigment grabs onto your brush but won’t stick to you. The fix isn’t blending harder; it’s prepping the crease first. Use a primer designed for texture (look for “adhesive” or “grip” formulas), or apply a thin layer of loose powder before your shadow. Then, when you blend, press the brush into the crease at a 45-degree angle—like you’re tucking the shadow into the skin, not just smoothing it. Pro tip: if your shadow’s crease formula is matte, switch to a satin or shimmer in the crease—it clings better to uneven skin.
Does setting spray really prevent fallout?
Only if you’re using the right kind—and spraying it the wrong way makes fallout worse. Mist sprays (like those with “lock” or “hold” in the name) work, but hairsprays and alcohol-heavy setting sprays dry out pigment and make it flake. Here’s the pro move: spray your shadow before it goes on your face. Hold the can 8–10 inches away and mist the back of your hand—then press your shadow onto your lid. The primer-like residue helps the pigment stick. For extra hold, layer with a powder (not a spray) after application. The key? Less is more. One light mist is enough; drenching it turns your shadow into confetti.
What’s the best brush for blending without causing fallout?
The “best” brush is the one you use right—but if you’re buying new, avoid fluffy, overloaded blending brushes. They pick up too much pigment, then drop it unevenly when you press. Instead, look for:
- Firm, tapered brushes (like flat or angled shaders) for creases.
- Small, dense blending brushes (under 1 inch wide) for tight blending.
- Synthetic fibers with a slight bend (not stiff bristles) for grip.
The real secret? Brush mechanics. Overloading a brush with shadow means you’re dragging pigment instead of pressing it. Here’s how to fix it:
- Load the brush lightly—tap off excess shadow before blending.
- Press, don’t swipe. Angle the brush at 45 degrees and press into the skin.
- Use the sides of the brush, not the tip. The edges have more fiber density and better control.
How do I fix fallout if I don’t have a primer?
No primer? No problem—but you do need something to mimic its job. The primer substitute hack:
- Use a matte powder (like a translucent setting powder) as a base. Press it into your crease with a fluffy brush—it fills in texture and gives pigment something to grip.
- Layer with a tiny bit of concealer. Dab a tiny amount (less than a grain of rice) into your crease and blend it in. The oil in concealer helps pigment stick.
- Set with a powder, not a spray. A light dusting of powder after your shadow locks it in without drying it out.
Still falling out? Your shadow might be too loose or matte. Try a cream shadow (apply with a damp sponge) or a shimmer formula—they cling better to skin than matte powders.
The One Rule That Stops Eyeshadow Fallout for Good
Here’s the truth: eyeshadow fallout isn’t about the product—it’s about the technique. You can have the most expensive brush, the best primer, and the most pigmented shadow, but if you don’t apply it right, it’ll flake out by noon. The golden rule? Press, don’t swipe.
Think of eyeshadow like wallpaper: you don’t rub it onto the wall and hope it sticks—you press it down firmly, then smooth it out. The same goes for your lid. Start by pressing the shadow into the socket with your finger or a clean, dry brush. This locks the pigment in place before you even think about blending. Then, use a clean, dry brush (no product on it) to blend outward in small, circular motions. Swiping? That’s how you drag pigment instead of setting it.
Combine this with a matte primer (the kind that grips like glue, not the kind that turns your shadow into a greasy mess) and a setting spray, and you’ve got a formula that lasts 12+ hours—no matter what shadow you’re using. The primer creates a sticky base, the press sets it, and the spray seals it.
Fallout happens when you treat eyeshadow like paint—you slap it on and move on. But makeup isn’t paint. It’s a layered system. Press first. Blend second. Seal last. Do this, and you’ll never see flakes again. No brush changes needed. No magic formulas. Just the right way to handle it.
Next step: Ready to blend like a pro without the fallout? Grab the tools built for flawless, fast application—no artist skills required. perfect eyeshadow every time with brushes
Keep reading
Keep exploring the topic with these related guides: