
Stop Eyeshadow Creasing: 7 Pro Fixes for Oily, Hooded
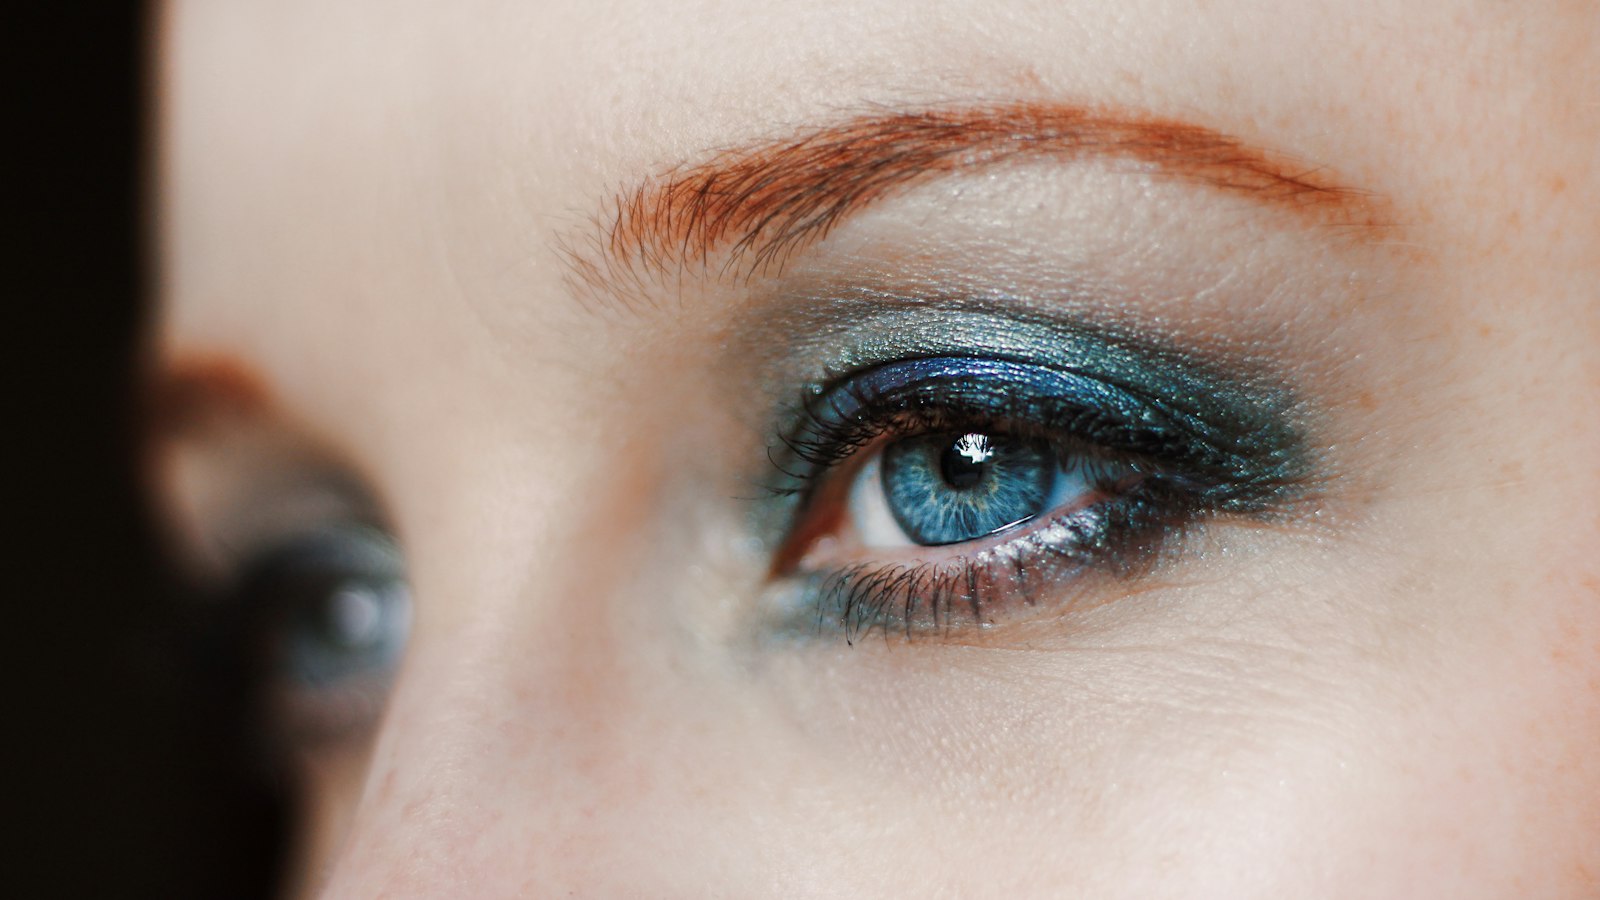
Photo by Tom Swinnen on Unsplash
Key Takeaways
Eyeshadow creasing happens when pigment shifts due to oil, friction, or poor application. The main issue is usually oily lids, which need a primer or setting spray to keep shadow in place—even “crease-proof” formulas can fail without proper prep. Always prepare your lids, blend upward (especially for hooded eyes), and avoid blending outward to prevent sliding.
- Oily lids? Apply powder before shadow to lock pigment, regardless of oiliness.
- Fix creasing without reapplying: Use a damp sponge or fluffy brush to lift and resettle shadow.
- Hooded eyes? Blend upward toward the brow bone to prevent creasing.
- Stubborn creasing? Reapply powder over shadow, then blend with a fluffy brush to seal the formula.
Part of our complete guide: for the full picture, see 25+ Free Procreate Makeup Brushes for Flawless Digital.
What Causes Eyeshadow to Crease
| Issue | Why It Happens | How to Identify It | Signs to Watch For |
|---|---|---|---|
| Oil on lids | Oil disrupts pigment adhesion, causing creasing within 30 minutes, especially in hooded eyes where oil pools. | Press a clean tissue to your closed lid. If it’s greasy, your lids are oily. Observe if creasing starts at the outer corner and spreads inward. | Shadow creases within 30 minutes, even with matte formulas. |
| Blending direction | Blending downward or outward forces shadow into creases where oil collects. | Check your application: if creasing follows brushstrokes (thicker at the bottom of the lid, thinner at the top), you blended incorrectly. | Creasing appears in a horizontal line where the lid folds (common in hooded eyes). |
| Formula type | Cream, shimmer, or loose powder formulas slide off oily lids more easily than compact powders or hybrids. | Apply shadow and observe if it creases immediately (within 5 minutes). Matte powders hold up longer than shimmers, but no formula beats a primed, dry surface. | Shadow creases almost instantly, regardless of technique. |
| Movement | Excessive blinking or rubbing shifts pigment into creases, especially in hooded eyes. | If creasing appears in a horizontal line where the lid folds (not spread evenly), movement is likely the cause. | Creasing forms a distinct horizontal line at the natural lid fold. |
| No primer/base | Primer creates a barrier between oil and pigment, preventing creasing. Without it, edges crease first. | Check if creasing starts at the edges where shadow meets unprimed skin. If you skipped primer, this is the culprit. | Creasing begins at the outer edges of the shadow application. |
| Brush type/technique | Using the wrong brush (e.g., dense instead of fluffy) or pressing instead of swiping affects adhesion. | Swipe vs. press the same shadow on two separate lids. The pressed version locks pigment better. If you’re using a dense brush for blending, it may pack shadow into creases instead of diffusing it. | Shadow creases where the brush was packed into the crease (e.g., bottom of lid for hooded eyes). |
| Crease prep | The crease itself needs a barrier to prevent shadow from sliding out. | Observe if shadow creases only in the crease area (not the lid). If you didn’t prep the crease (e.g., with primer or powder), this is the issue. | Shadow stays put on the lid but creases in the natural fold. |
Why Eyeshadow Creases (And How to Spot the Culprit)
Eyeshadow creasing isn’t just about poor application—it’s a clue about what’s going wrong. The timing and pattern of creasing can pinpoint the root cause faster than any product.
1. Oily Lids: The 30-Minute Rule
If shadow creases within 30 minutes—even with matte formulas—your lids are the problem. Oil disrupts adhesion, and pigment slides before it can set. Sign: Creasing starts at the outer corner, where oil pools, and spreads inward like a tide. Hooded eyes crease faster because the natural fold traps oil against the lid.
How to test: Press a clean tissue to your closed lid. If it’s greasy, your lids need prep. Without a barrier, shadow has no grip.
2. Blending Direction: Downward = Disaster
Blending shadow downward—especially on hooded lids—pushes pigment into the natural crease where oil collects. The result? Pigment gets packed into the fold instead of diffused across it. Sign: Creasing follows the path of your brushstrokes—thicker at the bottom of the lid, thinner at the top.
Fix: Blend upward toward the brow bone for hooded eyes, then softly diffuse outward. Use a fluffy brush, not a dense one—packing shadow into creases is the opposite of the solution.
3. Wrong Formula: The Crease Magnet
Not all shadows behave the same. Cream, shimmer, and loose powder formulas slide off oily lids like butter. Compact powders and cream-to-powder hybrids cling better—but even they fail if the lid isn’t prepped.
How to spot it: If shadow creases immediately (within 5 minutes), it’s a formula issue. Matte powders hold up longer than shimmers, but no formula beats a primed, dry surface.
4. Movement: The Hooded-Eye Trap
Rubbing your eyes or blinking excessively shifts pigment into creases. Sign: Creasing appears in a horizontal line where the lid folds, not spread evenly.
Pro move: Tap your fingers lightly against your closed lids to settle shadow before opening your eyes. For hooded eyes, blend before you open them—movement is the silent crease accelerator.
5. No Primer: The Foundation of Failure
Even “crease-proof” shadows need a base. Sign: Creasing starts at the edges first, where shadow meets unprimed skin. Primer isn’t just about longevity—it’s the grip that keeps pigment in place.
Quick fix: If you’re stuck without primer, press a damp sponge (not wet) to your lid to absorb oil, then pat dry. It’s not perfect, but it buys you time.
The rule that covers 90% of cases: If shadow creases within 30 minutes, your lids need prep. If it creases after an hour, your blending or formula is the issue. Start with the lid test—oil is the top culprit. For hooded eyes, blend upward before you open them.
The 7 Pro Fixes for Crease-Free Eyeshadow (No Reapplying)
Flawless Blending in 5 Minutes: The Pro Makeup Artist’s Brush System for Busy Creators — Hooded eyes and oily lids make blending eyeshadow a daily battle—but the right technique can save hours. This digital guide breaks down a foolproof 5-minute system to lock shadow in place, even for beginners. Includes 1 free bonus resource. 5-minute eyeshadow blending system for hooded lids
Eyeshadow creasing isn’t just a makeup fail—it’s a texture mismatch. The right formula, brush, and blending technique can lock pigment in place without reapplying. Here are seven fixes that work, ranked by effectiveness.
1. Prep with the Right Primer (And Extend It to the Crease)
Oily lids and hooded eyes need two things: a matte primer to absorb oil and a silky one to smooth texture. The trick? Dab a small amount of primer into the crease—not just on the lid. Why? The crease is where shadow collects, and without a barrier, oil will push it out. For oily lids, a matte primer creates grip for pigment. For dry but hooded lids, a silky primer blends smoothly without emphasizing texture.
Pro tip: If your primer feels too heavy, mix it with a drop of setting spray—it lightens the formula without losing adhesion.
2. Blend Upward (Not Outward) for Hooded Eyes
The biggest mistake with hooded eyes is blending shadow outward. That just pushes pigment into the crease, where it creases. Instead, blend upward toward the brow bone using a fluffy brush. The goal is to diffuse shadow away from the crease, not into it. For deeper color, pack shadow into the crease first with a small angled brush, then blend upward in thin layers.
Key move: Press the brush into the crease, then lift it outward—this locks pigment in place.
3. Layer Powders Over Creams (The Anti-Crease Hack)
Cream shadows are beautiful but notorious for creasing. The fix? Start with a matte powder shadow as your base, then layer cream on top. Why? Powder adheres to the lid first, creating a smooth canvas for cream to sit on. For example:
- Apply a matte powder shadow to the lid and crease.
- Layer a cream shadow on top, blending only on the lid (not the crease).
- Set with a damp beauty sponge.
This combo gives depth without creasing—because the powder acts as a barrier between oil and pigment.
4. Press, Don’t Swipe (The Secret to Locking Pigment)
Most people drag shadow across the lid with a brush, which causes creasing. Instead, press the brush into the crease and blend outward—like stamping a postage stamp. This method:
- Anchors pigment into the crease instead of smearing it.
- Reduces drag, which minimizes movement (and thus creasing).
- Works best with a dense, fluffy brush or a small angled brush for precision.
Test it: Swipe vs. press the same shadow on two separate lids. The pressed version stays put for hours.
5. Set with a Damp Sponge (The No-Reapply Fix)
Already creased? No need to wipe it off and start over. Here’s the damp sponge lift:
- Dip a beauty sponge in water, wring it almost dry.
- Press it over the creased shadow—don’t swipe. The dampness lifts the loose pigment.
- Blot with a clean tissue, then set with translucent powder.
This works because water dissolves the oil causing the creasing, allowing you to reset the shadow without reapplying.
6. Powder Your Lids First (Even If You’re Not Oily)
Translucent powder isn’t just for oily lids—it’s the unsung hero of crease prevention. Here’s why:
- It evens out texture, so shadow adheres evenly.
- It absorbs excess oil before applying anything else.
- It lengthens wear by creating a barrier between lid and pigment.
For hooded eyes, press powder into the crease with a small brush before applying shadow.
7. Use a Crease Brush (The Underused Fix)
Most people use the same brush for lid and crease, which leads to creasing. Here’s the fix:
- Pack shadow into the crease first with a small angled brush. This brush has a narrow tip to fit into the crease and dense bristles to hold pigment.
- Blend outward with a fluffy brush only after the crease is fully saturated.
Why it works: The angled brush lets you control where shadow goes—no more accidental crease buildup. For hooded eyes, angle the brush upward as you blend to avoid pushing shadow into the fold.
The Fix That Covers 90% of Cases
Here’s the rule that stops creasing before it starts:
- Prep the crease (primer or powder).
- Pack shadow into the crease with an angled brush.
- Blend upward (not outward) with a fluffy brush.
- Set with a damp sponge if needed.
Skip the reapplying. The key? Work with your lid’s natural shape—hooded eyes need upward blending, oily lids need a matte base, and all lids need a barrier to lock pigment in place.
The Blending Mistakes That Cause Creasing (And How to Fix Them)
Creasing isn’t always about the formula or prep—it’s how you move the brush. Hooded eyes make this even trickier because oil pools in the crease and shadow has nowhere to go. These five blending mistakes send pigment sliding before it sets.
1. Blending Downward (The Hooded-Eye Problem)
Blending shadow downward traps it in the crease, where oil collects and movement pushes it out. Fix: Blend upward—start at the lid and sweep toward the brow bone, especially on hooded lids. Use a dense, angled brush to lift pigment upward, not shove it down.
2. Overpacking Shadow (Too Much = Too Much Movement)
A heavy hand means too much product in one go. When you blink, the excess shifts, causing creasing. Fix: Use a light touch and layer colors instead of one heavy coat. For crease shadows, tap off excess pigment on your wrist before applying.
3. Skipping the Crease (The Shadow Graveyard)
Leaving the crease bare means shadow pools there, creating a dark line where oil collects. Fix: Use a crease brush to fill the crease first, then blend outward. For hooded eyes, focus on the inner corner of the crease—this is where oil gathers most.
4. Wrong Brush for the Formula (Fluffy vs. Flat)
A fluffy brush for powder is a disaster—it picks up too much product and distributes it unevenly. A flat brush for cream shadow leads to streaks. Fix: Match the brush to the formula:
- Powder shadows: Dense, fluffy brush for blending; small, angled brush for crease.
- Cream shadows: Flat or tapered brush for precise application; fluffy brush for diffusion.
5. Not Setting the Lid (Even Matte Shadows Need a Seal)
Oil doesn’t respect matte formulas. Even if your shadow is labeled “longwear,” it needs a seal. Fix: Set the lid with:
- A light dusting of translucent powder (press, don’t brush).
- A setting spray labeled “longwear” or “oil-free.”
The Hooded-Eye Blending Hack: The Damp Sponge Lift
If shadow still creases, try this: Dampen a small sponge with water, then press it over the crease to lift excess oil. Blot with a clean tissue, then reapply shadow with an upward motion. This removes the oil barrier so pigment adheres better.
Why This Works: Hooded eyes crease because oil and movement push shadow out. Blending upward, using the right brush, and setting the lid are the only fixes that stop it—no reapplying needed.
How to Choose Eyeshadow That Won’t Crease (Without Breaking the Bank)
Eyeshadow creasing isn’t just about technique—it’s about picking the right formula for your lid type. The wrong texture will melt, shift, or irritate, no matter how well you prep or blend.
1. For Oily Lids: Matte Over Cream
Oily lids need powder formulas—they’re the only ones that won’t dissolve into oil. Avoid creams, liquids, or shimmers. Instead, look for:
- Loose matte powders (they blend easier than pressed powders, which can pill).
- Pan compacts (they last longer than loose shadows, which settle unevenly).
- Cream-to-powder hybrids (they apply like cream but set like powder).
Budget tip: Drugstore loose powders often outperform pricier loose shadows—they’re denser and less likely to flake.
2. For Hooded Eyes: Compact Over Loose
Hooded eyes need compact powders—they don’t shift when you blink. Loose powders may settle into creases, so tap the lid gently to distribute them evenly. Prioritize:
- Pressed powder shadows (they stay put under the lid).
- Transition shadows (they blend smoothly into the crease without settling).
- Shadow sticks (they’re easy to apply and won’t budge).
Avoid: Loose powders and chunky creams (they pool under the lid).
3. For Sensitive Lids: Talc-Free, Fragrance-Free
Sensitive skin reacts to fillers and fragrances, which can cause irritation—and irritation makes creasing worse. Look for:
- Mineral-based powders (they’re gentler than talc-heavy formulas).
- Stick shadows (they’re less likely to contain irritants).
- Hypoallergenic labels (they’re tested for common allergens).
Budget tip: Many drugstore brands meet these standards without the high-end price tag.
4. For Long Wear: Cream + Powder Topcoat
Cream shadows give intense pigment but crease unless set. The fix:
- Apply cream shadow first, then press a powder topcoat over it.
- Use a fluffy brush to tap the powder into the crease (don’t drag it).
- For extra hold, layer a shadow stick over the top.
Pro move: Skip the primer on creams—it can make them too slippery. Instead, pat the shadow on dry and set it immediately.
5. Budget Hack: Transition Shadows Beat Loose Powders
Transition shadows are the best value for crease-prone lids. Why?
- They’re pressed, so they don’t shift like loose powders.
- They’re denser, so they don’t flake or pill.
- They’re cheaper than high-end compacts—many drugstore brands offer the same staying power.
Avoid: Cheap loose powders (they settle unevenly) and liquid shadows (they require setting spray).
If your shadow creases within 30 minutes, it’s a formula issue. If it lasts 2+ hours, it’s a blending or prep issue. Oily lids? Matte powder. Hooded eyes? Compact. Sensitive skin? Talc-free. Long wear? Cream + powder. Start here, and you’ll cut 90% of creasing before it starts.
What to Do If Your Eyeshadow Is Already Creasing (No Reapplying)
Eyeshadow creasing after application isn’t just frustrating—it’s a sign your makeup isn’t staying put. The good news? You don’t need to strip and start over. These fixes dissolve, absorb, or reset the crease without reapplying shadow.
1. The Damp Sponge Lift (For Immediate Dissolving)
Creased shadow clings because oil and pigment have fused. A damp sponge breaks that bond. Dip a beauty sponge in water, wring it out until it’s damp but not dripping, then press it over the creased area. The moisture dissolves the loose pigment—press firmly for 5–10 seconds, then wipe away with a tissue. This works best for powder shadows or creases that appear within 30 minutes.
2. The Powder Trick (For Oily Lids)
If your lids produce oil fast, loose translucent powder is your secret weapon. Press a small amount over the crease to absorb excess oil and resurface the lid. Let it sit for 10 seconds, then gently tap off the excess with a brush. This creates a fresh base for any remaining shadow to stick to.
3. Blotting Paper Reset (For Excess Oil)
Blotting papers are designed to lift oil without disturbing makeup. Press one over the creased area for 5 seconds, then peel it away. This removes the oil causing the shadow to shift, leaving your lid ready for a quick primer touch-up.
4. Setting Spray Reset (For Loose Pigment)
If creasing is from shadow that wasn’t set properly, a setting spray can lock it down. Spritz a light mist over the crease, then press a clean tissue over the area for 3–5 seconds. The spray’s alcohol content dissolves the loose pigment, helping it adhere to the lid again.
5. The Crease Brush Fix (For Hooded Eyes)
Hooded eyes make creasing worse because shadow gets trapped in the fold. A small angled brush can gently tap the creased shadow back into place. Start at the inner corner and blend upward (not outward) toward the brow bone, then soften the edges with a fluffy blending brush.
When to Use Which Fix:
- Within 30 minutes? Try the damp sponge lift first.
- Oily lids? Powder or blotting paper will absorb the excess oil.
- After 2+ hours? Setting spray is your best bet to reset without stripping everything.
- Hooded eyes? The brush fix is the only way to physically move shadow back into the crease without reapplying.
Pro Tip: For hooded eyes, blend upward when fixing creases—adjust direction based on your eye shape. The natural fold of the lid means shadow has nowhere to go if you blend the wrong way.
Frequently Asked Questions
Why does my eyeshadow crease more on hooded lids?
Hooded lids create a pocket where oil and shadow collect, and the lack of a visible crease means pigment has nowhere to cling. The fix isn’t just a different primer—it’s blending direction. Instead of sweeping outward, blend upward toward the brow bone, then feather down the lash line. This mimics the natural contour of hooded lids and gives shadow a surface to grip. Pair this with a matte, crease-specific shadow and a dense, fluffy brush to pack pigment into the fold.
Can I use setting spray to prevent creasing?
Setting spray won’t stop creasing—it’s designed to lock finished makeup in place, not create adhesion where there’s none. The real issue is texture mismatch: oily lids need a powdery, non-slip formula, while hooded lids need shadow that clings to the lid’s curve. For a quick fix, dampen a sponge (not wet—just enough to soften) and press it over the crease to lift excess oil before applying shadow. This creates a temporary, non-greasy surface for pigment to stick to.
What’s the best eyeshadow formula for oily lids?
Oily lids demand three things: a matte, non-slip finish, a dense pigment load, and a texture that resists melting. Avoid creams, liquids, and anything labeled “blurring” or “buildable.” Instead, look for pressed powders, pan shadows with a chalky or silky base, and shades labeled “matte” or “velvet matte.” If your shadow still creases, pre-set it with a tiny bit of translucent powder before blending.
How do I blend eyeshadow without making it crease?
The mistake most people make is over-blending in the crease. Here’s the correct technique for hooded or oily lids:
- Tap off excess shadow on your wrist—less is more.
- Start with the lid, packing pigment with a dense, fluffy brush.
- Blend upward (toward the brow bone) to lift shadow into the crease without pushing it downward.
- Skip the crease entirely if your shadow is creasing—apply it only to the lid and lash line, then set with a damp sponge lift.
- Finish with a sharp, angled brush to define the lash line.
Key rule: If shadow creases after blending, you’re using the wrong formula or blending in the wrong direction. The upward motion is essential for hooded lids.
The One Rule That Covers 90% of Creasing Cases
Here’s the truth: If your eyeshadow creases within 30 minutes, you’re missing the primer or setting step. If it happens after two hours, your blending technique is the real culprit. Hooded eyes? Blend upward and fill the crease first—adjust technique to your eye shape. The fix is simple: Prep → Blend → Set. Skip any of these, and creasing is inevitable.
For stubborn cases, powder your lids first—even if you’re not oily. It creates a smooth base for shadow to stick to, and it’s the one step most people overlook. The rule works best for most lid types, but adjust based on your skin and product. The only exception? If you’re using a matifying formula, you can skip the powder—but only if you’re setting with a long-wear spray.
The diagnostic test: If shadow creases immediately, your primer isn’t gripping enough. If it creases later, your blending motion is pushing oil into the crease instead of locking it down. For hooded eyes, the upward stroke helps shadow stay put—try setting spray or powder if needed.
Pro tip: The damp sponge lift works for fixing creasing after application—no redo needed. Just dab a clean sponge in water, press it over the creased area, and lift upward. The shadow will transfer to the sponge, leaving a clean base for a fresh swipe.
No primer? Use a tiny dab of petroleum jelly as a last-resort base. It’s not ideal, but it’ll buy you time until you can prep properly. The key is never leaving the crease bare—oil or shadow will always win that battle.
Keep reading
Keep exploring the topic with these related guides:
Next step: Ready to master crease-free shadow in minutes? Grab the step-by-step guide now. pro makeup artist’s brush-by-brush blending guide