
5 Steps to Master Blending Brush for Eyeshadow
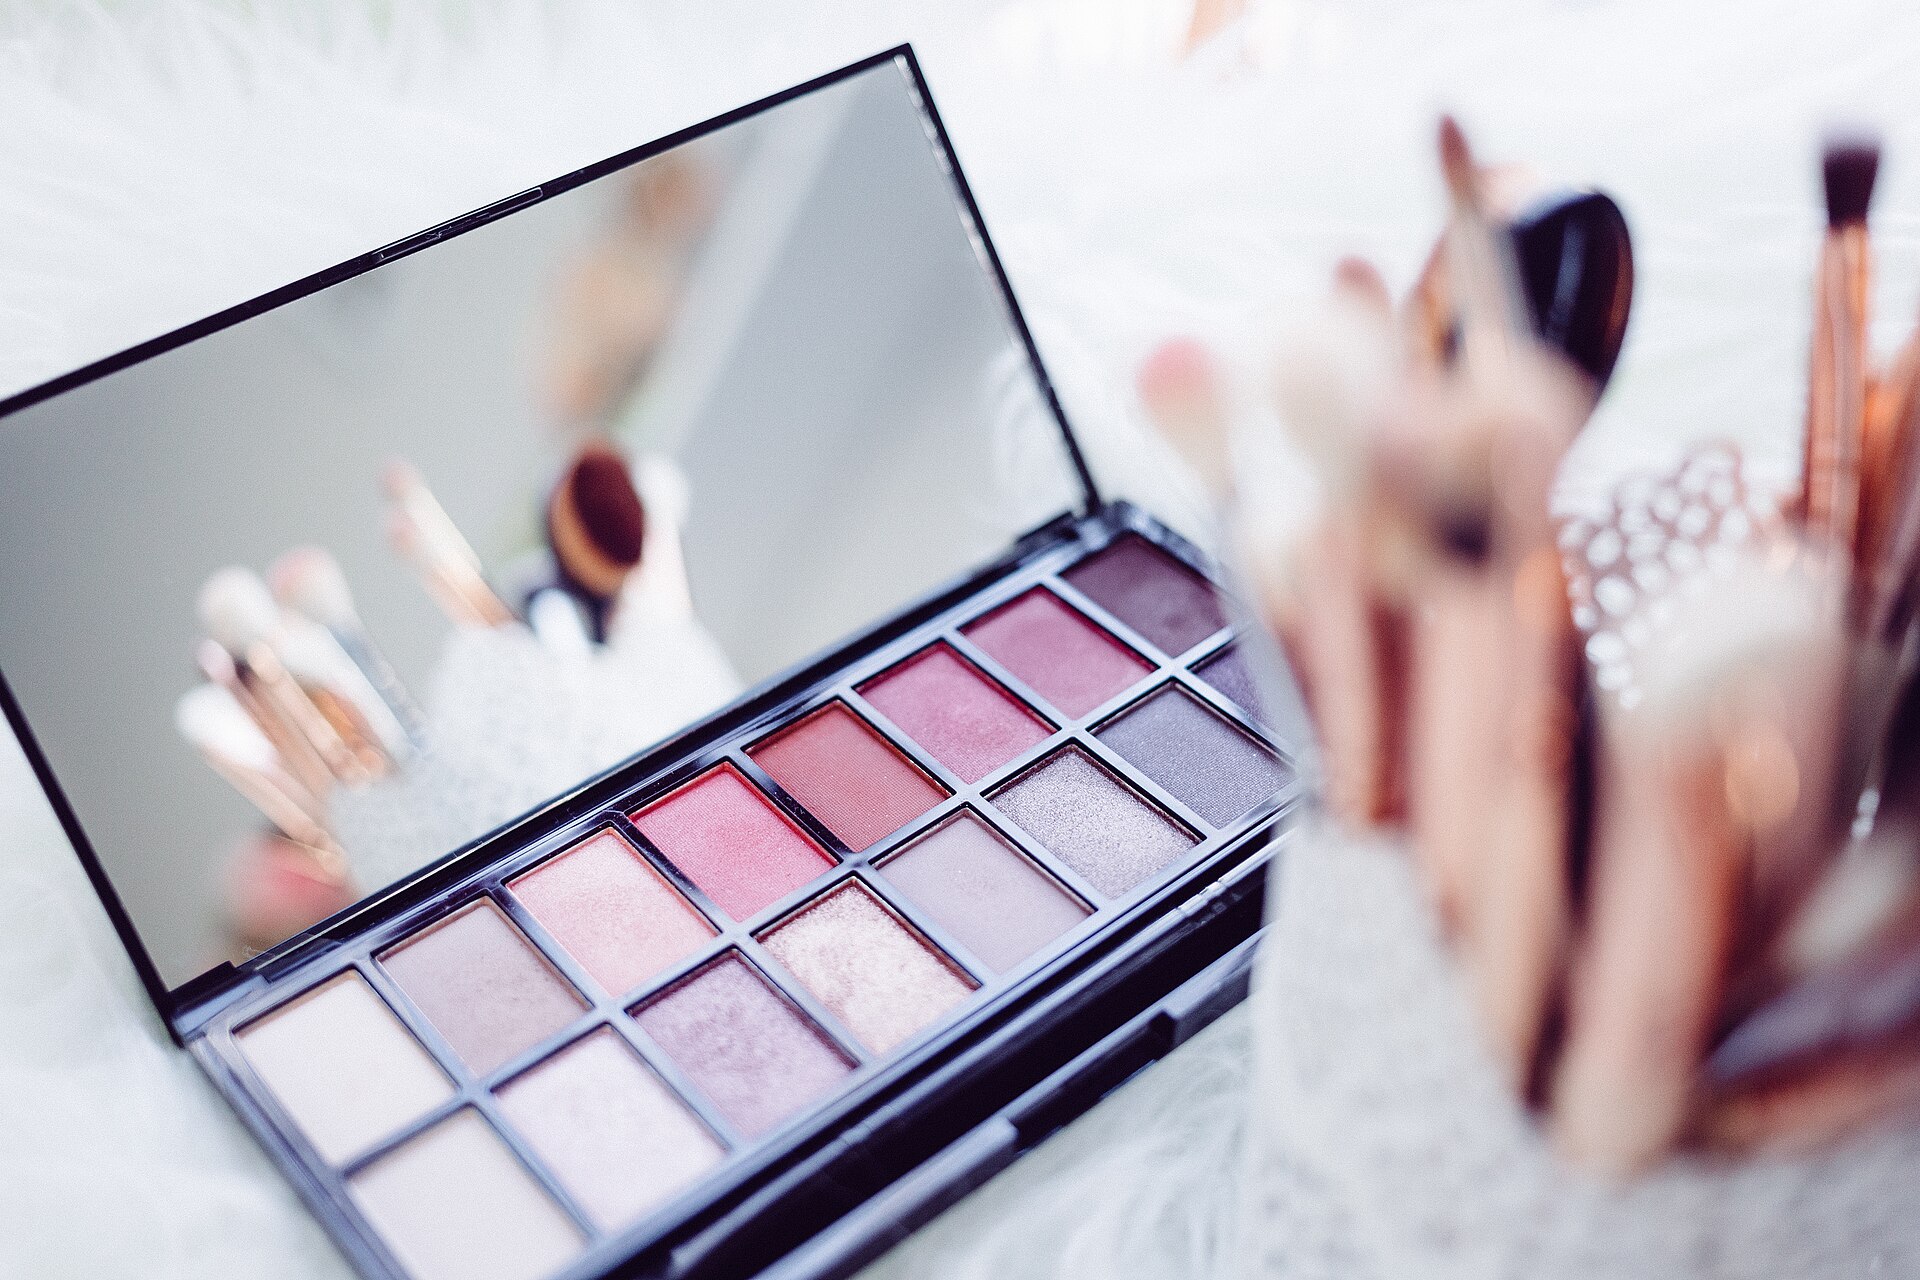
Photo by freestocks.org freestocks on Wikimedia Commons
.jpg)
We don’t quote prices for third-party products: list prices change often and we can’t verify them for you. Check the vendor’s or retailer’s own current listing.
Key Takeaways
To master blending brush for eyeshadow, select the right brush and eyeshadow shades. Blend with light strokes, building color gradually, focusing on the crease and outer corner.
Part of our complete guide: for the full picture, see 25+ Free Procreate Makeup Brushes for Flawless Digital.
Choosing the Right Blending Brush
To master the art of blending eyeshadow, selecting the right brush is crucial. Look for a brush with soft, flexible bristles and a rounded tip.
For blending brushes, the size matters. Consider the area of the eye you want to blend - a smaller brush is ideal for the crease, while a larger one is better suited for the lid. As a rule of thumb, hold the brush against your own lid: if the head is wider than the crease you are working into, it will drag colour where you don’t want it.
Natural or Synthetic Bristles
Natural bristles, such as sable or goat hair, are often preferred for blending because they pick up and distribute pigment more evenly. However, synthetic bristles have come a long way in recent years, with brands like Real Techniques offering high-quality, cruelty-free options. Ultimately, the choice between natural and synthetic bristles comes down to personal preference and budget - with synthetic bristles often being more affordable.
Basic Blending Techniques
To master the art of blending eyeshadow, start with a light layer and build up color gradually. This approach ensures a seamless look and prevents harsh lines.
When blending eyeshadow, use light, gentle strokes to merge colors together. Focus on the crease and outer corner of the eye, as these areas tend to be the most challenging to blend. A fluffy brush, such as the Hakuro Blending Brush, softens the edges of the eyeshadow.
To achieve a flawless look, blend in multiple directions. Start by blending upwards and outwards from the crease, then gently sweep the brush back and forth to merge the colors. This technique helps to create a seamless transition between shades. For example, if you’re using a dark brown eyeshadow on the outer corner and a light beige on the lid, blend the edges of the brown eyeshadow upwards and outwards to create a soft, gradient-like effect.
Building Color Gradually
To build up color gradually, start with a light layer of eyeshadow and add more pigment as needed. Use a light hand when applying eyeshadow, as it’s easier to add more color than it is to remove excess. A high-quality eyeshadow palette, such as the Urban Decay Naked Palette, offers a range of shades to suit your desired look.
By following these basic blending techniques, you’ll be able to create a beautiful, seamless eyeshadow look that enhances your natural beauty. Remember to practice makes perfect, so don’t be discouraged if it takes a few attempts to get the hang of blending eyeshadow. With patience and practice, you’ll master the art of blending eyeshadow in no time.
Advanced Blending Techniques
To take your eyeshadow game to the next level, you need to master advanced blending techniques. This involves deepening the crease, softening the edges, and creating a seamless transition between colors.
Flawless Blending in 5 Minutes: The Pro Makeup Artist’s Brush System for Busy Creators — To take your blending skills to the next level and achieve a flawless look in no time, consider investing in a professional brush system. This can help you master the art of blending eyeshadow with ease and precision. Includes 1 free bonus resource. Blend like a pro with expert tools
Mastering these techniques requires practice and patience, but the payoff is worth it. With advanced blending, you can create complex, multi-dimensional looks that improve your entire face. A fluffy brush like the Hakuro Blending Brush is essential for softening edges and creating a natural-looking blend.
Deepening the Crease
Deepening the crease is all about creating depth and dimension in the eye socket. To do this, use a smaller brush like the NARS #12 to apply a darker shade of eyeshadow to the outer corner of the eye. Start at the lash line and work your way up, using light strokes to build up the color. Remember to blend, blend, blend - you want the color to be seamless and natural-looking.
Softening the Edges
Softening the edges is where most people go wrong. They either don’t blend enough or blend too much, resulting in a harsh, unnatural-looking edge. To avoid this, use a light hand and a fluffy brush to soften the edges of the eyeshadow. Start at the outer corner of the eye and work your way in, using gentle strokes to blend the color. You can also use a setting spray like the Urban Decay All Nighter Setting Spray to set the eyeshadow in place and prevent creasing.
One useful trick for softening the edges is to use a transition shade - a shade that’s one or two shades lighter than the main color. Apply this shade to the edge of the eyeshadow, using a light hand and a fluffy brush. This will help to create a seamless transition between colors and prevent harsh edges. For example, if you’re using a dark brown eyeshadow, try using a light taupe shade as a transition color. A transition shade is what keeps the blend looking natural instead of “muddy” or uneven.
Common Mistakes to Avoid
When using a blending brush for eyeshadow, applying too much product at once is a common mistake.
This can lead to a messy, uneven look. Not blending enough is another error - it’s essential to blend, blend, blend. Using the wrong brush for the job is also a mistake.
A smaller brush is ideal for the crease, while a larger one is better suited for the lid.
Specific Mistakes and Solutions
To avoid these mistakes, start with a light hand and build up your eyeshadow color gradually. Choose the right brush for the area you’re working on. If you’re new to blending, practice makes perfect - don’t be discouraged if it takes a few tries to get the hang of it.
Tips and Tricks for a Flawless Look
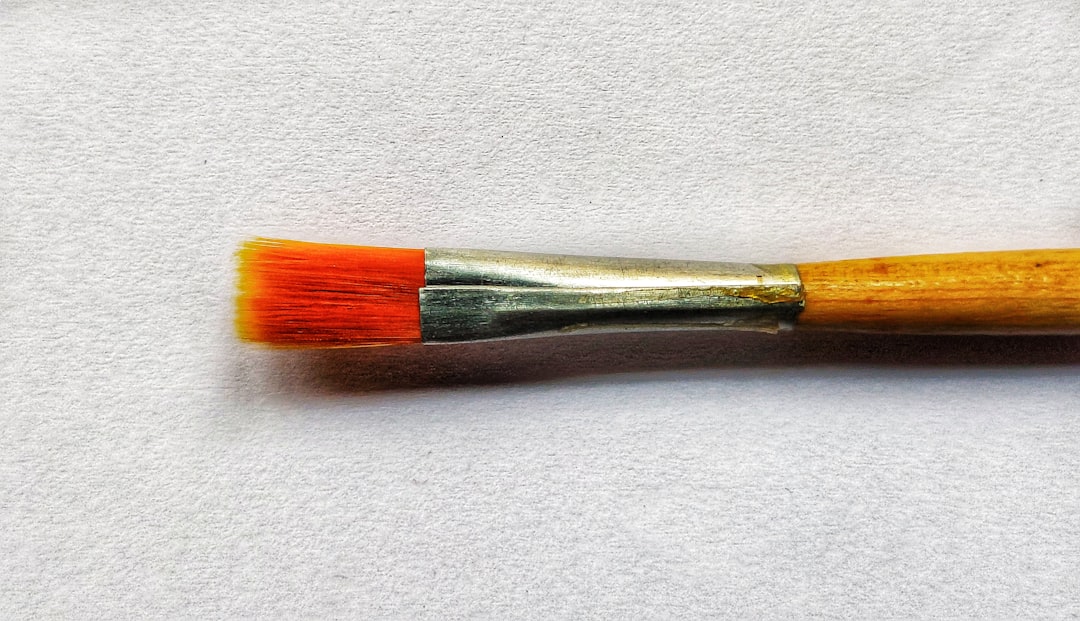 Photo by Hithesh Shivakumar on Unsplash
To achieve a flawless eyeshadow look, use a primer to help your eyeshadow stay in place and set it with a setting spray for a long-lasting finish.
Primer is essential - it creates a smooth canvas for your eyeshadow. Try Urban Decay’s Eyeshadow Primer Potion. Setting spray is also crucial - it prevents creasing and ensures your eyeshadow stays in place. Try MAC’s Prep & Prime Fix+ for a setting spray that works well with most eyeshadows.
Practice makes perfect: don’t be discouraged if it takes a few attempts to get the look you want. Keep trying, and you’ll eventually master the technique. Remember, the key to a flawless look is patience and practice.
Step-by-Step Blending Framework
To master the art of blending eyeshadow, follow this step-by-step framework:
- Prepare the eye: Apply a primer to the eyelid to create a smooth canvas for the eyeshadow.
- Apply the base color: Use a fluffy brush to apply a light, all-over base color to the lid.
- Add the crease color: Use a smaller brush to apply a medium-toned color to the crease, starting at the outer corner and working inwards.
- Deepen the crease: Use a smaller brush to apply a darker color to the outer corner of the eye, starting at the lash line and working up.
- Blend the edges: Use a fluffy brush to soften the edges of the eyeshadow, blending upwards and outwards from the crease.
- Add a transition shade: Use a light hand and a fluffy brush to apply a transition shade to the edge of the eyeshadow, blending upwards and outwards.
- Set the eyeshadow: Use a setting spray to set the eyeshadow in place and prevent creasing.
- Finish and refine: Use a light hand and a fluffy brush to refine the edges of the eyeshadow and add any final touches.
Conclusion
Mastering the art of blending eyeshadow with a blending brush requires practice and patience. By following the steps outlined in this guide, you’ll be well on your way to achieving a flawless look.
With the right brush and techniques, you can create a seamless transition between colors and shades. Remember to choose a brush that suits the area of the eye you’re working on, and don’t be afraid to experiment with different strokes and pressures. By combining these skills with tips and tricks, such as using primer and setting spray, you’ll unlock a world of possibilities for your eyeshadow looks.
Next step: Take the first step towards becoming a blending master with the right tools and techniques, and discover how to blend like a pro in just 5 minutes. Get instant access to flawless blending
Keep reading
Keep exploring the topic with these related guides: