Dry Makeup Brushes Fast: 5 Expert Tips
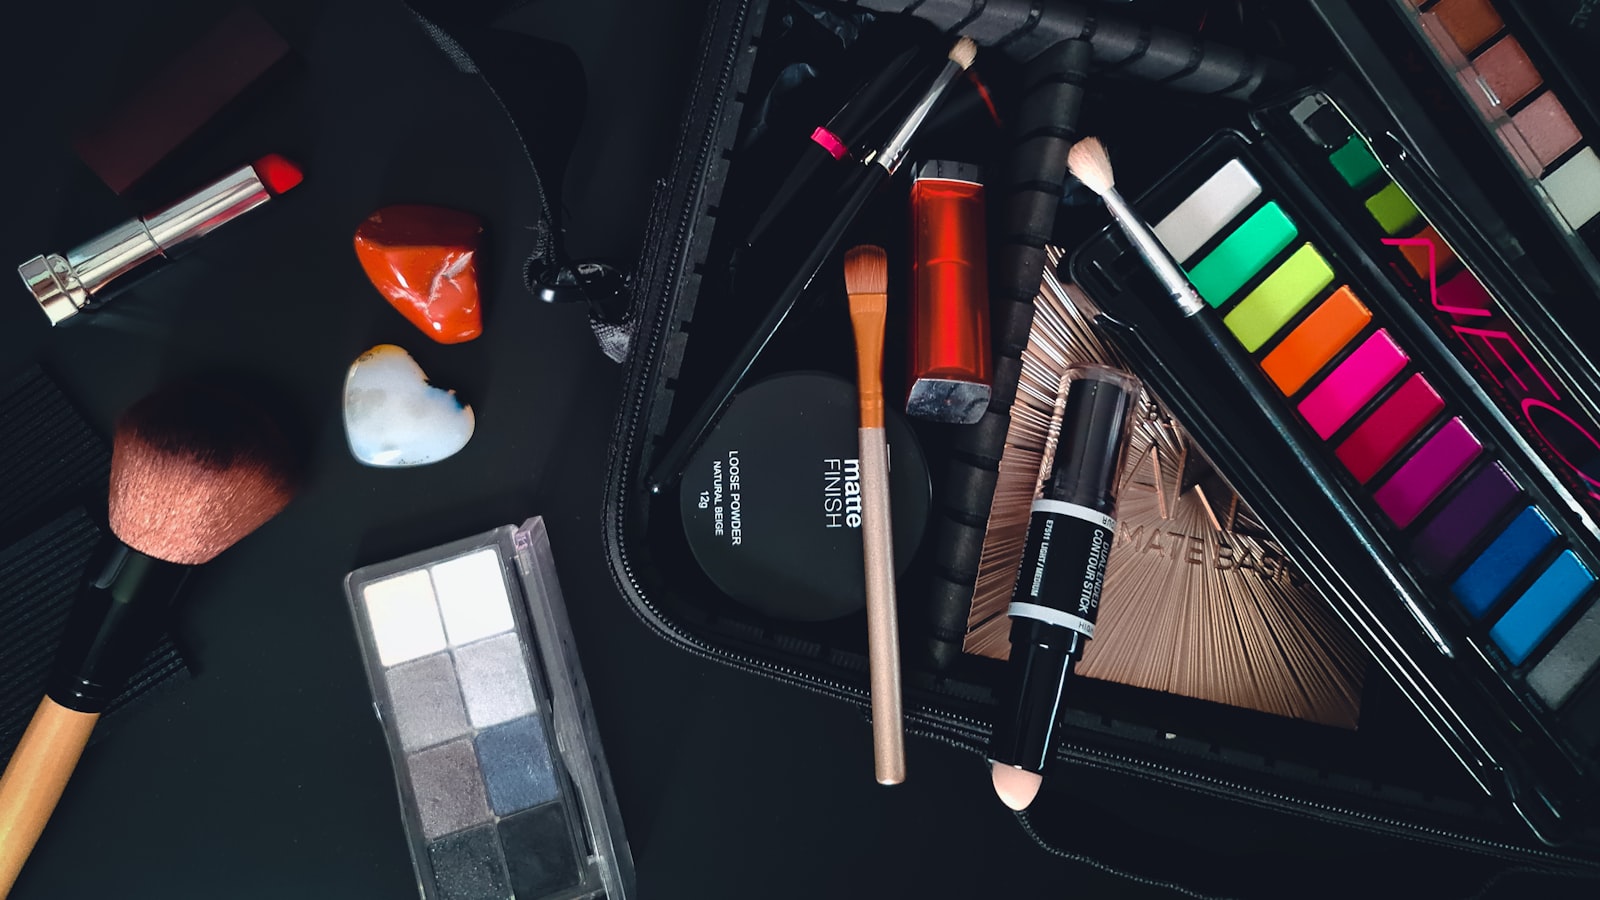
Photo by Edz Norton on Unsplash
We don’t quote prices for third-party products: list prices change often and we can’t verify them for you. Check the vendor’s or retailer’s own current listing.
Key Takeaways
Dry makeup brushes quickly to prevent bacterial growth and damage. Use a clean towel to gently blot excess moisture, then air dry or use a low-heat setting on a hair dryer.
Part of our complete guide: for the full picture, see Do Dirty Makeup Brushes Cause Acne? The Science +.
Part of our complete guide: for the full picture, see 25+ Free Procreate Makeup Brushes for Flawless Digital.
Understanding Makeup Brush Materials
Not all makeup brushes are created equal—and neither are their drying needs. The fibers that touch your skin determine how much heat they can handle, how long they’ll last, and whether they’ll warp or shed if you rush the process. Material choice impacts everything from pigment pickup to drying time, so understanding these differences ensures your brushes stay in top condition for years.
Natural Fibers: Handle with Care
Brushes made from sable, squirrel, or goat hair are prized for their softness and ability to pick up pigment, but they’re also the most delicate when wet. These fibers absorb water like a sponge, swelling and weakening if exposed to high heat or aggressive handling. Never blast them with a hair dryer on high—even a medium setting can cause the bristles to frizz or the glue holding them to loosen, leading to shedding.
- Sable hair (used in high-end brushes like Hakuhodo J Series) is especially vulnerable. It can lose its natural oils if dried too quickly, making the bristles brittle.
- Goat hair (common in MAC 217 or Zoeva 227) is slightly more durable but still requires gentle treatment. If dried upright, water can seep into the ferrule, weakening the adhesive over time.
- Squirrel hair (found in Chikuhodo Z-4 or Wayne Goss 15) is the softest but also the most prone to damage. It can lose its shape if squeezed or twisted while wet.
Best drying method: Blot gently with a microfiber towel (like those from The Laundress or Real Techniques) to remove excess water. Then, lay the brush flat on a towel or hang it bristle-side down to prevent water from pooling at the base. A fan on low speed may help reduce drying time without risking damage—just ensure it’s not blowing directly on the bristles.
Edge case: If a natural-fiber brush gets soaked (e.g., from deep cleaning), it may take 24-48 hours to fully dry. Rushing with heat can cause irreversible damage, so patience is key.
Synthetic Fibers: Built for Speed
Nylon, taklon, and polyester brushes are the workhorses of most makeup kits—and they’re far more forgiving for drying. These fibers don’t absorb water, so they dry faster and can tolerate low-heat settings (think “cool” or “warm” on your hair dryer) without melting or losing shape.
- Taklon (used in Sigma F80 or Morphe M439) is a popular synthetic fiber that mimics the softness of natural hair while being more durable. It dries in half the time of animal-hair brushes.
- Nylon (common in EcoTools brushes) is stiffer and great for liquid products, but it can become misshapen if dried improperly. Always reshape the bristles while damp.
- Polyester blends (found in Real Techniques brushes) are often used in budget-friendly sets. They’re heat-resistant but can develop a static charge if dried too quickly.
Best drying method: After blotting, you can use a hair dryer on the lowest heat setting (or cool shot) to speed up the process. Keep the dryer far enough away that you cannot feel warmth on the back of your hand held next to the bristles. For a quick dry, a Revlon One-Step Volumizer (set to low) may help reduce drying time—just avoid high heat, which can warp the fibers.
Edge case: If synthetic brushes are left damp for too long (e.g., overnight), they can develop a mildew smell. To prevent this, ensure they’re fully dry before storing them in a closed container.
The Hybrid Exception
Some brushes mix natural and synthetic fibers—common in duo-fiber foundation brushes or blush brushes with a synthetic core. These need a middle-ground approach: blot well, then air-dry or use low heat to avoid stressing the natural fibers while still speeding up the process.
- MAC’s 130 Brush (a cult favorite) combines goat hair with synthetic fibers. It dries best when laid flat on a towel, not upright in a cup where water pools at the ferrule.
- Morphe M433 (a popular duo-fiber brush) has a synthetic base with natural bristles at the tips. If dried upright, the natural fibers can take longer to dry, increasing the risk of mold.
- Wayne Goss 19 (a hybrid contour brush) benefits from low-heat drying for the synthetic core but should avoid direct heat on the natural bristles.
Best drying method: After cleaning, gently squeeze out excess water (don’t twist) and reshape the bristles. Lay the brush flat on a towel or hang it bristle-side down. If using a dryer, keep it on cool or warm and maintain distance to protect the natural fibers.
Edge case: Hybrid brushes with metal ferrules (like some MAC or Bobbi Brown brushes) can rust if water sits in the base. Always ensure the ferrule is dry before storing.
5 Expert Tips for Drying Makeup Brushes Fast
Want your brushes dry in under an hour? Skip the countertop pileup and use these pro techniques.
Tip 1: Air Dry Your Brushes
Lay brushes flat on a clean microfiber towel, handles slightly elevated so water drains away from the ferrule. Synthetic fibers (nylon, taklon) dry fastest—usually 45–60 minutes—while natural hair (squirrel, goat) can take longer. Rotate them every 15 minutes to expose the dampest side to air. Pro tip: A mesh drying rack may help keep bristles off surfaces and improve airflow.
Tip 2: Use a Clean Towel to Blot Excess Moisture
After rinsing, squeeze—not twist—bristles between your fingers to push out water. Then press them into a low-lint towel (paper towels work in a pinch). Blot until no more water beads appear; this removes a significant portion of moisture before drying even starts. For dense brushes like the Morphe M439, fold the towel over the bristles and press firmly—don’t drag, or you’ll fray the tips.
Tip 3: Utilize a Low-Heat Setting on a Hair Dryer
Set your dryer to cool or low heat (never high) and hold it 6–8 inches from the bristles. Use a diffuser attachment to disperse airflow evenly—this prevents the glue in the ferrule from melting. Natural-hair brushes need extra caution: keep the dryer moving in small circles and stop as soon as the bristles feel warm to the touch. Synthetic brushes tolerate a little more.
Tip 4: Hang Brushes Upside Down to Dry
Gravity is your friend. Clip brushes to a hanging rack or lay them over the edge of a counter with bristles pointing down. This keeps water from seeping into the ferrule, which weakens the glue and causes shedding. For travel, some brush rolls include drying loops—just unzip and hang them on a hook. Natural-fiber brushes benefit most; their hollow shafts trap water if left upright.
Tip 5: Wrap Brushes in a Towel to Speed Up Drying
For stubbornly damp brushes, roll them in a dry microfiber towel and let them sit for 10–15 minutes. The towel absorbs residual moisture while the enclosed space creates a mini greenhouse effect. Unwrap and fluff the bristles afterward to prevent clumping. This trick may help reduce drying time for dense brushes like the IT Cosmetics Heavenly Luxe. Just don’t leave them wrapped overnight—trapped moisture can promote bacterial growth.
Common Mistakes to Avoid When Drying Makeup Brushes
You’ve blotted, you’ve fluffed—but if you’re making these mistakes, your brushes won’t dry fast or last.
High Heat Is the Silent Killer of Brushes
Blasting your brushes with a hair dryer on its highest setting might feel efficient, but it’s a shortcut to split ends and melted glue. Natural hair brushes—like those made from squirrel or goat hair—lose their shape when they are blasted with hot air. Synthetic fibers fare slightly better, but they stiffen or curl under direct heat too. The fix? Use the cool setting or hold the dryer 8–10 inches away, moving it in small circles to avoid concentrating heat on one spot.
Wet Brushes Spread Bacteria and Break Faster
Using a brush while it’s still damp isn’t just unsanitary—it’s a recipe for mold growth and loose bristles. Water weakens the glue holding the ferrule to the handle, especially in cheaper brushes where the bond isn’t reinforced. Damp brushes may also transfer more bacteria to your skin compared to dry ones. If you’re in a rush, resist the urge to swipe that foundation brush across your face until it’s completely dry—even if the bristles feel dry to the touch, the core might still be damp.
The Sharing Trap (Even with Your Bestie)
Sharing brushes—wet or dry—can lead to cross-contamination. Even a quick pass of a damp brush can transfer bacteria or fungal spores. If you must share (e.g., for a photoshoot or bridal makeup), dry brushes thoroughly first, then sanitize with a 70% isopropyl alcohol spray between uses. Better yet? Invest in a dupe set like the Real Techniques Everyday Essentials—affordable enough to keep one for yourself and one for guests.
One Size Doesn’t Fit All
Not all brushes dry at the same rate. Dense foundation kabukis (like the Morphe M439) retain more moisture and need extra blotting or a longer air-dry time. Fluffy powder brushes (e.g., MAC 138) dry faster but can lose their shape if not stored properly. Always check the bristles before use—if they feel cool or damp, give them more time.
Frequently Asked Questions
Drying your makeup brushes properly isn’t just about speed—it’s about keeping them soft, bacteria-free, and ready for flawless application. A single foundation brush can harbor thousands of bacteria after just one use, which can lead to breakouts or skin irritation. Here’s what you actually need to know, with real-world steps and edge cases.
How often should I clean and dry my makeup brushes?
Clean foundation and concealer brushes after every use—bacteria thrive in damp, pigment-rich environments, especially cream and liquid formulas like NARS Radiant Creamy Concealer or Fenty Beauty Pro Filt’r Soft Matte Foundation. These products create an ideal environment for bacteria growth.
Powder and blush brushes (e.g., Morphe M439 or MAC 138) can go 1-2 weeks if you’re using loose or pressed powders. However, if you’re layering cream blushes (e.g., Glossier Cloud Paint), clean them after every use. Eyeshadow brushes? Every 3-5 uses, unless you’re working with:
- Glitter or metallic shadows—clean after every session to prevent fallout.
- Cream shadows—these dry out bristles and attract bacteria faster.
Pro tip: If your brush smells musty or feels stiff, you’ve waited too long. Natural hair brushes degrade faster when neglected—oils from your skin and products break down the fibers, leading to split ends and shedding.
Can I use a hair dryer to dry my makeup brushes?
Yes—but only if you follow strict temperature and technique rules. Natural hair brushes (squirrel, goat, or sable) frizz and shed when they are dried with hot air. Synthetic bristles (Taklon, nylon) are more heat-resistant but still risk melting if exposed to high temps.
Step-by-step for safe drying:
- Blot first: Press bristles between a microfiber towel to remove 80% of moisture before heat exposure.
- Set the dryer: Use low or cool settings only.
- Distance matters: Hold the dryer 6-8 inches away from the brush and keep it moving in circular motions. Static heat can weaken the glue in the ferrule.
- Avoid direct airflow on the ferrule: Heat can loosen the adhesive, leading to bristle loss. Focus on the mid-lengths and tips of the brush.
Edge cases:
- Dense brushes (e.g., Morphe M433) take longer to dry—air-dry for 2 hours first, then use the dryer to speed up the last 20%.
- Travel-sized brushes are more prone to ferrule damage—skip the dryer and lay them flat on a towel.
- Dual-fiber brushes (e.g., MAC 217) have mixed bristle types—air-dry only to avoid damaging the natural fibers.
How do I store my makeup brushes to keep them clean and dry?
Never toss damp brushes into a drawer or stand them upright in a cup—trapped moisture warps bristles, loosens the ferrule, and breeds mold. Black mold can grow in as little as 48 hours in humid environments.
Storage solutions by use case:
For daily use:
- Ventilated brush holder: A stand with mesh sides allows airflow, preventing moisture buildup. Avoid solid plastic cups—they trap humidity.
- Wall-mounted rack: A 3-tier acrylic rack keeps brushes bristles-down, allowing water to drip away from the ferrule.
For travel:
- Silicone roll-up case: Individual slots protect bristles and prevent crushing. Avoid fabric pouches—they absorb moisture.
- Hard-shell case: Some cases include removable inserts for drying—lay brushes flat on the insert for 24 hours before zipping it up.
For long-term storage:
- Flat lay method: Spread brushes on a clean towel in a drawer, ensuring no bristles touch. This prevents deformation.
- Dust-free pouch: Natural fiber brushes should be stored in breathable cotton pouches with a silica gel packet to absorb humidity.
Edge cases:
- Humid climates: Add a mini dehumidifier to your storage space. Natural hair brushes will mold quickly without it.
- Small spaces: Use a hanging shoe organizer with clear pockets—store brushes bristles-up to prevent dust accumulation.
- High-end brushes: Sable brushes require acid-free tissue paper wrapped around the bristles to maintain their shape.
Conclusion
Fast drying isn’t just about convenience—it’s the difference between brushes that last and ones that fray prematurely. Natural hair fibers can absorb a significant amount of water, which means they need gentle treatment to avoid damage. Synthetic bristles dry faster but can develop bacteria if left damp.
Here’s the key takeaway: most people ruin their brushes in the drying phase, not the washing. A foundation kabuki left upright in a cup will dry unevenly, warping its shape. A fluffy powder brush tossed on its side may lose bristles. The fix is simple—hang them, lay them flat, or use a drying rack—but the details matter.
So next time you’re tempted to skip the towel blot or crank the hair dryer to high, remember: those extra steps now save you money later. Your brushes don’t just apply makeup—they’re the reason your blending looks seamless. Treat them like the tools they are.