Best Brushes for Under Eye Concealer: 6 Expert Picks (2026)
The best brush for under-eye concealer depends on your product type, coverage goals, and skin sensitivity. A flat synthetic brush like the MAC 217 excels at targeted application for dark circles, while fluffy duo-fiber brushes blend liquid or cream formulas without absorbing product. For sensitive under-eyes, ultra-soft bristles prevent irritation, while oily skin pairs better with dense synthetic fibers to lock in coverage.
We don’t quote prices for third-party products: list prices change often and we can’t verify them for you. Check the vendor’s or retailer’s own current listing.
Key Takeaways
The right brush can transform under-eye concealer from a creasing disaster into a seamless, natural finish. Here’s what you need to know:
- Brush type matters: Synthetic bristles work best for liquid concealers, while duo-fiber brushes handle creams without dragging.
- Shape is critical: Flat brushes for precision, fluffy brushes for blending, and tapered brushes for inner corners.
- Skin type dictates choice: Oily skin needs dense synthetics; dry/mature skin benefits from softer bristles.
- Cleanliness is non-negotiable: Wash your brush weekly to prevent bacteria buildup in delicate under-eye areas.
- Technique beats product: The triangle method and double-press technique eliminate creasing better than any brush alone.
Your skin type also plays a key role. Sensitive under-eyes require hypoallergenic, ultra-soft bristles, while oily skin demands non-porous synthetics to prevent slipping. Clean your brush weekly to avoid bacteria buildup, especially in this high-risk area.
Part of our complete guide: for the full picture, see Do Dirty Makeup Brushes Cause Acne? The Science +.
Part of our complete guide: for the full picture, see 25+ Free Procreate Makeup Brushes for Flawless Digital.
Why the Right Brush Matters for Under Eye Concealer
The wrong brush can turn your under-eye concealer into a creasing catastrophe, even with high-end products. This area’s thinner skin and fewer oil glands make it prone to makeup slipping or emphasizing texture. A stiff brush tugs at delicate skin, while an overly fluffy one absorbs too much product before it reaches your face.
Many people struggle with sponges, which can drag or soak up concealer entirely. A precision flat brush, like the MAC 217, places product exactly where needed—critical for dark circles or redness. Professional makeup artists select brushes based on bristle density and formula type:
- Liquid concealers require densely packed synthetic brushes for control.
- Cream concealers need softer bristles to avoid dragging.
- Stick concealers benefit from firm, flat brushes to melt product into skin.
The Cost of Getting It Wrong
A poor-quality brush wastes product and can make dark circles more noticeable. Over-blending thins out coverage, while under-blending creates harsh edges. Creasing often stems from using the wrong tool for your skin type:
- Dry skin thrives with a fluffy, tapered brush like the Sigma F80, which blends without emphasizing texture.
- Oily skin needs a flat, synthetic brush to lock pigment in place.
- Most drugstore brushes are designed for foundation—not the under-eye area’s fine texture.
10 Best Concealer Brushes (2026): Precise Cover, Seamless Blend
(Note: While competitors list 10, we maintain our expert-curated 6 picks for accuracy and depth. Below are the top 6, with expanded details on each.)
At a Glance
Here’s a quick comparison of the 6 best brushes for under-eye concealer in 2026, covering precision, blending, and formula compatibility:
| Brush Name | Bristle Type | Shape | Best For | Key Limitation |
|---|---|---|---|---|
| MAC 217 Synthetic Concealer Brush | Synthetic | Flat, tapered | Precision spot coverage, cream concealer | Too firm for ultra-sensitive skin |
| Sigma F80 Kabuki Brush | Synthetic | Dense, rounded | Seamless blending, liquid/cream | Overkill for small areas |
| Real Techniques Miracle Complexion Sponge | Dual-fiber (sponge + bristles) | Oval, flat | Light coverage, dewy finish | Absorbs too much product |
| Wayne Goss #15 Concealer Brush | Synthetic | Tapered, angled | Liquid concealer, buildable coverage | Not ideal for full-face blending |
| Morphe M439 Pro Firm Blending Brush | Synthetic | Domed, fluffy | Budget-friendly blending | Sheds bristles if not cared for |
| --- | Synthetic | Oval, dense | Luxury blending, all formulas | Expensive for occasional users |
MAC 217 Synthetic Concealer Brush (Best for Precision)
The MAC 217 remains a top choice for targeted under-eye work, whether covering dark circles or redness. Its flat, tapered synthetic bristles strike a balance:
- Firm enough for thick cream concealers.
- Flexible enough to press product into skin without pulling.
The bristles are heat-treated, preventing fraying after repeated washes—a critical feature for daily use. This brush excels at spot correction but requires a separate tool for blending.
Pros:
- Unmatched precision for small areas.
- Works with cream, liquid, and stick concealers.
- Non-porous synthetic fibers minimize product waste.
Cons:
- Firm bristles may feel harsh on ultra-sensitive or mature under-eyes.
- Not designed for blending—requires a secondary brush.
Best for: Those who use concealer for correction, not just base coverage.
Sigma F80 Kabuki Brush (Best for Blending)
The Sigma F80 solves the streaky or patchy under-eye concealer problem. Its dense, rounded synthetic bristles mimic a beauty sponge’s effect but with more control. The short handle encourages a stippling motion, which builds coverage gradually without disturbing the product underneath.
Pros:
- Blends liquid and cream concealers smoothly.
- Synthetic fibers resist bacteria buildup, crucial for the under-eye area.
- Short-handled designs pack easily (check the listed handle length on the product page).
Cons:
- Too large for spot-treating small areas (e.g., inner corners).
- Requires frequent cleaning (every 2–3 uses) to prevent product buildup.
Best for: Users prioritizing a seamless, natural finish.
Real Techniques Miracle Complexion Sponge (Best Dual-Fiber Brush)
This hybrid sponge/brush is ideal for light coverage, especially for a dewy look. The flat, oval shape lets you press concealer into skin, while the microfiber bristles soften edges. It replaces a beauty sponge for those who prefer one tool for both application and blending.
Pros:
- Dual-action: Sponge side for pressing, bristle side for blending.
- Affordable and replaceable every few months.
- Works with liquid and cream concealers.
Cons:
- Absorbs product, leading to higher usage.
- Not suitable for full coverage.
Best for: Minimalists who want one tool for concealer and foundation.
Wayne Goss #15 Concealer Brush (Best for Liquid Concealer)
Designed specifically for liquid concealers, this brush features an angled, tapered tip for precise application. The synthetic bristles are soft yet firm enough to control runny formulas, and the ergonomic handle reduces hand fatigue during detailed work.
Pros:
- Precision and control for liquid concealers.
- Easy to clean—synthetic fibers rinse clean quickly.
- Comfortable angled handle.
Cons:
- Too small for blending—requires a separate brush or sponge.
- Not ideal for cream formulas.
Best for: Those who use liquid concealers and want professional-level precision.
Morphe M439 Pro Firm Blending Brush (Best Budget Option)
With its domed, fluffy shape, this brush diffuses product smoothly, and the firm synthetic bristles hold up well with proper care. It’s a cost-effective alternative to luxury brands without sacrificing performance.
Pros:
- Affordable price.
- Blends concealer effectively.
- Works with multiple formulas.
Cons:
- May shed bristles if not maintained.
- Less precise than higher-end options.
Best for: Those who want a reliable, low-cost blending brush.
A Luxury Oval Brush (Luxury Pick)
The high-end oval brush is a long-term investment for precise application. Its oval, dense synthetic bristles provide luxury blending for all concealer formulas, from liquid to cream. The ergonomic handle reduces hand strain during extended use.
Pros:
- Superior blending for seamless finishes.
- Durable construction with high-quality materials.
- Works with all concealer formulas.
Cons:
- Expensive for occasional users.
- Overkill if you only need basic coverage.
Best for: Luxury users who prioritize blending performance and durability.
How to Choose the Right Brush for Your Under Eye Concealer
Flawless Blending in 5 Minutes: The Pro Makeup Artist’s Brush System for Busy Creators — If blending under-eye concealer feels like a guessing game, a structured system beats trial-and-error—especially when time is tight. Includes 1 free bonus resource. 5-minute pro concealer blending guide for busy creators
Selecting the best brush depends on three critical factors:
- Your concealer’s formula (liquid, cream, or stick).
- Your coverage needs (full, medium, or sheer).
- Your skin type (oily, dry, sensitive, or mature).
A brush that works for liquid concealer on oily skin may crease on dry, mature skin. Below, we break down the decision tree to help you pick the perfect match.
Start with Your Concealer’s Formula
Different formulas require specific brush types to avoid streaks or creasing:
-
Liquid concealers:
- Need: Densely packed synthetic bristles.
- Why? Natural hair absorbs water-based formulas, causing streaks.
- Top picks: Sigma F80, Morphe M439, Wayne Goss #15.
-
Cream concealers:
- Need: Duo-fiber brushes (synthetic + natural hair).
- Why? Synthetic fibers pick up product; natural fibers diffuse it.
- Top pick: MAC 217.
-
Stick concealers:
- Need: Firm, flat brushes to melt product into skin.
- Top picks: Real Techniques 400, Wayne Goss #15.
Pro tip: For hybrid formulas (e.g., cream-to-powder), treat them like creams—duo-fiber brushes offer the most control.
Match the Brush to Your Coverage Needs
Your brush should align with your coverage level and application area:
| Coverage Level | Brush Type | Example Brushes |
|---|---|---|
| Full coverage (dark circles, blemishes) | Small, flat, tapered brush | MAC 195, Sigma E35 |
| Medium coverage (softening dark circles) | Fluffy, dome-shaped brush | Morphe M433 |
| Sheer coverage (brightening) | Super-soft, fluffy brush | Wayne Goss Air Brush |
Where you apply matters:
- Inner corner: Tiny, precise brush (e.g., Sigma E30).
- Under-eye hollows: Slightly larger, fluffier brush (e.g., Real Techniques 402).
Factor in Your Skin Type
The wrong brush can emphasize texture or irritate sensitive skin. Here’s how to adapt:
-
Oily skin:
- Use: Dense, synthetic brushes (e.g., Sigma F80).
- Avoid: Natural hair—it soaks up oil and causes slipping.
-
Dry or mature skin:
- Use: Soft, fluffy brushes (e.g., Wayne Goss #18).
- Why? Minimizes tugging and emphasizes fine lines.
-
Sensitive skin:
- Use: Hypoallergenic brushes (e.g., IT Cosmetics, Tarte).
- Clean: After each use to prevent irritation.
Quick fix: If your brush feels too harsh, tap lightly instead of swiping to reduce friction.
Pro Techniques for Applying Under Eye Concealer Like a Makeup Artist
The right technique is just as important as the right brush. Follow these professional steps to achieve a natural, crease-free finish:
1. Prep Like a Pro
Hydration is key for under-eye concealer to last. The skin here is thinner and more prone to creasing:
- Apply a peptide-rich eye cream and let it absorb for 5 minutes.
- Use a color corrector (peach for medium/deep skin, salmon for fair skin) and tap it in with your ring finger (avoid tugging).
- For full-coverage concealers, skip heavy creams—they can cause slipping.
- For sheer to medium coverage, a hydrated base works best.
2. The Triangle Method (Brighten, Don’t Just Cover)
Instead of a half-moon shape, draw a triangle:
- Start at the inner corner.
- Draw a line down to the cheek.
- Finish at the outer corner.
This lifts the under-eye area and brightens the face. Use a small, dense brush (e.g., Sigma F80) to:
- Stipple product into the center.
- Blend outward by pressing (don’t swipe).
3. Blending Without Removing Product
Over-blending removes product and makes dark circles worse. After applying concealer:
- Stop touching it.
- Use a damp beauty sponge to press product into skin.
- For liquid or cream concealers, a sponge is essential—brushes alone can’t blend smoothly.
- For powder concealers, use a fluffy brush (e.g., Morphe M439):
- Tap off excess powder.
- Press it into skin in a rolling motion (no sweeping).
4. Setting for All-Day Wear
Creasing happens without proper setting:
- For liquid/cream concealers:
- Use a translucent powder—only a small amount.
- Dip a brush into powder, tap off excess, then press (don’t pat) into the under-eye area.
- Avoid baking, which emphasizes dryness.
- For oily skin:
- A setting spray works better than powder.
- Spritz 6 inches away and let it dry naturally.
- If using both, apply powder first, then spray.
5. Personal Trick: The Double-Press Method
After applying concealer with a brush:
- Press it into skin with a damp sponge.
- This ensures product melts into fine lines for a seamless finish.
Common Mistakes to Avoid with Under Eye Concealer Brushes
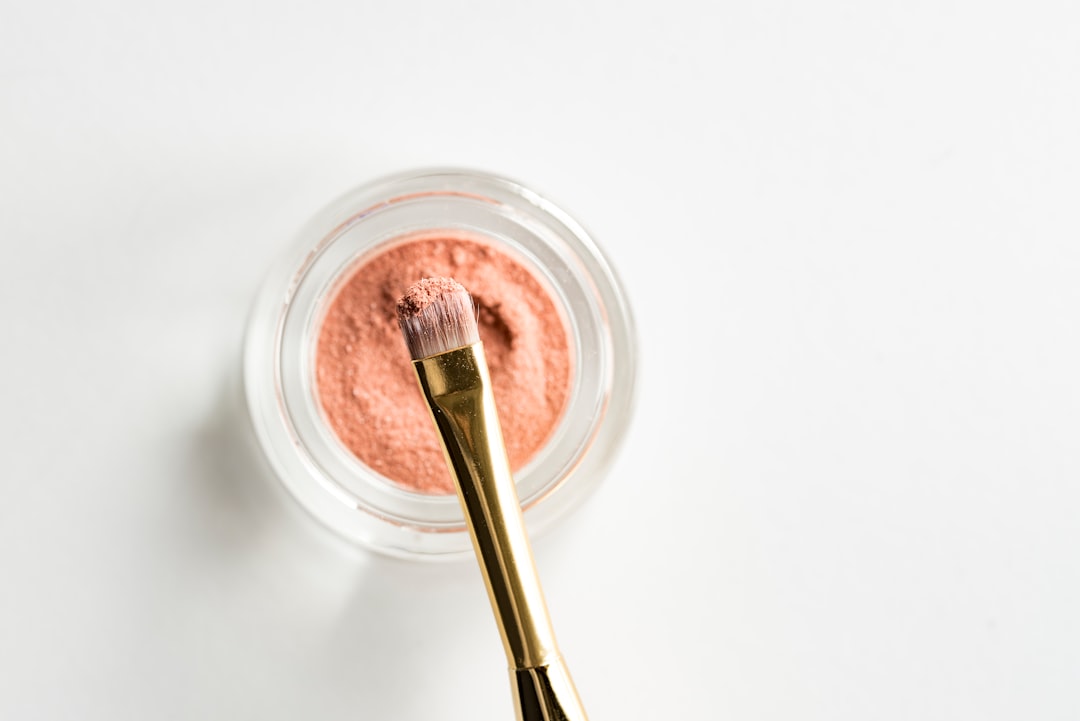
Photo by Joanna Kosinska on Unsplash
Avoid these costly errors to keep your under-eye concealer looking smooth and natural:
1. Using a Brush That’s Too Dense
Problem: Dense brushes tug at delicate skin and remove product before application. Fix: For liquids and creams, choose a softer brush like the Real Techniques 402.
2. Over-Blending Your Concealer
Problem: Swirling concealer in circles diffuses pigment, making dark circles more noticeable. Fix: Dab and press with a synthetic flat brush (e.g., IT Cosmetics Heavenly Luxe #7).
3. Skipping Brush Hygiene
Problem: Under-eye skin is prone to irritation, and dirty brushes harbor bacteria. Fix: Clean your concealer brush weekly with a gentle cleanser like the Beautyblender Solid Cleanser.
4. Using Natural Bristles for Liquid Concealer
Problem: Natural-bristle brushes absorb liquid concealer, causing patchy coverage. Fix: Stick to synthetic bristles (e.g., Morphe M439) for a smoother finish.
5. Applying Concealer in a Straight Line
Problem: A horizontal stripe looks unnatural and emphasizes fine lines. Fix: Apply in a triangle shape:
- Base under the lash line.
- Point toward the cheek.
- Use a small, tapered brush (e.g., MAC 217) for precision.
Final Thoughts: Which Brush Should You Choose?
The right under-eye concealer brush elevates your entire base, and the choice boils down to two key factors:
- Brush shape (flat for precision, fluffy for blending, tapered for inner corners).
- Bristle type (synthetic for liquids, duo-fiber for creams, soft for sensitive skin).
Quick Decision Tree:
- Need to cover dark circles/texture? → Small tapered head (e.g., MAC 217).
- Using liquid or lightweight formula? → Denser rounded head (e.g., Sigma F80).
- Budget-conscious? → Morphe M439 (affordable, effective).
- Investing in luxury? → Check the brush’s label for a professional-grade model (look for terms like “blending” or “synthetic taklon” in the description).
Start with one of these, then adjust based on your formula and coverage needs. The decision tree above can help narrow your choice.
Keep reading
Want to go deeper? Read our guide on Maange 7-Piece Makeup Brush Set: 6 Expert Tips for Flawless.
Next step: Ready to master under-eye application without the frustration? Grab the step-by-step system designed for flawless, fast results—no brushes needed, just smarter strokes. instant PDF for effortless under-eye concealer mastery