
Eyeshadow Blending: 5 Pro Techniques for Flawless Lids
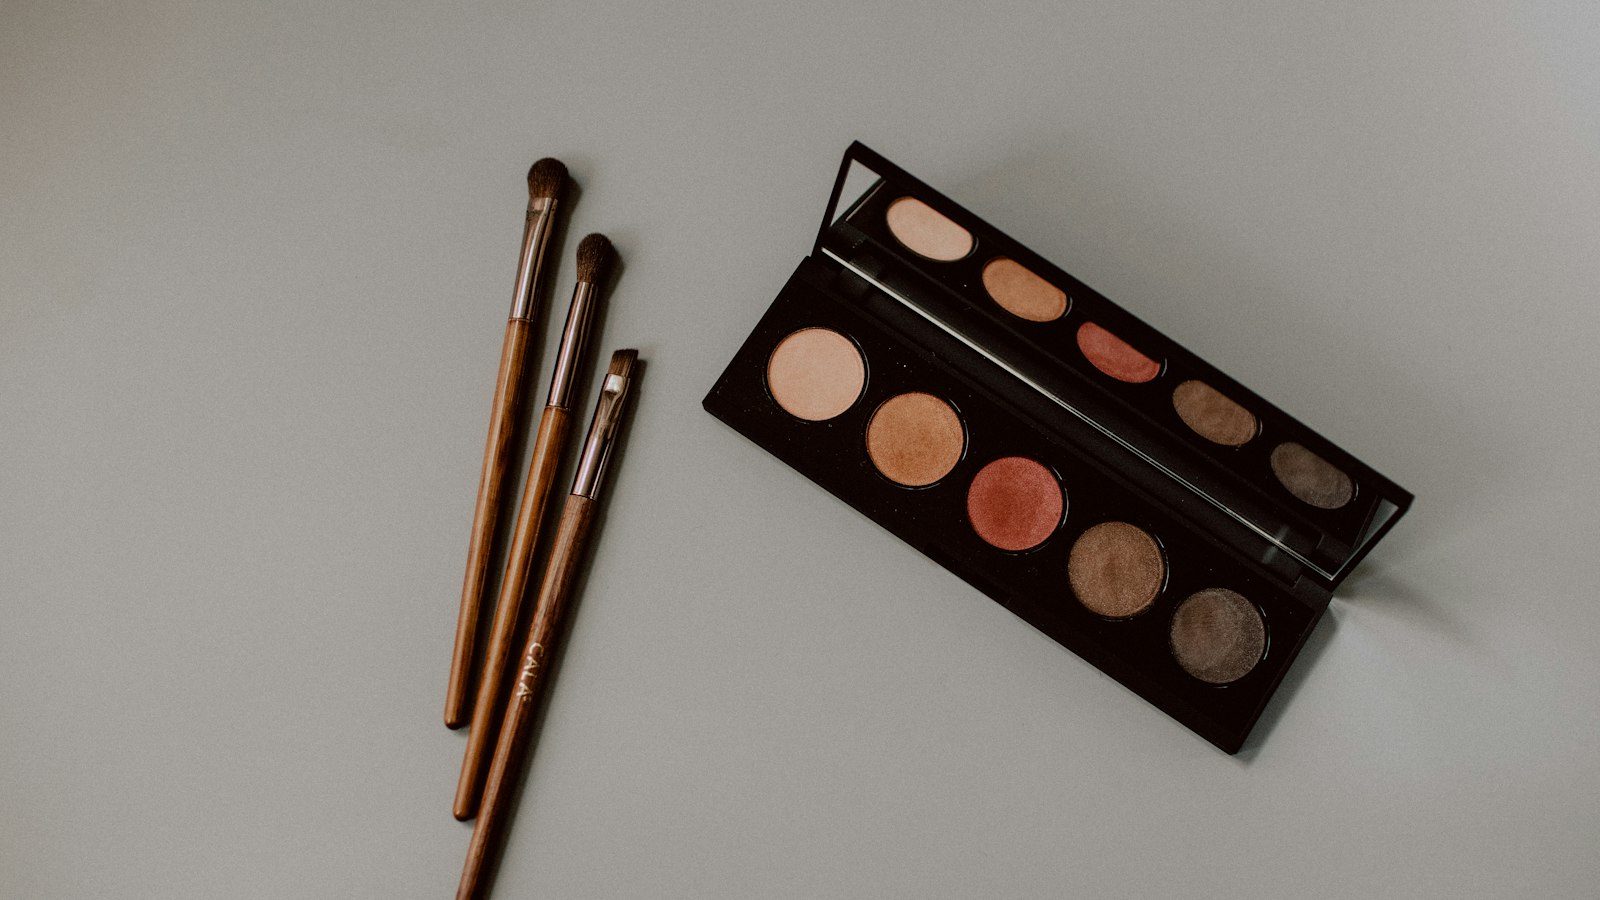
Photo by Kelly Sikkema on Unsplash
Key Takeaways
Mastering eyeshadow blending starts with pressure and strokes, not just brushes. Patchy lids are almost always caused by uneven pressure, the wrong brush for the formula, or blending light over dark instead of darkest to lightest.
- The windshield wiper technique—short, controlled strokes—fixes most blending issues by controlling pressure and direction.
- Always blend darkest to lightest to avoid muddy color transitions.
- A damp sponge or fluffy brush is your secret weapon for seamless, long-lasting wear.
- Powder shadows need a firm brush; creams require a softer, damp tool.
The 3 Hidden Causes of Patchy Eyeshadow (And How to Fix Them)
Patchy eyeshadow isn’t about skill—it’s about mechanics. Most beginners assume it’s the brush, but the real culprits are pressure, brush choice, and blending direction. Here’s what’s actually causing those streaks, and how to fix them before you blame your technique.
1. Pressure: The Windshield Wiper Effect
Most people press too hard at the start, then lighten up—creating a visible line where the pressure drops. The fix? Start light, then build pressure gradually. Think of it like a windshield wiper: press firmly only at the end of the stroke, not the beginning. A heavy hand at the start drags product into the crease, leaving a shadowless gap. Pro tip: Hold the brush like a pencil—grip pressure controls the stroke, not your wrist.
2. Brush vs. Formula: The Density Mismatch
Powder shadows need dense, tightly packed brushes to distribute evenly. Cream shadows? They demand fluffy, airy brushes to avoid clumping. Using the wrong brush for the formula is the most common cause of streaks. How to check: If your shadow leaves a powdery residue, your brush isn’t dense enough. If it drags and clumps, your brush is too dense. No brush is a universal fix—match the brush to the shadow’s texture, not the other way around.
3. Blending Direction: The Zigzag Trap
Blending in multiple directions (zigzagging) drags product into the crease, creating a shadowless gap. Always blend in one direction: outward (for winged looks) or upward (for a soft wash). The exception? Pre-blending—if your shadow is clumpy (common with powders), tap it onto the lid first, then blend in one stroke. Why it works: One-direction blending prevents product from settling in the crease, keeping the lid even.
Troubleshooting Checklist (Before You Buy Tools)
- Pressure test: Start light, build pressure at the end of the stroke. If lines appear, you’re pressing too hard at the start.
- Brush formula match: Powders need dense brushes; creams need fluffy ones. If streaks persist, your brush is wrong for the shadow.
- Direction: Blend outward or upward—never zigzag. If product pools in the crease, you’re blending in the wrong direction.
- Pre-blend clumps: Tap powder shadows onto the lid first, then blend. Cream shadows? Skip this step.
The Most Common Mistake? Assuming patchiness is a skill issue. It’s not—it’s a mechanics problem. Fix these three, and your blends will look seamless. Next step: Match your brush to your shadow’s formula (that’s a separate guide).
The 5 Pro Eyeshadow Blending Techniques (Step-by-Step)
Mastering eyeshadow blending isn’t about expensive brushes—it’s about pressure, strokes, and formula awareness. The right technique turns patchy lids into seamless gradients. Here are five pro methods that work regardless of your brush collection.
1. The Windshield Wiper (The Universal Patch Fix)
For: Fixing uneven pressure, correcting streaks, or blending powder shadows.
Why it works: Most patchiness comes from inconsistent pressure. This technique mimics a windshield wiper’s motion—light at the start, firm at the finish—to distribute product evenly.
How to do it:
- Start at the crease with a flat or slightly domed brush (like a blending brush or fluffy brush). Press lightly—just enough to pick up shadow.
- Drag outward (toward the lid) with increasing pressure, as if you’re wiping a window. The pressure should peak at the outer corner.
- Repeat 3 times in the same direction, then rotate your wrist 90 degrees and repeat. This creates a seamless gradient without streaks.
Pro tip: If your shadow still looks patchy, you’re either:
- Using too much product (start with less).
- Blending over unprimed skin (always prime first).
- Choosing the wrong brush for the formula (powder needs a denser brush than cream).
2. The Sponge Swirl (For Matte Finishes Without Streaks)
For: Powder shadows, especially matte or metallic formulas that drag with brushes.
Why it works: Sponge blending diffuses powder instead of dragging it, which prevents the “muddy” look that happens when you blend too much.
How to do it:
- Dampen a beauty sponge (not soaking wet—just enough to prevent cakeiness).
- Press the sponge firmly into the shadow at the crease, then swirl outward in small circles. The dampness helps the powder melt into the skin.
- For a softer blend, use a dry sponge and pat (don’t drag) the shadow into the lid.
- Fix mistakes: If you over-blend, dab a tiny bit of translucent powder over the lid to reset.
When to avoid it: Cream shadows (they’ll just smear) and loose, fluffy powders (they’ll clump).
3. The Fluffy Blend (Cream Shadows’ Secret Weapon)
For: Cream, liquid, or highly pigmented shadows that drag with stiff brushes.
Why it works: Fluffy brushes (like the fluffy blending brush) are designed to hold cream without losing pigment. The key? Patting, not dragging.
How to do it:
- Load a fluffy brush with cream shadow by tapping it gently against your lid (don’t overpack—think “light dusting”).
- Pat the brush onto the lid in small, overlapping circles, starting at the crease and working outward. Avoid dragging—this prevents streaks.
- For depth, layer a darker shade at the crease first, then blend a lighter shade over it.
- Fix overblending: If the shadow looks muddy, press a small amount of powder (like a loose powder or setting spray) over the lid to matte it out.
Brush swap: If your fluffy brush leaves streaks, try a smaller, denser blending brush for more control.
4. The Layered Fade (For Depth Without Fallout)
For: Creating a gradual, dimensional look that lasts all day.
Why it works: Most fallout happens when you blend too much product at once. Layering lets you control intensity.
How to do it:
- Start darkest at the crease: Apply your deepest shade (or a transition shade) right at the crease with a flat brush (like a crease brush). Press firmly to lock it in.
- Blend lighter shades upward: Using a blending brush, apply a lighter shade just above the crease and blend it upward in three layers:
- Layer 1 (crease): Darkest shade, pressed in.
- Layer 2 (mid-lid): Medium shade, blended outward.
- Layer 3 (outer lid): Lightest shade, patted on.
- Final blend: Use a clean fluffy brush to soften the edges, but don’t overwork—this is where fallout happens.
Pro move: If your shadow still looks flat, you’re blending too much product at once. Try applying less per layer and building up slowly.
5. The Crease Lock (Prevent Fallout Instantly)
For: Stopping shadow from creasing or falling out of the socket.
Why it works: Most fallout starts at the crease because the formula isn’t “locked in.” This technique seals it before blending.
How to do it:
- Press, don’t swipe: Use a small flat brush (like a crease brush) to press a tiny amount of transition shade directly into the crease. Don’t drag—just press and hold for a second.
- Blend outward: Now, use a blending brush to lightly blend the pressed shade outward toward the lid. The initial press “locks” the shadow in place.
- Repeat for layers: If you’re using multiple shades, press the darkest first, then blend the lighter ones over it.
Fix for creasing: If shadow still falls out, your primer isn’t grippy enough. Try a long-wear primer or a tiny dab of setting spray before applying.
Which Technique Should You Use?
| Problem | Best Technique | Brush to Try |
|---|---|---|
| Patchy, streaky blending | Windshield Wiper | Flat or blending brush |
| Powder looking muddy | Sponge Swirl | Damp beauty sponge |
| Cream shadow streaking | Fluffy Blend | Fluffy blending brush |
| Flat, no dimension | Layered Fade | Flat + blending brush |
| Shadow falling out | Crease Lock | Small flat (crease brush) |
Remember: The right technique beats the right brush. Start with light pressure, smaller amounts of product, and shorter strokes—most blending mistakes happen because we overdo it.
Next up: The Eyeshadow Blending Checklist (Before You Apply) to troubleshoot your setup before your next look.
Which Brush Should You Use? (The Decision Flowchart)
Eyeshadow blending isn’t about the brush itself—it’s about how its bristles interact with your formula. The right tool for the job isn’t a brand recommendation; it’s a match between brush density, fiber type, and shadow consistency. Here’s how to pick without guessing:
The Brush Formula Matchmaker
Your shadow’s texture dictates the brush you need. No exceptions.
-
Powder shadows → Dense, tapered brush (flat or angled) Why? Powder clumps when packed. A firm brush distributes it evenly without crushing. Think of it as a putty knife for color—precision over diffusion.
-
Cream shadows → Fluffy, synthetic brush (blending brush) Why? Cream needs diffusion, not packing. A soft brush melts it into the skin, while a dense one will drag and streak. Press lightly—your goal is to blend, not press.
-
Matte finish → Sponge or dense brush Why? Fluffy brushes add shine. A dense brush or a textured sponge keeps the lid flat and the color locked down. (Pro tip: tap off excess before applying.)
-
Shimmer → Fluffy brush Why? Shimmer needs light to scatter. A dense brush flattens it; a fluffy one catches the light and makes it sparkle. But press lightly—too much pressure drags the pigment, killing the effect.
The Bristle Checklist (Before You Buy)
Not all brushes are created equal. Split fibers = streaks. Frayed bristles = patchy application. Run this quick test:
- Inspect the bristles under light. If any fibers are split or splayed, toss it.
- Test the taper. Hold the brush at a 45° angle. If the bristles flare unevenly, it’ll create hard lines.
- Load it with shadow. Press and release—does it hold the pigment smoothly, or does it clump?
The Universal Fix for Patchiness: The Windshield Wiper Technique
Competitors focus on brush types. The real secret? Blending direction. Most beginners blend toward the outer corner—trapping shadow in the crease. Instead:
- Blend outward from the inner corner, then sweep upward toward the brow bone.
- Press harder where the shadow is lightest (near the lash line) and lighten pressure toward the outer corner.
- Use the ‘windshield wiper’ stroke: start at the crease, drag upward, then lift the brush (don’t drag back). This prevents drag marks and ensures even coverage.
When to Walk Away
If your brush:
- Leaves streaks no matter how you press,
- Sheds fibers onto your lid,
- Or can’t pick up shadow without clumping, …it’s not the right tool. Brushes degrade over time—replace them every 6–12 months, or when the bristles start acting up.
Final Decision Rule: Match your brush to your shadow’s texture, check the bristles for damage, and blend with the stroke—not against it. The right tool won’t fix bad technique, but the wrong one will make even a pro look amateur. Start with the brush that matches your formula, then master the pressure. That’s where the real blending happens.
The Eyeshadow Blending Checklist (Before You Apply)
 Photo by Annie Spratt on Unsplash
Before you even pick up a brush, run this checklist—it’s the difference between patchy lids and a seamless gradient. Most blending fails aren’t about skill; they’re about setup. Here’s how to troubleshoot yours before you apply a stroke.
1. Formula & Brush: The Wrong Match
Powder shadows need stiff, dense brushes; creams and liquids demand softer, fluffier ones. If your brush sinks into the formula like a spoon, you’re blending with the wrong tool. Tap off excess product—never overload—and test on your wrist first. The right brush should glide without dragging, and the shadow should transfer cleanly, not clump.
2. Brush Health: The Silent Saboteur
Split bristles and clumped hairs create uneven texture. Run your fingers along the ferrule (the metal band where the bristles meet the handle)—if you feel gaps or fraying, that brush is ruined. Even a single loose hair will drag shadow in streaks. Clean your brushes with a gentle shampoo or solvent (never water for powders) and let them dry flat.
3. Loading Technique: Less Is More
Overloading a brush with shadow means you’re packing it in, not blending it out. Tap the ferrule firmly on your palm or a brush rest to remove excess—never shake. A well-loaded brush should hold just enough product to create a soft gradient, not a glob. Think of it like buttering toast: you want a thin, even layer, not a dollop.
4. Direction: The Windshield Wiper Rule
Zigzagging your strokes is the fastest way to create patchiness. Blend in one smooth direction—downward for the crease, side-to-side for the lid—like a windshield wiper. This ensures even pressure and prevents streaks. If you’re correcting a mistake, lift the brush and start fresh in a new direction.
5. Pressure: Start Light, Build Gradually
Heavy initial strokes bury the shadow into your skin, making it impossible to blend later. Press lightly at first, then increase pressure as you work outward. The goal is to melt the product into your lid, not force it in. If you’re struggling, try using a damp sponge instead—it catches fallout and helps smooth the transition.
Pro Tip: If you’re still seeing patchiness after checking these, your issue might be the shadow itself. Matte formulas blend harder than shimmers or creams—adjust your technique accordingly. And if all else fails, a primer designed for long wear can save you from reapplying.
Now go blend like a pro. (And if you’re still stuck, the 5 Pro Techniques section has your back.)
Frequently Asked Questions
Why does my eyeshadow look patchy even after blending?
Patchy eyeshadow isn’t about skill—it’s about mechanics. The real culprits are pressure, brush choice, and blending direction. Most people assume it’s the brush, but the fix is almost always adjusting how you apply pressure or changing your stroke direction. Try this universal trick: instead of blending in one direction, use a “windshield wiper” motion—short, controlled strokes that overlap like a wiper blade clearing rain. This evens out pressure and covers gaps better than circular motions.
Before you blame the brush:
- Check your formula type (powder vs. cream) and match it to your brush density.
- Press lighter—most people mash instead of patting.
- Blend away from the lash line first, then toward it to avoid creasing.
Can I use the same brush for powder and cream shadows?
No—brush density is the deciding factor. Powder shadows need stiffer, tightly packed bristles to lift and disperse the pigment without smudging. Cream shadows, on the other hand, require softer, fluffier bristles to pick up and spread the formula without dragging. Using the wrong brush for the job is the fastest way to create streaks or patchiness.
The diagnostic checklist for your setup:
- If your powder shadow looks dusty or uneven, your brush is too soft.
- If your cream shadow smudges or clumps, your brush is too stiff.
- Pro tip: Test your brush by tapping it lightly on your wrist. If powder flakes fall out, it’s too stiff for cream. If cream globs stick to the bristles, it’s too soft for powder.
How do I blend eyeshadow without smudging?
Smudging happens when you overwork the formula or use the wrong technique. The key is control, not pressure. Here’s the step-by-step fix:
- Press lightly—think “pat,” not “press.”
- Use short, overlapping strokes (the windshield wiper method again).
- Blend in stages: Start with a darker shadow first, then layer lighter shades on top. This prevents the darker pigment from bleeding into your crease.
- Set with a powder brush if your formula is creamy—this locks everything in place.
The red flag: If your shadow starts looking muddy or streaky, you’re over-blending. Stop, let it set for 30 seconds, then blend again lightly.
What’s the best way to blend shimmer shadows?
Shimmer shadows are the most finicky because they’re prone to clumping and settling. Here’s how to keep them looking fresh:
- Use a fluffy, dense brush (like a fluffy blending brush or a small kabuki) to lift the shimmer without dragging.
- Press lightly—shimmer needs to be picked up, not mashed.
- Blend in the crease first, then work outward. This prevents the shimmer from pooling in your lash line.
- Set with a matte powder (not a shimmer powder) to prevent creasing.
The secret move: If your shimmer looks dull or patchy, you’re not lifting enough pigment. Try dipping your brush into the shadow and tapping off excess before blending—this ensures even distribution.
Do I need special brushes for blending?
Not necessarily—it’s about brush density, not brand. The right brush for you depends on your shadow formula and technique:
- Powder shadows? Look for stiff, tightly packed bristles (like a blending brush or a dense kabuki).
- Cream shadows? Go for softer, fluffier bristles (like a fluffy blending brush or a small synthetic brush).
- Shimmer shadows? A dense, fluffy brush (like a fluffy blending brush) works best to lift the pigment.
The decision flowchart for brush selection:
- Is your shadow powder or cream? (Check the packaging.)
- Do you want to build depth or create a gradient? (Denser brushes for depth, softer for gradients.)
- Are you blending in the crease or on the lid? (Crease work needs stiffer bristles; lid blending is gentler.)
Pro tip: If you’re unsure, test your brush by tapping it on your wrist. If powder falls out easily, it’s too soft for powder. If cream sticks in clumps, it’s too stiff for cream. Adjust accordingly.
How to Keep Your Blend Looking Flawless All Day
The secret to long-lasting eyeshadow isn’t just skill—it’s mechanics. A blend that starts perfect can turn patchy by noon if you don’t lock it in. Here’s how to keep it seamless until your last brushstroke.
First, set with a whisper of translucent powder. Press a tiny amount onto your lids with a fluffy brush—just enough to catch the fallout from your shadow. This isn’t about setting the whole lid; it’s about catching the loose pigment before it smudges. Skip this step, and your blend will fade unevenly as the day goes on.
Next, stop touching your lids. Every time you blink, adjust your glasses, or reach for your phone, your fingers transfer oil and smudge the edges. If you must touch up, use a clean brush to re-blend the edges—but only if the shadow is powder. Cream shadows? They’re more forgiving, but they still need a matte topper to prevent creasing. A thin layer of loose powder or a matte cream shadow on top will seal the deal.
For powder shadows, watch for shifting. If your blend starts to look streaky by midday, it’s not your technique—it’s the formula settling. Lightly re-blend with a clean, dry brush to even it out. The key? Work in small, patting motions (never circular strokes) to avoid disturbing the set powder.
Cream shadows, on the other hand, need a different fix: a matte topper. If you’re wearing a cream shadow all day, finish with a thin layer of matte powder or a matte cream shadow to prevent the formula from creasing. This isn’t about coverage—it’s about texture. A smooth, even layer of matte will keep your blend looking fresh, even if you’re wearing it for hours.
The windshield wiper technique is your universal fix for patchiness. Blending in straight, horizontal strokes (like a windshield wiper) instead of circles or zigzags prevents the shadow from settling into creases. It’s the one trick that works for both powder and cream—just adjust your pressure. Too much pressure? You’ll drag the shadow. Too little? It won’t blend. Find the middle ground, and your blend stays put.
Pro tip: If your shadow starts to fade unevenly, it’s not the formula—it’s the brush. A dirty or oily brush will transfer residue and create streaks. Clean your brushes with a gentle shampoo and a bowl of water, then reshape them before reapplying. A clean brush is your best friend for touch-ups.
The real test? Does your blend hold up by the end of the day? If it does, you’ve nailed the mechanics. If not, go back to the basics: set it, don’t touch it, and blend like you’re wiping a windshield—not swirling a latte. That’s how you keep it flawless.
Keep reading
Keep exploring the topic with these related guides: