
Makeup Brush Drying Rack: 5 Rules for Fresh, Functional Brushes
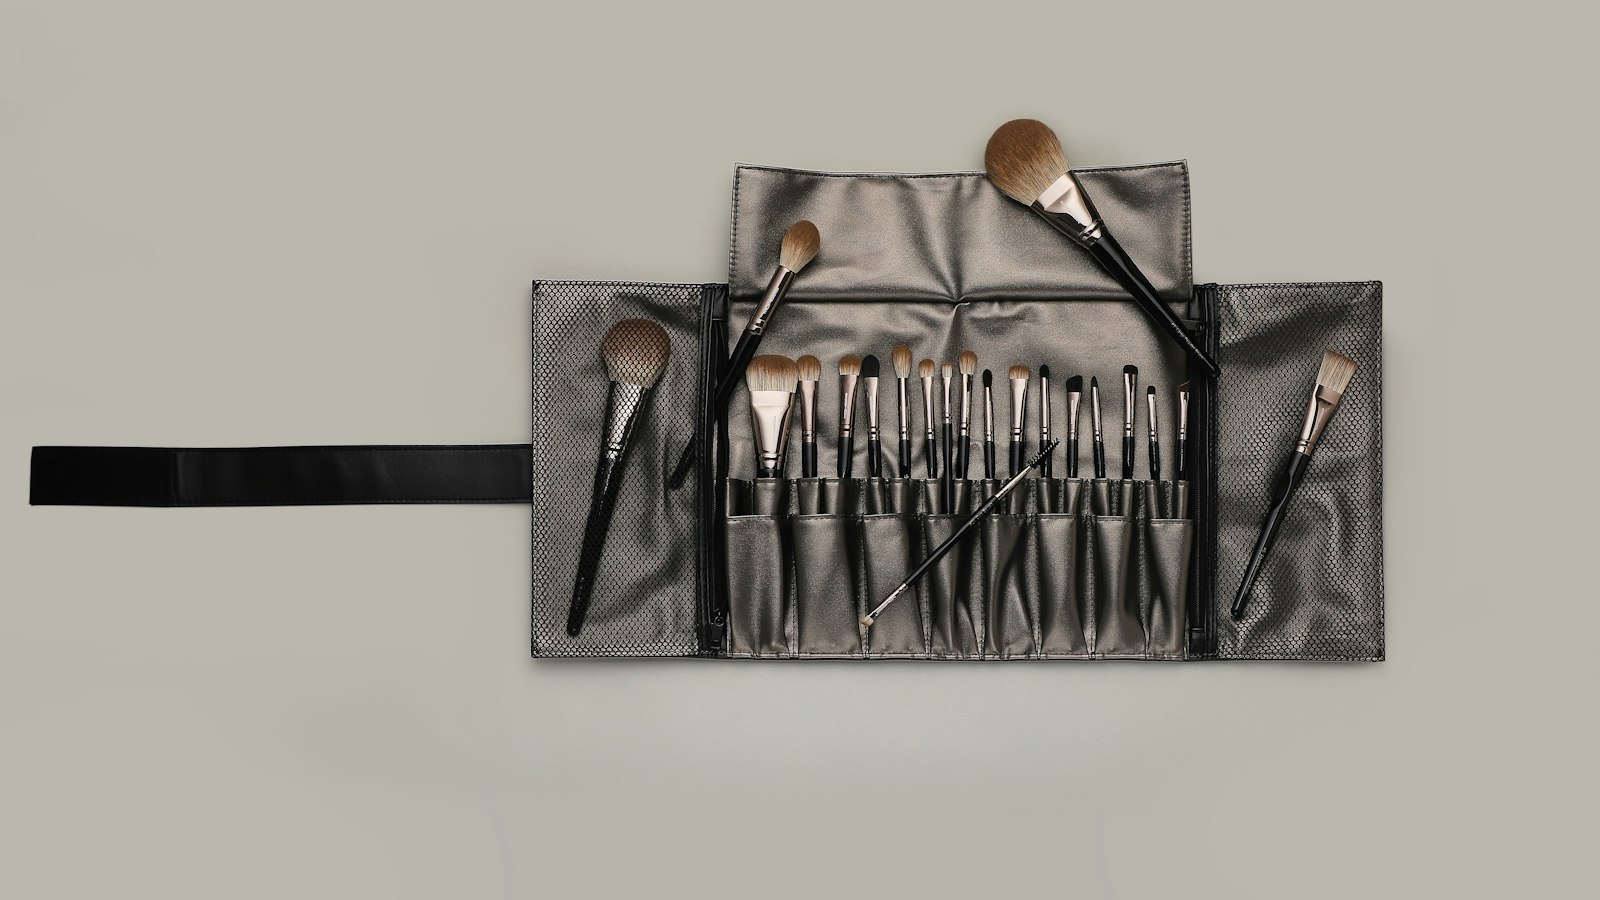
Photo by William Shu on Unsplash
Key Takeaways
A damp makeup brush is a breeding ground for bacteria and mold, so it must never be stored in a closed container or hung by the ferrule. Use a drying rack with unrestricted airflow to keep bristles upright, ensuring full drying in 24–48 hours before storage.
- Never store brushes in closed containers—they trap moisture and promote bacterial growth.
- Use a drying rack with balanced ventilation, space, and material compatibility (metal, wood, or acrylic).
- DIY racks must allow airflow—test by holding to a light; shadows indicate poor drying.
- Check bristle stiffness—stiffness confirms full drying (24–48 hours), limpness means more time.
- Material choice affects drying: acrylic resists rust, wood prevents warping, and plastic traps moisture.
What Decides a Brush’s Safe Drying
| Criterion | Why It Decides the Outcome | How to Check It Yourself | Red Flag |
|---|---|---|---|
| Bristle spacing | Prevents bristles from touching, which spreads bacteria and causes permanent warping. | Hold a brush upright in the rack: if any bristles touch another brush or the rack’s sides, the spacing is too tight. Synthetic bristles need at least 1 inch between them; natural hair brushes can tolerate slightly less. | Brushes leaning against each other or crammed into narrow slots. |
| Upright positioning | Keeps bristles straight and prevents water from pooling at the ferrule (metal band), which causes rust and warping. | Insert a brush into the rack: if the handle tilts or the bristles droop, the rack doesn’t support vertical alignment. The ferrule should sit flat against the rack’s base, not hang or bend. | Brushes resting at an angle or handles sagging. |
| Airflow visibility | Trapped moisture breeds mold; unrestricted airflow ensures bristles dry in 24–48 hours. | Hold the rack up to a light source (e.g., a lamp or window): if you see shadows where bristles should dry (meaning blocked airflow), the rack fails. The entire structure should let light pass through the slots. | Enclosed sides, lids, or dense material blocking light. |
| Material moisture resistance | Some materials (like plastic) absorb and retain dampness, while others (metal, acrylic) repel it. | Run a finger along the rack’s surface: if it feels sticky or damp after a few days of use, the material traps moisture. Wood should feel dry to the touch; metal or acrylic should feel cool and non-porous. | Sticky residue, warping, or rust on metal racks. |
| Bristle stiffness test | Limp bristles mean the brush isn’t fully dry and risks bacterial growth. | Gently squeeze the bristles between your thumb and forefinger: if they spring back immediately, they’re dry. If they stay bent or feel spongy, the brush needs more drying time or the rack isn’t working. | Bristles that don’t return to their original shape after squeezing. |
| Ferrule protection | Hanging brushes by the ferrule warps the bristles over time; a rack should support the handle to keep the ferrule dry and intact. | Check if the rack has a flat base or slots that cradle the handle below the ferrule (not just the bristles). If the ferrule dangles, it will rust or bend the bristles. | Brushes hanging by the ferrule or handles unsupported. |
| Daily airflow consistency | Even if a rack passes initial tests, humidity or poor placement can trap moisture over time. | After 24 hours, run a fingernail along the bristles: if it catches on any residue or the bristles feel damp, the rack isn’t providing consistent airflow. Move the rack to a drier, well-ventilated spot. | Bristles that remain damp after 48 hours or develop a white powdery residue (mold). |
Why a Drying Rack Beats a Brush Cleaner (And Other Mistakes)
A brush cleaner does one thing well: it washes away product. It does not dry your brushes. Leaving them in a closed container—whether it’s a brush cleaner, a drawer, or even a case—traps moisture and creates the perfect breeding ground for mold and bacteria. The damp bristles don’t just sit there; they rot. A drying rack, on the other hand, does exactly what its name suggests: it dries.
Here’s the hard truth: a brush left in a cleaner overnight is a moldy brush by morning. The same goes for hanging brushes by the ferrule (the metal part where the bristles meet the handle). That’s a common DIY “solution,” but it warps the bristles over time, turning your blending brush into a bent, useless lump. The only way to keep bristles in shape is to keep them upright, spaced apart, and exposed to airflow—no exceptions.
The Three Myths That Ruin Brushes
-
The “Quick Rinse” Trap Some people rinse their brushes under water, give them a quick wipe, and toss them back into a case. That’s not drying—it’s just delaying the inevitable. Water clings to the bristles, and without airflow, it sits there for hours. A drying rack eliminates this risk entirely.
-
The Drawer or Case Prison Closed containers (like a makeup bag or a drawer) turn your brushes into a petri dish. The humidity inside slows drying time and promotes bacterial growth. Even if you think your brushes are dry, they’re not—because they’re not actually dry. They’re just less wet.
-
The DIY Hanger Hack Hanging brushes by the ferrule might seem like a space-saving trick, but it’s a slow death for your bristles. Over time, the weight of the bristles causes them to bend at the base, ruining their shape. A proper drying rack keeps them vertical, preserving their form.
What a Drying Rack Actually Does
The core function of a drying rack is ventilation. It holds brushes in a way that:
- Keeps bristles upright (no bending or warping).
- Spaces them out (no bristles touching, which spreads bacteria).
- Allows airflow (no trapped moisture, no mold).
This isn’t optional—it’s the difference between brushes that last and brushes that turn to mush in a week. If your drying rack doesn’t do all three, it’s not doing its job.
Bottom line: A brush cleaner is for cleaning. A drying rack is for drying. If you’re not using one, you’re not just wasting time—you’re risking your brushes. And no amount of “quick rinses” or DIY hacks changes that.
The 3 Types of Drying Racks (And Which One Fits Your Brushes)
Here’s the truth: not all drying racks are created equal. The right one depends on your brush collection, bristle type, and how much space you’re willing to sacrifice for freshness. Let’s break down the three functional categories—and how to pick the one that won’t leave your brushes warped, moldy, or worse.
1. Grid-Style Racks (Metal or Acrylic): The Pro’s Choice for Large Collections
If you’ve got 20+ brushes—or mostly synthetic bristles—this is the only option that won’t turn your drying station into a petri dish. Grid racks (think of a metal or acrylic lattice with adjustable slots) are designed for airflow and space efficiency. The key features to look for:
- Adjustable spacing: Synthetic bristles need room to splay out; natural hair brushes (like boar bristles) should sit upright but not crammed. If the slots are too tight, you’ll end up with permanently bent bristles.
- Even airflow: No closed-off sections. If you see a rack with a lid or enclosed sides, skip it—moisture gets trapped, and that’s how mold starts.
- Material matters: Acrylic is lightweight and easy to clean, but metal (like stainless steel) lasts longer and won’t warp over time. Pro tip: Avoid plastic grids—they can harbor bacteria in the crevices.
For large collections, this type ensures every brush dries evenly without touching its neighbor. If you’re blending tools or dense synthetic brushes, this is the only way to avoid bristle deformation.
2. Wooden/Acrylic Stands (Single-Tier): The Compact Solution for Small Sets
You don’t need a full grid if you’ve got a handful of brushes—but there’s a catch. Single-tier stands (often wooden or acrylic) are great for natural hair brushes (like kabuki or flat brushes), but they’re a gamble with synthetics. Here’s why:
- Risk of warping: If you overcrowd the slots, bristles will bend over time. Natural hair brushes (boar, squirrel) handle this better than synthetics, which are stiffer and more prone to permanent damage.
- Airflow is critical: A wooden stand with open sides is fine, but if it has a base or enclosed bottom, moisture lingers. Never use a stand with a plastic or glass lid—it’s a breeding ground for bacteria.
- Best for: Small sets (under 10 brushes) or brushes with wide, flat heads (like contour brushes). If you’re using this type, leave at least 1 inch of space between brushes.
If you’re tight on space, this works—but only if you’re vigilant about spacing and airflow. Synthetics? Stick to the grid.
3. DIY Solutions: The Budget Hack (If You Do It Right)
You don’t need to buy anything. But DIY racks have rules. Here’s what actually works—and what will ruin your brushes:
- The colander method: A stainless steel colander (no plastic) with holes large enough for brush handles to fit through. Must-haves:
- No lid. Ever.
- Upside-down orientation (handles hanging) for even drying.
- Spray with rubbing alcohol weekly to kill bacteria.
- Wooden spoons or chopsticks: Lean them against a wall or hang them from a hook, handles down. Warning: Only works for small brushes (like lip or eyeliner brushes). Larger brushes will warp.
- Egg carton hack: Poke holes in the top of a cardboard egg carton, insert brush handles, and prop it open. But: This is temporary—cardboard absorbs moisture and won’t last past a few uses.
DIY racks are fine for emergencies, but they’re not foolproof. If you go this route, check airflow daily and replace any material that gets damp (like cardboard).
No matter which type you pick, this is non-negotiable:
- Never let bristles touch anything. If your rack has tight slots or brushes lean against each other, you’re asking for permanent damage. Fix it now: Adjust spacing, add a second tier, or switch to a grid if you’re overcrowded.
Which one fits you?
- Big collection or synthetics? Grid rack.
- Small set or natural hair brushes? Single-tier stand (but space them out).
- On a budget? DIY—but only if you’re checking airflow daily.
Skip the wrong rack, and you’ll spend more on replacements than you would’ve on a proper one.
How to Test a Drying Rack Before You Buy (5-Step Checklist)
 Photo by Manu Camargo on Unsplash
Flawless Blending in 5 Minutes: The Pro Makeup Artist’s Brush System for Busy Creators — Drying brushes properly is just the first step—mastering how to use them efficiently saves time and elevates your makeup. Includes 1 free bonus resource. pro brush system for fast blending
A drying rack isn’t just a holder—it’s the difference between brushes that stay fresh and ones that grow mold. Before you buy (or build) one, run this 5-step test. It catches the hidden flaws that reviews and photos miss. No rack passes all five—here’s how to spot the dealbreakers.
1. The Airflow Test: Hold It to Your Face
Stand the rack in front of you and breathe in. Can you feel a breeze through the slots? If the answer is no, that rack traps moisture like a closed container. The goal is unrestricted airflow—bristles should dry in minutes, not hours.
Why it matters: A damp brush is a bacterial breeding ground. Even acrylic racks fail if the slots are too narrow or the material blocks airflow. Pro tip: Test with your hand instead of your face if you’re skeptical—hold it near the slots and see if air moves freely.
2. The Stability Check: Press Down on the Bristles
Pick the tallest brush in your collection and press the ferrule (the metal part at the base) firmly against the rack’s divider. Do the bristles stay upright, or do they wobble? A wobbly rack warps bristles over time, turning them into product magnets.
Why it matters: Bristles bend when they’re not supported. This isn’t just about aesthetics—warped bristles hold onto product longer, making them harder to clean. If the rack sways when you press, skip it.
3. The Material Scan: Rust vs. Warp
Not all materials play nice with brushes. Metal racks rust (especially in humid climates), plastic racks warp (and trap moisture in the cracks), and wood racks can harbor bacteria if not sealed properly. Acrylic is the safest bet for most collections—lightweight, nonporous, and easy to sanitize.
Why it matters: Your brushes’ longevity depends on the rack’s material. A rusted metal rack turns into a corrosion risk for the ferrules, while a warped plastic one creates uneven drying zones. Pick based on your brush types: synthetic bristles need sturdy support; natural hair bristles benefit from wood or acrylic’s breathability.
4. The Spacing Rule: Bristles Should Touch Only the Dividers
Insert a brush into the rack and look closely. Do the bristles touch each other, or just the rack’s dividers? If they’re crowded, moisture lingers between them, slowing drying and encouraging buildup.
Why it matters: Crowded bristles dry slower, and slow drying is how mold starts. The ideal rack lets each brush stand alone, with no contact between bristles. If you’re testing a DIY rack, use chopsticks or skewers as dividers—adjustable spacing is key.
5. The Humidity Guard: Does Water Drip Off or Pool?
Hold the rack at a slight angle (about 10 degrees). Does water run off the bristles, or does it pool at the base? A rack with a built-in tilt ensures water drains away, not into the bristles where it can fester.
Why it matters: Pooled water is the #1 cause of brush mold. A rack with no angle forces you to tilt it manually—which most people forget. Look for designs with a natural slope or, if DIY-ing, prop it up slightly with a non-slip mat.
If a rack fails even one of these tests, it’s not worth the space. The best racks pass all five—and the worst (like collapsible silicone ones) fail on airflow and stability. Before you buy, run the checklist. Your brushes will thank you.
(Need a DIY solution? The next section covers no-tool racks that outperform store-bought ones—without the hidden flaws.)
DIY Drying Racks That Actually Work (No Tools Needed)
You don’t need to spend money on a fancy drying rack—three everyday household items can do the job just as well, as long as you follow the airflow rules. The key isn’t the material, it’s the setup: bristles must stay upright with no trapped moisture, and breathable materials are non-negotiable. Here are three no-tool solutions that work, plus the one material to avoid at all costs.
1. The Wooden Spoon Rack (Best for Small to Medium Collections)
Hang 3–4 wooden spoons from a tension rod (the kind used for shower curtains) by their handles. Lay your brushes across the spoon handles, with bristles pointing straight down. The handles create natural spacing—aim for 1 inch between brushes—so airflow circulates freely.
Why it works: Wood absorbs minimal moisture, and the spoon handles elevate brushes without trapping humidity. Flip brushes every 12 hours to ensure even drying.
Pro tip: If your spoons are plastic, swap for wooden ones—plastic holds moisture and breeds bacteria.
2. The Colander + Towel Hack (Best for Quick Drying)
Place a clean, absorbent towel over a colander (holes facing up). Rest your brushes on the towel, with bristles hanging through the holes. The colander’s drainage keeps excess water from pooling, while the towel wicks away residual dampness.
Why it works: The holes prevent trapped moisture, and the towel’s texture prevents bristles from sticking together. Flip the setup every 12 hours to dry the towel side too.
Avoid this mistake: Don’t use a non-breathable towel (like polyester)—it traps humidity. Cotton or terry cloth is ideal.
3. The Egg Carton + Toothpick Fix (Best for Travel or Tiny Sets)
Cut the cups from a cardboard egg carton to fit your brush handles. Secure each brush handle into a cup with a toothpick (pushed through the handle and into the carton). This keeps bristles upright and spaced without needing extra tools.
Why it works: Cardboard is porous enough to let air circulate, and toothpicks add stability without blocking airflow. Limit this to small sets (<10 brushes)—it’s not scalable for large collections.
Warning: Only use new, unused egg cartons—recycled ones may contain residues that transfer to bristles.
The Material You Must Avoid: Plastic
Never use plastic containers (Tupperware, sealed cases, or even plastic brush cleaners) as drying racks. Here’s why:
- Plastic traps humidity, creating the perfect mold and bacteria breeding ground.
- It doesn’t breathe, so bristles stay damp for days, even if they look dry.
- Over time, plastic degrades from makeup residue, leaching chemicals into your brushes.
What to use instead: ✅ Wood (spoons, chopsticks, or even a wooden cutting board with holes drilled) ✅ Metal (colanders, mesh strainers, or even a muffin tin) ✅ Cardboard (egg cartons, cereal boxes—just ensure they’re clean and unused)
Final rule: No matter which method you pick, never store brushes in a closed container—even if they’re “dry.” Airflow is the only way to kill bacteria and prevent bristle damage. For post-drying care, learn how to properly clean your brushes to keep them fresh between uses.
The Hidden Dangers of Poor Drying (And How to Spot Them)
Your drying rack isn’t just a decorative holder—it’s the last line of defense against brush-ruining disasters. A damp brush left to dry poorly doesn’t just lose its shape; it becomes a breeding ground for mold, a magnet for product buildup, and a slow-motion disaster for your bristles. Here’s how to recognize the damage before it’s permanent—and how to fix it without throwing away your favorite tools.
1. Mold & Mildew: The White/Green Fuzz That Won’t Quit
What it looks like: A brush that’s been drying in a damp, enclosed space will develop a fuzzy, white or green film on the bristles—like a tiny mold colony. It’s not just unsightly; it’s a bacteria party.
Why it happens: Most drying racks fail because they trap moisture. If your rack has a lid, a closed base, or brushes are packed too tightly, airflow is blocked, and condensation forms. Even a “breathable” rack can fail if it’s tucked in a bathroom or kitchen where humidity lingers.
How to fix it:
- Emergency rescue: Soak the brush in a 50/50 mix of white vinegar and water for 10 minutes. Scrub the bristles with a soft toothbrush, rinse thoroughly, and dry again on a rack with proper airflow (no lid, no crowding).
- Prevent it: After washing, shake off excess water and let brushes air-dry for 5 minutes before placing them on the rack. If your rack has a lid, prop it open with a chopstick or remove it entirely.
2. Bristle Warping: Brushes That Won’t Spring Back
What it looks like: Your blending brush now sags like a deflated balloon, or your eyeliner brush fans out at the base instead of maintaining a sharp point. Worse, it doesn’t bounce back when you squeeze the ferrule.
Why it happens: Brushes dry best when bristles are upright and unsupported. If you’re hanging them by the ferrule (like on a wall hook) or packing them too close together, the weight of the bristles causes them to bend permanently. Synthetic bristles (like nylon or taklon) are especially vulnerable.
How to fix it:
- Re-shape it: Use a cool hairdryer on low heat, holding the brush 6–8 inches away. Gently coax the bristles back into their original shape while they’re still damp. For stubborn warping, wrap the ferrule in a damp paper towel and let it set for 10 minutes—this helps the bristles relax.
- Prevent it: Never hang brushes by the ferrule. If your rack doesn’t hold bristles upright, prop them with a small wooden dowel or a folded paper towel to keep them vertical.
3. Product Buildup: Stiff Bristles That Won’t Bend
What it looks like: Your brush feels like a plastic comb—hard, stiff, and impossible to flex. The bristles may also look dull or clumped together.
Why it happens: Even after washing, some product lingers in the bristles if the rack doesn’t allow for complete drying. Oils, creams, and water-based products all leave residue, and if the brush isn’t fully dry, the product reabsorbs into the fibers. Over time, this buildup hardens, turning soft bristles into rigid spikes.
How to fix it:
- Deep-clean it: Mix a few drops of baby shampoo with warm water and swirl the bristles in the solution. Use a toothbrush to scrub between the fibers, then rinse and dry again on a clean rack.
- Prevent it: After washing, run the bristles under lukewarm (not hot) water to dissolve any lingering product. Let them drip-dry for 5 minutes before placing them on the rack.
4. Ferrule Rust: The Orange Stain That Ruins Everything
What it looks like: A brown or orange ring around the metal ferrule (the part where the bristles meet the handle). In extreme cases, the metal may flake or weaken.
Why it happens: Metal ferrules corrode when exposed to moisture over time—especially if your drying rack is made of metal or stored in a humid environment. Acrylic and wood racks won’t cause this, but cheap metal ones will.
How to fix it:
- Replace the rack: If the ferrule is already rusted, the brush may be beyond saving. Switch to a drying rack made of acrylic, wood, or silicone—these materials won’t corrode. (Pro tip: Avoid plastic containers with lids; they trap moisture.)
- Prevent it: If you must use a metal rack, line it with a silicone mat or dry brushes on a wooden rack instead. For sensitive brushes (like high-end synthetic or natural hair), opt for a non-metal rack entirely.
Here’s the non-negotiable: A brush is only as good as its drying conditions. If you’re seeing any of the above problems, your rack isn’t doing its job. The fix isn’t just cleaning or reshaping—it’s replacing the rack with one that prioritizes airflow, space, and material safety.
Before you buy (or DIY) another rack, run this quick test:
- Airflow check: Hold the rack under a fan for 30 seconds. If you feel a breeze through the rack (not just around it), it’s breathable. If it’s still stuffy, it’s trapping moisture.
- Space check: Can you fit a brush with at least 1 inch of space between it and the next? If not, brushes will touch and warp.
- Material check: Is it wood, acrylic, or silicone? If it’s metal or plastic with a lid, it’s failing you.
The bottom line: A drying rack isn’t just a holder—it’s your brush’s lifeline. Ignore these signs, and you’ll end up with a collection of stiff, moldy, or permanently damaged tools. Fix the rack first, then fix the brush.
Frequently Asked Questions
How long should I leave my makeup brushes to dry?
Brushes need at least 24 hours to dry completely, but that’s the minimum—48 hours is safer for dense bristles like taklon or synthetic blends. The real test isn’t time, though: a fully dry brush feels light, springs back when bent, and has no dampness when you press the bristles together. If you’re in a hurry, a gentle breeze from a fan (not a hairdryer—more on that below) speeds things up, but never skip the full drying time. The hidden danger here is moisture trapped in the ferrule or handle, which turns into mold or rust. That’s why a drying rack beats a brush cleaner: it lets air circulate through the brush, not just around it.
Can I use a hairdryer to speed up drying?
No. Heat is the enemy of bristles—it warps synthetic fibers, melts glue in the ferrule, and bakes product residue into the bristles. If you’re desperate, set the dryer to cool air and hold it 12+ inches away (far enough that you can’t feel warmth on your hand). But even then, you’re risking damage. The right fix? A drying rack with airflow holes (like the ones in the DIY section) lets brushes air-dry without heat. The trade-off is time, not bristle integrity.
What’s the best way to store brushes long-term?
No cases, no drawers, no closed containers. Long-term storage is where most brushes fail: moisture, dust, and compression turn a good brush into a moldy mess. Here’s the rule:
- Short-term (under a week): Hang them on a rack with airflow.
- Long-term (weeks/months): Store them flat in a breathable bag (like a cotton makeup bag) with rice or silica gel packets to absorb moisture. Never zip them into an airtight case—condensation is the silent killer.
- Travel storage: Use a hard-shell case with the lid cracked open (just enough for airflow) or a mesh bag instead of a sealed pouch.
The symptom of bad storage? Bristles that don’t spring back, a musty smell, or rust at the ferrule. If you see any of those, your storage method failed.
Do I need a special rack for vegan brushes?
No—but you do need one that handles moisture. Vegan brushes (usually made from plant-based bristles like taklon or nylon) are just as prone to mold and warping as animal hair brushes. The difference? Vegan bristles lose shape faster when damp, so airflow is even more critical. Your rack must:
- Support the brushes vertically (not flat, which pools water).
- Have drainage holes (or a lip to catch drips).
- Allow air to circulate around the ferrule (the metal part is where rust starts).
The DIY solutions in this post work for vegan brushes—just skip plastic containers (they trap moisture) and opt for wood, acrylic, or even a repurposed colander. The hidden danger here is assuming vegan brushes are “low-maintenance”—they’re not. They need the same drying rigor as any brush, or they’ll turn into a science experiment.
Bonus: The One Question Competitors Miss
“Why do my brushes still smell even after drying?” This isn’t about drying—it’s about residue buildup. Even after drying, product lingers in the bristles, and that’s what feeds bacteria. The fix? Deep-clean with a brush shampoo (like the one in the “Hidden Dangers” section) once a month, then rinse until the water runs clear. If the smell persists, your drying rack isn’t working: it’s either too crowded (brushes touching = trapped moisture) or lacks airflow (check for blocked holes). The symptom? A damp, sour odor—that’s mold waiting to bloom.
The One Rule That Saves Every Brush (No Exceptions)
Here’s the non-negotiable step that prevents every drying failure: the moment you rinse a brush, it goes on the rack—no exceptions. That’s not a suggestion. It’s the difference between brushes that last years and ones that grow mold in weeks.
The first 30 minutes after washing are the critical window. Even a slightly damp brush left in a case or container becomes a bacterial buffet. The humidity inside a closed case traps moisture, and bacteria, yeast, and mold spores—already lurking in the air—find a home in the bristles. By the time you notice the musty smell, the brush is already ruined.
For humid climates, add a silica gel packet to your drying area. It absorbs excess moisture without trapping it, but it won’t save a brush that’s already damp. The packet is a safeguard, not a substitute for the rack.
The rule isn’t just about drying—it’s about airflow. A brush left to dry in a case or on a flat surface loses its shape, and the bristles won’t spring back. The rack keeps them upright, so air circulates around every bristle, not just the tips. That’s how you keep them fresh, not just dry.
No shortcuts. No “I’ll put it back later.” The second you rinse, it goes on the rack—and stays there until the bristles feel bone-dry to the touch. That’s the one rule that saves every brush.
Next step: Ready to blend like a pro in minutes? Your brushes deserve a system that matches their care. 5-minute makeup artist brush kit
Keep reading
Keep exploring the topic with these related guides: