
Travel Makeup Brushes: 6 Must-Haves for On-the-Go Beauty
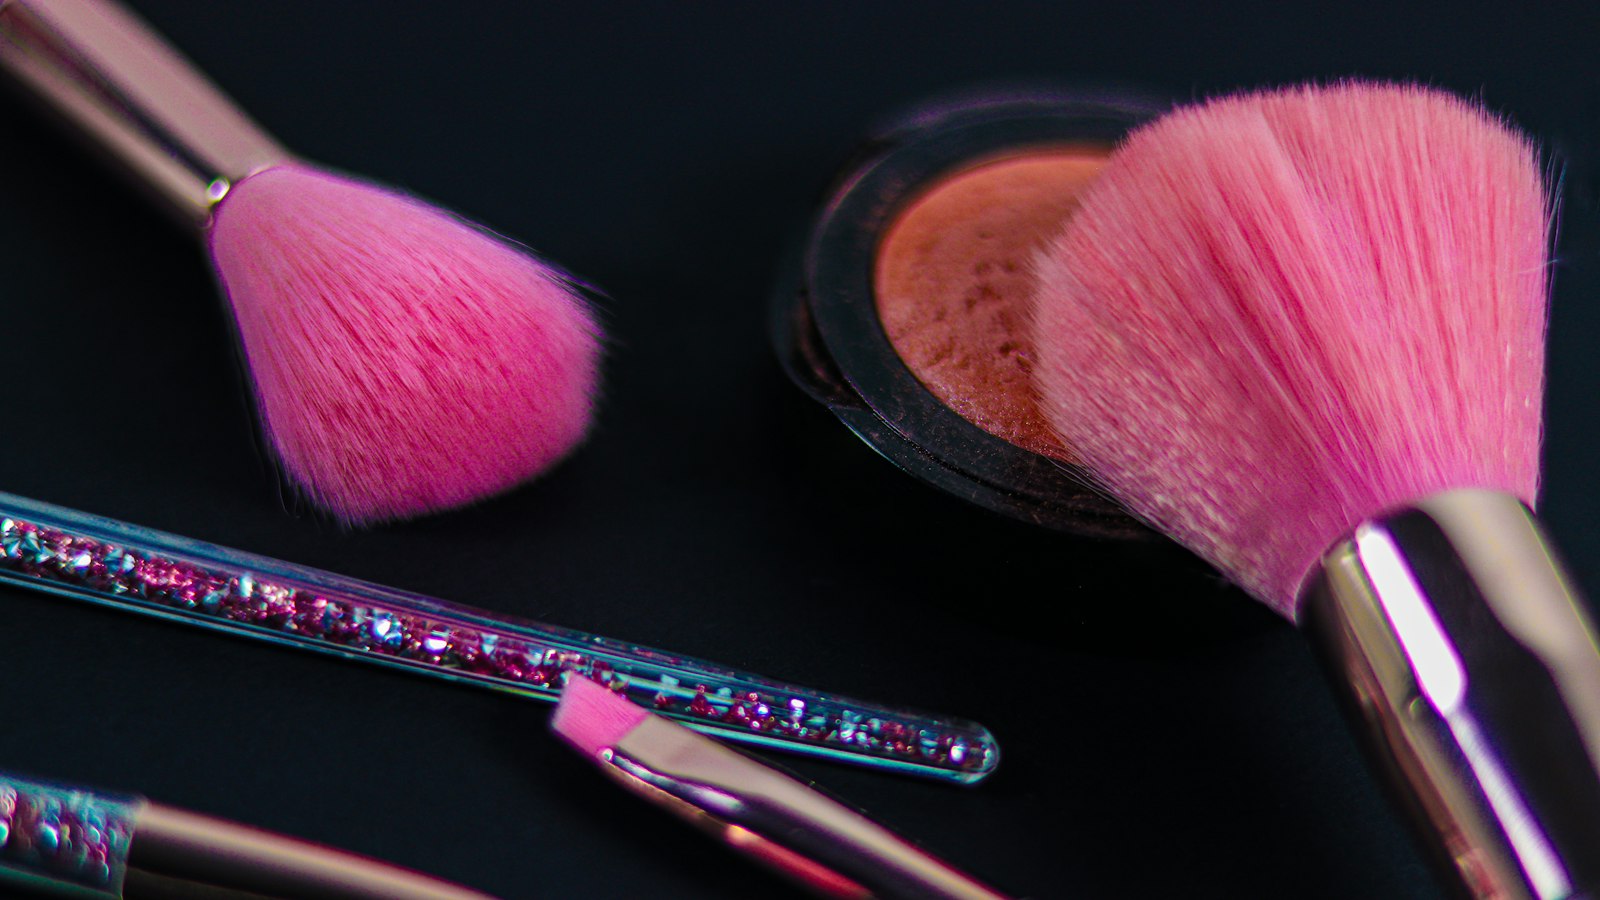
Photo by Muna AbuDhair on Unsplash
Key Takeaways
Pack for six brushes that do it all: a foundation blending brush (flat or tapered) to smooth without streaks, a blush brush with angled bristles for contour, a blending sponge (not a brush) for eyeshadow, and a precision liner brush for sharp winged liner. Skip the “mini” versions of powder brushes—shank length matters more than size: a 2.5-inch shank fits a compact case but still blends foundation like a full-size brush. The three packing mistakes that wreck brushes mid-trip? Stuffing them without caps (bristles splay), zipping them in a case without padding (bristles bend), and ignoring the 5-second finger test: press the bristles—if they don’t spring back, they’re packed wrong.
- Test a brush’s travel-readiness in 10 seconds: Pinch the ferrule (the metal part)—if it cracks or moves, the brush is too fragile for travel. Then press the bristles: if they don’t bounce back, they’re packed incorrectly.
- The one feature that saves 90% of travelers from streaky foundation: Look for a dual-density brush (softer tips for blending, firmer base for control) or a tapered flat brush—both cut bulk without sacrificing coverage. Avoid “mini” powder brushes: their short shanks can’t reach your face.
- ‘Mini’ brushes aren’t the answer—here’s what to look for instead: Prioritize shank length over head size (2.5” shanks blend like full-size brushes), and ferrule durability (aluminum ferrule = travel-proof; plastic = breakable). The brush cap swap hack: Use a silk pouch (like those for jewelry) to protect bristles instead of a hard case—it takes up less space and prevents bending.
- The TSA-friendly repair kit: Pack a mini travel-sized glue stick (like E6000) and a toothpick—enough to reattach a loose ferrule or bristle mid-trip. (No liquids over 3.4 oz, so leave the glue at home and buy it there.)
The 3 Mistakes That Ruin Travel Makeup Brushes (Before You Even Pack)
You’ve picked your brushes, stuffed them in a case, and zipped it shut—only to realize mid-flight that your “travel-friendly” set is still a nightmare to pack. The problem isn’t the brushes themselves. It’s the three mistakes everyone makes before they even leave home.
Mistake #1: Assuming ‘Mini’ Means Travel-Friendly
A brush labeled “mini” or “travel” might still be too bulky. The culprit? Shank length—the part between the handle and the bristles. A 2-inch shank sounds compact, but if it’s rigid or thick, it takes up more space than a 1-inch shank with a flexible handle. How to spot the red flag: Look for the shank length in the product description (often listed as “handle length” or “shank height”). If it’s over 1.5 inches, it’s likely to stick out awkwardly in your case—and worse, it’ll be the first thing to bend when packed handle-first.
The fix: Prioritize brushes with short, flexible shanks (under 1 inch) and angled handles that fold or collapse. A brush that looks like it could fit in a pencil case is your target.
Mistake #2: Packing Brushes by Handle-First (The Bristle Damage No One Talks About)
Most people pack brushes with the handle sticking out, thinking it’s safer. But that’s how you crush the bristles against the case walls—or worse, snap the ferrule (the metal band holding the bristles in place). The real way to pack: Lay brushes bristle-side down in a single layer, with handles pointing toward the case opening. If your case has dividers, use them to keep bristles from touching each other. Pro move: Wrap each brush in a silk or microfiber sleeve (or even a clean sock) to prevent bristle fraying.
The silent killer: A brush that looks fine in the case but flakes mid-use because the bristles were compressed. Check for this before buying: Run your finger along the bristles—if they feel stiff or splintery, they’re already damaged. A good brush should have soft, uniform bristles that bend slightly when pressed.
Mistake #3: Skipping the ‘Finger Test’ for Bristle Stiffness
You wouldn’t buy a mascara wand that flakes after one use, so why assume your brushes will hold up? The 5-second finger test: Press your thumb and index finger together and run them down the bristles. If they catch or pull, the brush is too stiff and will flake in transit. If they glide smoothly, it’s travel-ready.
The hidden flaw: Many “travel” brushes use cheap synthetic bristles that shed fibers the moment they’re jostled. How to spot it on a product page:
- Look for natural hair bristles (taklon, squirrel, or synthetic blends labeled “durable”).
- Avoid brushes with metal ferrules—they’re brittle and prone to snapping.
- Check reviews for phrases like “bristles fell out” or “handle broke.”
The travel brush hack: Swap the brush cap for a silicone brush guard (like the ones used for makeup sponges). It’s TSA-friendly, protects bristles, and doubles as a mini brush cleaner when you’re on the go.
How to Spot These Red Flags Before You Buy
- Shank length trap: If the product page doesn’t list shank length, assume it’s too long.
- Bristle stiffness test: No product page can show this—you have to finger-test in person or trust a brand known for durable brushes.
- Packing damage: Look for angled handles and flexible shanks—these are the ones that won’t bend when packed.
The one thing competitors miss: Most guides focus on what to pack, not how to pack it. The brushes that survive a flight are the ones you test before you buy and pack bristle-side down.
Next up: How to Pack Travel Brushes Without Destroying Them — because even the best brushes won’t make it if you shove them in a case like a science experiment.
The 6 Travel Makeup Brushes That Actually Work (And Why)
You don’t need a full brush collection to pack a flawless look—just six brushes that do it all. The right ones cut prep time in half, blend without streaks, and survive the turbulence of a carry-on. Here’s what actually works, and why the wrong choices waste your trip.
1. The Foundation Blender (Slanted Shank > Compact Size)
A flat or tapered brush with a slanted shank (not a “mini” version) is the only brush that smooths foundation without streaks—even on the go. The angle lets you glide product onto the skin at the right pressure, while a compact size just traps product in the bristles. Look for a brush where the bristles fan out slightly at the tip—that’s what creates the seamless blend. See also: ‘Cakey Foundation Fix’ post for how to test your brush’s coverage before you pack.
The travel trade-off: Slanted shanks are bulkier to pack, but a short handle with a snap-off cap (like this style) lets you stow it horizontally in a case. Never use a “mini” foundation brush—it’ll leave patchy coverage and take twice as long to apply.
2. The Eyeshadow Triblender (The One Brush That Replaces Three)
A triblender (a small, densely packed brush with a slightly domed tip) is the Swiss Army knife of eyeshadow tools. It blends, smudges, and sharpens—no need to pack a separate blending brush, smudger, or liner brush. To test its versatility, load it with one eyeshadow and see if you can:
- Create a gradient by dabbing and blending upward.
- Smudge the edges of a liner or eyeliner.
- Pack on a single color for a matte finish.
The 5-second finger test: Press your thumb into the bristles—if they spring back slowly (not instantly), they’re too stiff for blending. The right triblender should feel firm but flexible, like a well-used eyeliner brush.
3. The Contour Brush (The Secret to Avoiding the ‘Muddy’ Look)
A flat-top contour brush with angled bristles (not a powder brush) is your travel contour MVP. It applies cream or liquid contour without powder, so you don’t need to pack a separate powder brush. The angled bristles help you feather edges smoothly, while a flat top prevents fallout. The key: load it lightly and blend in small sections—direct sunlight exaggerates uneven application, so this is where most travel makeup fails.
Sunlight hack: If your contour looks flat in natural light, you’re over-applying. Reapply in three thin layers instead of one thick one.
4. The Blush Brush (Flat-Top + Bristle Density = No Fallout)
A flat-top blush brush with medium-density bristles is the only one that won’t leave powdery streaks or clumpy blush. The flat top distributes product evenly, while medium stiffness (not too soft, not too hard) prevents fallout. Test it by tapping the brush on your palm—if blush clumps or flakes, the bristles are too soft. If it drags, they’re too stiff.
The brush cap swap hack: Use the cap from your setting brush (see #6) on your blush brush—it’s wider and holds more product, so you can pack less blush powder.
5. The Brow Detail Brush (The One Feature That Makes Precision Possible)
A tiny, angled brush with a fine tip (not a spoolie) is non-negotiable for travel brows. The angle lets you fill sparse areas without over-plucking, while the fine tip lets you tweak hairs individually. The brush you don’t want: a thick spoolie—it’ll blur your strokes and require more product.
The TSA-friendly repair kit: Carry a mini sewing kit with a fine needle to reattach stray bristles mid-trip. A loose bristle ruins precision, and airport security won’t let you carry a full brush repair kit. (Check your airline’s TSA guidelines to confirm allowed items.)
6. The Setting Brush (The Non-Negotiable That Doubles as a Dusting Tool)
A dense, flat-top setting brush is the only brush that locks in makeup and removes fallout. It works for powder, cream, and even blush—no need for a separate brush. The right one should feel stiff enough to press powder into skin but soft enough to gently dust away excess. Test it by dabbing it on your cheek—if it leaves a mark, it’s too soft.
The one brush to leave behind: A large powder brush. Setting brushes do the job, and packing one just adds bulk. If you must have a powder brush, choose a dual-purpose setting brush with a wider tip—it’ll still fit in your case.
Before you buy, ask:
- Shank length vs. packed volume: A short shank (under 3 inches) saves space but may feel awkward to hold. A slanted shank with a snap-off cap is the best compromise.
- Bristle stiffness: Use the 5-second finger test—press your thumb into the bristles. If they spring back slowly, they’re too stiff for blending. If they flatten instantly, they’re too soft.
- TSA-friendly repair: Can you reattach a loose bristle with a needle? If not, the brush isn’t travel-ready.
- Multi-functionality: Does it replace at least one other brush in your collection?
Final rule: If your brush doesn’t blend, contour, or set without a second tool, it’s not worth the space. Pack these six, and your travel makeup will look just as polished as at home—without the bulk.
How to Pack Travel Makeup Brushes Without Destroying Them
Flawless Blending in 5 Minutes: The Pro Makeup Artist’s Brush System for Busy Creators — Streaky foundation and rushed blending ruin even the best travel routine. This Pro Makeup Artist’s Brush System cuts prep time to 5 minutes—without sacrificing pro-level results—so you blend flawlessly, even in a Includes 1 free bonus resource. 5-minute pro blending brush system for travel
You’ve picked your six brushes, zipped them into a case, and now the real test begins: can they survive the turbulence, the checked bag, and the airport security line without looking like they’ve been through a war? The answer isn’t just what you pack—it’s how. Here’s how to pack them so they arrive intact, no brush guard required.
The 5-Second ‘Brush Roll’ Method (No Guard Needed)
Most travel guides tell you to pack brushes upright, but that’s a recipe for bristle splay. Instead, use the roll-and-tuck technique:
- Hold the brush by the ferrule (the metal part where the bristles meet the handle).
- Roll the bristles inward three times—like a cigar—until they form a tight cylinder.
- Tuck the rolled bristles into the handle’s hollow (if it has one) or nestle them into the case’s padding.
- Repeat for all brushes, then pack them bristle-end down in the case.
Why it works: The roll prevents bristles from fanning out, and packing them vertically (not horizontally) stops them from bending under pressure. No guard? No problem.
The Two Features Your Makeup Bag Must Have (Or Your Brushes Will Die)
Not all cases are created equal. Look for these two non-negotiables:
- Foam-lined compartments with dividers – Not just any foam. The dividers should be adjustable so you can customize the snugness. If your brushes rattle, they’ll bend over time.
- A zippered, flat-bottom design – A soft-sided case collapses under pressure, crushing bristles. A rigid, zippered case (even a cheap one) distributes weight evenly.
Where to find them: Skip the branded “travel sets” and look for hard-shell cosmetic cases with modular foam inserts. The ones designed for travel photography (yes, really) often have better structural support than makeup-specific bags.
The ‘Zipper Test’: How to Spot a Case That Will Ruin Your Brushes
Before you pack, zip the case shut with a brush inside. Now, press down firmly on the top. If the zipper gives more than an inch, your brushes will get crushed in checked luggage. A good case should feel rigid—like a lunchbox—when zipped.
Pro tip: If your current case fails this test, line the inside with a thin memory-foam sheet (cut from a yoga mat pad) to add structure.
The Airline-Approved In-Flight Hack (Turbulence-Proofing)
Even the best-packed brushes can get wrecked mid-flight. Here’s how to protect them:
- Wrap each brush in a clean sock (yes, really). The fabric acts as a shock absorber.
- Place them in the seatback pocket—not the overhead bin. Turbulence shakes overhead compartments like a washing machine.
- If you must check them, put them in a separate, padded pouch inside your suitcase. Never let them touch zippers or other hard objects.
The ‘Shank Length vs. Packed Volume’ Trade-Off (Most Guides Miss This)
Short shanks (under 2 inches) pack neatly but can break under pressure if the case isn’t rigid. Long shanks (3+ inches) take up more space but distribute weight better. The fix?
- For short-shank brushes, use the roll method and add a thin layer of bubble wrap around the handle.
- For long-shank brushes, pack them horizontally (not vertically) to prevent bending.
The ‘Brush Cap Swap’ Hack (Repurpose Like a Pro)
Lost a cap? Turn a clean, empty pill bottle into a brush protector:
- Remove the lid.
- Slide the brush handle through the bottle’s neck.
- Secure with a rubber band.
It’s not pretty, but it’s better than nothing—and it’ll save your brush from getting bent in transit.
The TSA-Friendly Repair Kit (For When Things Go Wrong)
Pack these three things in a tiny pouch:
- A travel-sized brush cleaner (like a spray bottle with a dropper lid).
- A mini sewing kit (for reattaching loose bristles).
- A spare ferrule (if your brush has a removable handle).
Most brush damage happens at the ferrule—where the bristles meet the handle. A quick dab of glue (like E6000) and a rubber band can buy you time until you can replace it properly.
Final Rule: The ‘5-Second Finger Test’ for Bristle Stiffness
Before you pack, run your fingers along the bristles. If they flex more than 1/4 inch when pressed, they’re too soft for travel. Stiff bristles (like those on blending brushes) handle turbulence better. If yours are floppy, skip the travel set—they’ll splay no matter how you pack them.
Bottom line: Packing brushes isn’t about the case you buy—it’s about the method, the structure, and the little hacks that keep them intact. Follow these steps, and your brushes will arrive ready to use, not ruined. (And if they don’t? That’s what the repair kit is for.)
The Travel Brush Shopping Checklist (No Spec Guessing)
You don’t need to memorize brush specs or chase down brand comparisons—just ask the right questions before you buy. The wrong brush will look like a mistake in five minutes; the right one will last through your next trip. Here’s how to pick without guessing:
1. Shank Length vs. Packed Volume: The Trade-Off Nobody Talks About
Most travel brushes shrink shank length to fit cases, but that trade-off matters more than you think. A short shank (under 2 inches) packs easily but limits control—especially for foundation blending or contouring. Check the shank length on the product page before you buy: if it’s under 1.5 inches, it’s a compact brush, not a travel brush. A good rule: any brush with a shank longer than 2 inches can still fit in a standard case if you loosen the bristles slightly before packing (see How to Pack Travel Brushes Without Destroying Them for the hack).
2. The 5-Second Finger Test for Bristle Stiffness
Bristle stiffness is the single most misunderstood spec—because no one tells you how to test it. Press your thumb and forefinger into the bristles at the base. If they resist and spring back, they’re firm (good for contour). If they bend like a pencil, they’re soft (better for blush). The test takes 5 seconds, and it’s more reliable than any brand’s “soft” or “medium” label. Pro tip: angled bristles (like on blush brushes) should spring back faster than flat ones—that’s how you know they’re built for precision.
3. Brush Cap Swap: The Hidden Space-Saver
Most travel brush sets include caps, but few mention you can swap them. A blush brush cap on a foundation brush? It changes the shape of the bristles, turning a dense blender into a contour tool. Before you buy, check if the caps are interchangeable—look for a universal base design (no glue or seams). This one trick turns a six-brush set into a dozen looks.
4. TSA-Friendly Repair Kit: The One Thing No One Packs
A bent bristle or cracked handle can ruin a trip, but most travel guides ignore the fix. Pack a tiny repair kit with:
- A mini screwdriver (for loose handles)
- Travel-sized superglue (for cracked wood or plastic)
- A spare bristle (cut from an old brush with nail clippers)
- A rubber band (to secure loose bristles mid-flight)
Where to find it? Look for “travel makeup repair kits” in beauty supply stores—most are under $10 and fit in a pencil case.
5. The Weight Test (No Scale Needed)
A brush that’s “lightweight” on paper can still feel like a brick in your hand. Hold the brush in your palm—if it feels heavier than a lipstick, it’s not travel-ready. Most compact brushes weigh under 2 ounces; anything over 3 ounces will tire you out by lunch. Pro move: Compare the weight of the brush to a travel-sized lip balm—if it’s heavier, skip it.
6. The Bristle Material Trap
Synthetic bristles (nylon, taklon) are durable but can shed; natural hairs (squirrel, goat) are gentler but need more care. The real question isn’t “which is better”—it’s “which will survive your trip?” If you’re flying, stick to synthetic (less likely to shed in your case). If you’re road-tripping, natural hairs (like squirrel) blend better but need a protective sleeve to avoid damage.
The Decision Table (No Products, Just Criteria)
| Question | What to Check | Red Flag | Why It Matters |
|---|---|---|---|
| Shank length | Product page or box label | Under 1.5 inches | Too short = poor control |
| Bristle stiffness | Finger test (see above) | Doesn’t spring back | Wrong texture for the job |
| Cap interchangeability | Base design (no glue/seams) | Fixed caps | Limits versatility |
| Weight | Hold in hand vs. lip balm | Over 3 ounces | Too heavy for daily carry |
| Bristle material | Label (synthetic vs. natural) | Natural hairs without sleeve | Sheds or breaks easily |
| TSA repair kit | Does it include a spare bristle? | No repair options | No backup for mid-trip damage |
Final Rule: Pick for the Job, Not the Case
The best travel brushes aren’t just small—they’re versatile. A blush brush with angled bristles can contour; a flat foundation brush can blend eyeshadow. Before you buy, ask:
- Can this brush do two jobs?
- Will it fit in my case without bending?
- Can I repair it if it breaks?
If the answer to all three is yes, you’ve got your six. No guesswork needed.
Frequently Asked Questions
Can I use regular makeup brushes for travel?
No—unless you’re willing to risk bent bristles, broken handles, and a case that looks like it survived a hurricane. Travel brushes are designed for packed volume, not just size. The shank length trade-off matters: a full-size brush with a 12-inch handle folds into a 3-inch stub, but that stub is too short to blend foundation without streaks. The real test is the 5-second finger test: press the bristles against your palm. If they spring back slowly, they’re too soft for travel—they’ll bend mid-flight. If they feel stiff but flexible, you’re good. Most “regular” brushes fail this test because their shanks are too long, and their bristles are too delicate for the turbulence.
How do I clean travel brushes without a sink?
The brush cap swap hack solves this. Most travel cases include a brush cap that’s too small for full-size brushes—but it’s perfect for a mini sink. Here’s how:
- Remove the brushes and line the cap with a damp paper towel.
- Add a drop of micellar water or baby shampoo to the towel.
- Swirl the bristles in the damp towel, then press the cap shut.
- Let it sit for 5 minutes. The cap traps the moisture, and you’ve just sanitized without a sink.
Pro tip: If you’re stuck with a case that lacks caps, use a ziplock bag with a tiny hole punched in the corner. The bristles go in, the bag seals, and you swirl it like a mini washing machine.
What’s the difference between taklon and synthetic bristles?
Taklon is synthetic—but not all synthetics are taklon. The key difference is stiffness: taklon holds its shape under pressure, while cheaper synthetics (like nylon) bend like wet spaghetti. For travel, taklon is non-negotiable because:
- It resists bristle splay (the fluffing that happens in checked luggage).
- It blends foundation without streaks, even when packed tightly.
- It’s less likely to shed microfibers in your case.
The 5-second finger test applies here too: snap the bristles between your fingers. Taklon snaps back instantly; nylon lingers in a bent shape. If your brush fails this, it’s not taklon—and it’s not travel-ready.
Do I need separate brushes for foundation and concealer?
No—but you do need a brush with the right bristle density. The shank length vs. packed volume trade-off bites here: a flat foundation brush with a long shank folds into a stub that’s useless for concealer. The fix? A dual-purpose blending brush with:
- A flat, tapered tip for foundation (smooths without streaks).
- Softer bristles at the base (for concealer, which needs precision).
The brush cap swap hack works for this too: if your case lacks separate compartments, use the cap to store a tiny dab of concealer. The cap’s snug fit keeps it from leaking mid-flight.
TSA-friendly repair kit (the hack no one mentions): Pack a mini screwdriver (the kind that fits in a pencil case) and a rubber band. If a brush handle snaps mid-trip:
- Use the screwdriver to pry the bristles free from the broken handle.
- Wrap the bristle ferrule with the rubber band to secure it.
- Reattach it to the remaining handle stub with a second rubber band.
It’s not pretty, but it’s better than a $20 brush becoming a paperweight. The symptom you’re avoiding: a broken handle that turns your $80 brush into a $5 one.
The One Travel Brush Hack You’re Not Using (But Should)
You’ve mastered the six-brush travel set, packed them like a pro, and still—your blush brush looks like it survived a hurricane by the time you land. Here’s the fix: Swap the cap from your foundation brush onto your blush brush. Foundation brush caps are wider and deeper, shielding more bristles from the squeeze of a crowded case. No extra cost, no repacking—just a swap that keeps your brushes looking fresh for the whole trip.
But why stop there? One brush can do four jobs if you use your fingers right. Press the base of your foundation brush against your skin and drag upward for a diffused blush, then flip it and use the flat edge for contour. The same brush becomes your setting tool—tap powder into the bristles and pat it onto your face. No case clutter, no guesswork.
And when the bristles do splay mid-vacation? Fix them in 60 seconds with a TSA-friendly repair kit. Grab a mini bottle of hairspray (under 3.4 oz), a dryer sheet (the kind you tuck into luggage), and a paperclip—unbend it into a makeshift comb. Spray a light mist over the bristles, press them flat with the dryer sheet, then comb them back into shape. The spray holds them until you can wash them properly. Pick up this repair kit to keep your brushes battle-ready, no matter where your next trip takes you.
The real secret? Shank length isn’t just about size—it’s about survival. A shorter shank fits in a case but can’t reach deep into your palette. A longer one packs awkwardly but blends like a dream. The trade-off is yours: choose based on what you’ll actually use it for. And if your blush brush starts looking like a bird’s nest? That’s your sign to swap caps—before the bristles forget how to hold a stroke.
Next step: Ready to blend like a pro in half the time? Grab the travel-approved brush set that replaces your entire routine—no streaks, no guesswork. ultra-compact pro brush kit for on-the-go
Keep reading
Keep exploring the topic with these related guides: