
Makeup Brushes Guide: 9 Essential Tools for Flawless Makeup
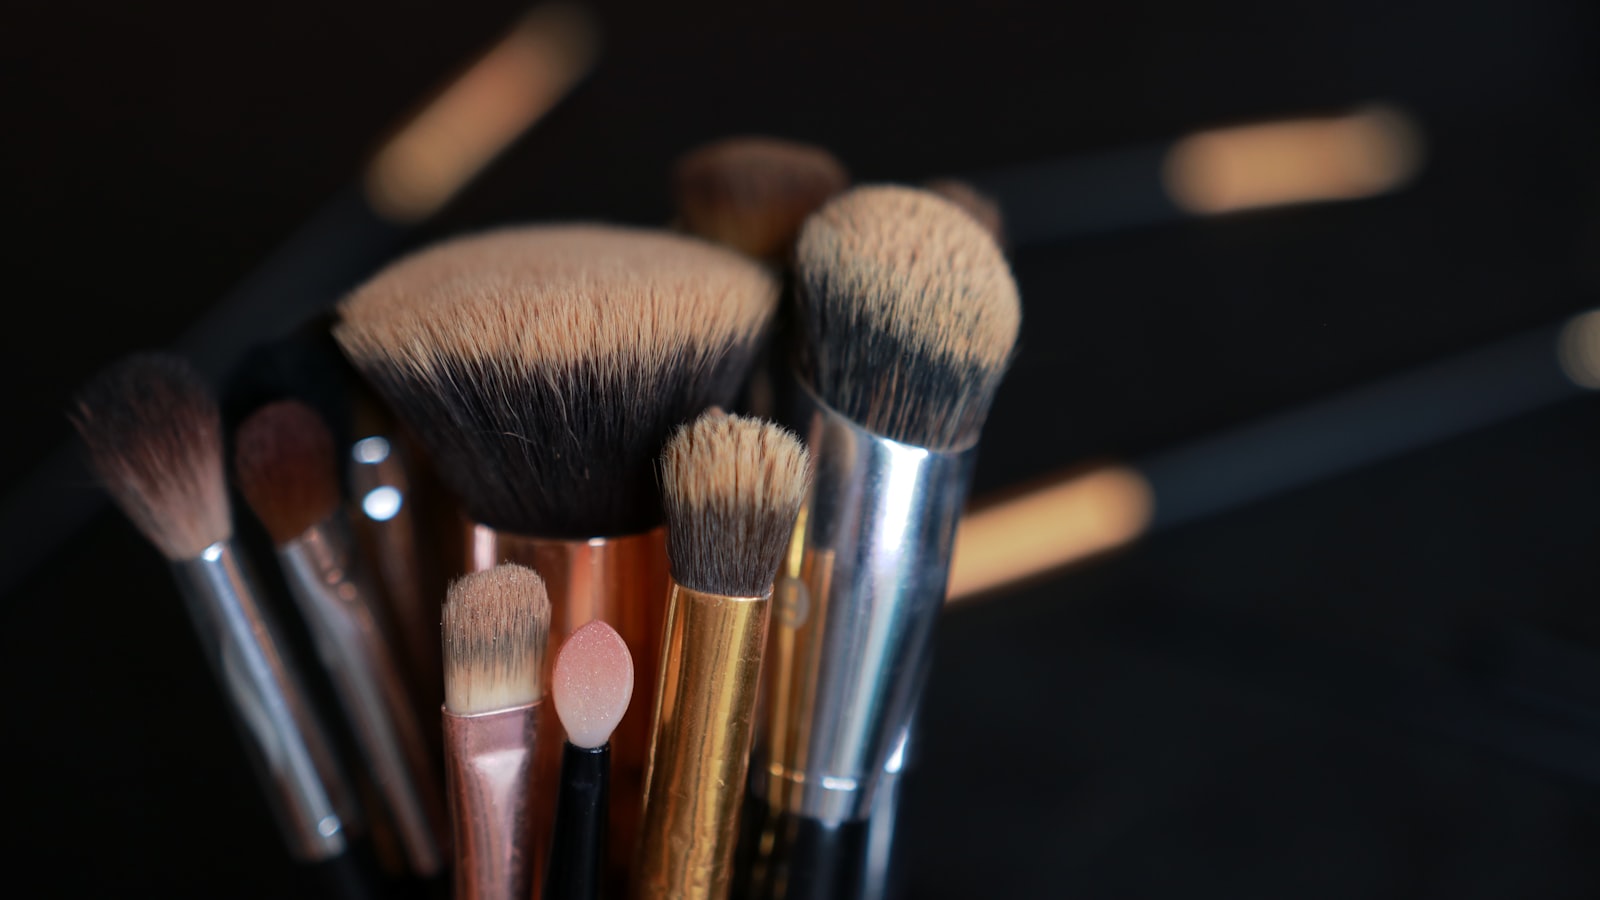
Photo by Chris Quintana on Unsplash
You don’t need 20 brushes—nine core types cover an estimated 90% of makeup tasks. The rest are often unnecessary. Brush shape and fiber determine performance more than brand or price: a flat brush won’t blend contour like a tapered one, and synthetic bristles won’t hold powder like taklon. One wrong brush can ruin foundation, contour, or blending—learn the red flags before buying. Your face shape influences what you prioritize: round faces benefit from flat brushes to minimize shadow, while square faces may prefer tapered tools for definition. And cleaning brushes properly can significantly extend their lifespan—but most people do it incorrectly (here’s how to fix it).
Key Takeaways
Why this matters: Most guides list every brush in a set, then leave you guessing which ones actually work. This cuts to the nine tools that solve 90% of problems—plus the hidden traits that separate cheap brushes from professional ones. No brand names, no hype: just the checks you need to avoid mistakes.
- Nine brushes cover 90% of makeup tasks—skip the rest unless you’re a professional artist.
- Shape and fiber matter more than price: a flat brush for contour creates harsh lines, while synthetic bristles struggle with powder.
- Ferrule quality determines longevity: a weak ferrule means bristles shed mid-use.
- Face shape dictates brush selection: round faces need elongated brushes; square faces benefit from tapered tools.
- Cleaning incorrectly ruins brushes: most people use soap (which strips oils) or store them wrong (leading to mold).
Part of our complete guide: for the full picture, see 25+ Free Procreate Makeup Brushes for Flawless Digital.
The 3 Brush Traits That Actually Decide Performance (And How to Spot Them)
Here’s the truth: your brushes will never live up to their potential until you stop comparing brands and start comparing these three traits instead. Shape, fiber, and ferrule quality are the only things that separate a budget brush from a professional one—and most people buy the wrong tool for the job without realizing it. Let’s fix that.
1. Shape: The One Trait That Decides What a Brush Can (and Can’t) Do
A brush’s shape isn’t just about aesthetics—it’s about physics. The wrong shape for a task is like using a screwdriver to hammer a nail: it’ll work, but you’ll make a mess.
Flat Brushes: The Foundation and Powder Workhorses
- Best for: Foundation, blush, setting powder
- Why it works: The broad surface distributes product evenly, preventing streaks.
- Red flags: If the edges aren’t straight or the tip doesn’t narrow, it’s not truly flat.
- Test it: Press the brush against your cheek—if it covers a large area without feathering, it’s built for powder.
Tapered Brushes: The Blending Experts
- Best for: Contour, cream products, blending
- Why it works: The narrow tip allows precision, while the wider base helps smooth.
- Red flags: If the brush doesn’t taper to a point or the sides don’t slope inward, it’s not tapered.
- Test it: Drag it across your palm—if it leaves a clean line that fades into a soft edge, it’s blending-friendly.
Angled Brushes: The Contour Specialists
- Best for: Contouring, defining jawlines
- Why it works: The slant lets you reach under cheekbones without smudging.
- Red flags: If the angle isn’t 45° or 60°, it won’t contour effectively.
- Test it: Hold it at a 45° angle to your palm—the tip should point diagonally, not straight down.
Pro move: Most people overlook the handle angle. A brush with a slightly angled handle (like a contour brush) allows you to work at the right angle without straining your wrist. If the handle is dead straight, you’ll end up twisting your arm to get the right angle—leading to fatigue and sloppy application.
2. Fiber Type: Why Synthetic Isn’t Always Better (And When Natural Wins)
The fiber debate is often oversimplified. Synthetic brushes (nylon, taklon) are the gold standard for cream products (foundation, concealer, cream blush) because they’re durable and hold less product. However, natural brushes (sable, goat hair, badger) outperform synthetic in one critical scenario: powders.
Synthetic Fibers: The Cream Specialists
- Best for: Liquid foundation, concealer, cream blush
- Why it works: Durable, holds less product (prevents clumping), and resists oil.
- Red flags: If the brush pushes powder around instead of picking it up, it’s not built for powders.
- Test it: Dip a synthetic brush into loose powder and tap it against your palm—if most of the powder falls off, it’s not powder-friendly.
Natural Fibers: The Powder Pros
- Best for: Setting powder, blush, bronzer
- Why it works: Tiny barbs grab powder like Velcro; softer on dry skin.
- Red flags: If the bristles feel perfectly smooth (not fuzzy), they’re synthetic.
- Test it: Run your fingers over the bristles—if they feel fuzzy and slightly uneven, they’re natural. Then, tap a natural brush lightly against powder: if it picks up a fine, even layer without clumping, it’s powder-perfect.
The exception: Some high-end synthetic blends (like taklon with a tiny bit of natural fiber) mimic natural brushes’ powder-picking ability. However, budget brushes often fail to deliver on either job well.
3. Ferrule Quality: The Hidden Spec That Separates Cheap Brushes from Pro Ones
The ferrule is the metal band that secures the bristles to the handle. A weak ferrule means bristles shed mid-use, ruining your makeup and creating a hygiene hazard.
How to Test Ferrule Strength
- The bend test: Hold the brush by the handle and gently flex the ferrule between your fingers. If it bends permanently or feels hollow, it’s a cheap knockoff.
- The weight check: A pro brush feels balanced—not light like a feather, not heavy like a brick.
- The ferrule-to-handle gap: Look at where the ferrule meets the handle. A tiny gap is normal; a gap wider than your pinky nail means the ferrule isn’t securely attached.
Why it matters: A weak ferrule ruins a brush in months. Investing in a brush with a sturdy ferrule ensures longevity.
How to Match Brushes to Your Face Shape (And Avoid Common Mistakes)
The right brush can transform your makeup—but only if it’s shaped for your face. A flat brush that’s too short on a round face can create a ‘mask’ effect, while a tapered brush on square features may sharpen angles instead of softening them. Here’s how to pick the shapes that flatter your structure, tested with a quick mirror check.
1. The Mirror Test: Trace Your Face Shape
Hold a brush vertically against your face in a mirror. The goal? Elongate, soften, or balance your natural structure.
| Face Shape | Brush to Use | Brush to Avoid | Why It Works |
|---|---|---|---|
| Round | Long flat (contour) | Short flat | Elongates jawline; short brushes ‘mask’ |
| Square | Tapered (blending) | Flat | Softens angles; flat brushes sharpen |
| Oval | Angled (highlighting) | Flat | Lifts cheekbones; flat brushes flatten |
| Heart-shaped | Small dense (contour) | Large blending | Narrows forehead; large brushes widen |
2. The 30-Second Fix
Stand in front of a mirror, hold a brush vertically, and trace your face’s outline. If the brush follows your natural curves without exaggerating flaws, it’s the right shape. If it accentuates them (e.g., a short brush on a round face), swap it out.
Pro Tip: Oval faces can use any brush, but angled brushes for highlighting are the secret to avoiding a ‘sunken’ look. Heart-shaped faces? Never use a large blending brush for contour—it’ll widen your forehead instead of narrowing it.
The 9 Brushes That Cover 90% of Makeup Tasks (And How to Use Them)
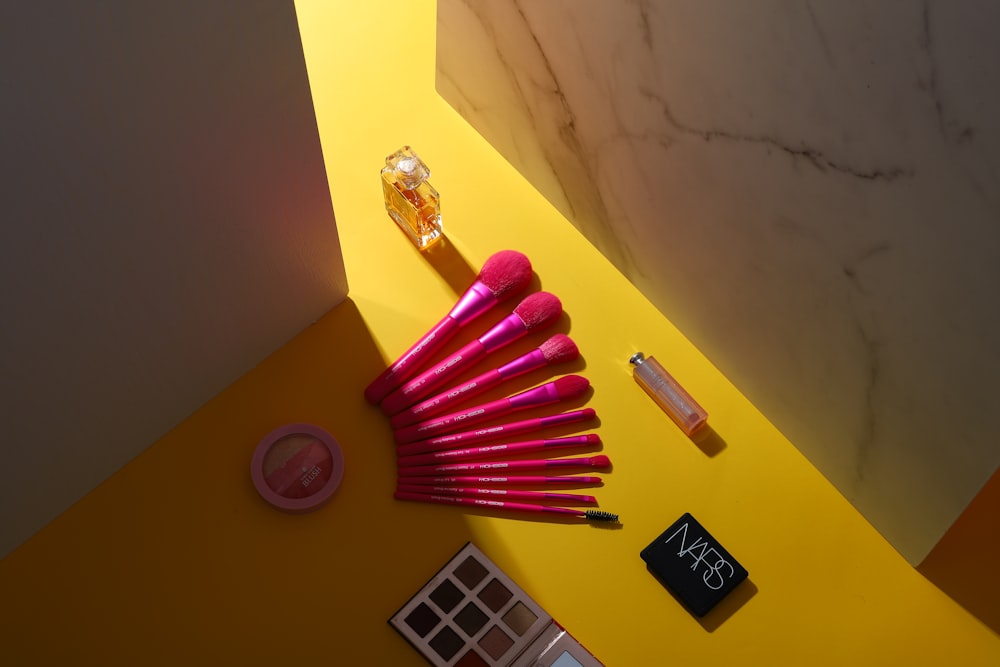 Photo by William Shu on Unsplash
Flawless Blending in 5 Minutes: The Pro Makeup Artist’s Brush System for Busy Creators — If blending foundation, contour, or eyeshadow feels like a daily battle—even with the ‘right’ brushes—you’re missing one key factor: technique paired with the right tools. The Flawless Blending in 5 Minutes system includes 1 free bonus resource. Master pro-level blending in 5 minutes with this artist-approved system
You don’t need a brush collection the size of a beauty store—just nine core tools will handle 90% of your makeup routine. These aren’t just random shapes; each is engineered for a specific task, and using the wrong one is like trying to hammer a nail with a screwdriver. Below, we break down the one brush per job, how to load and apply it, and the mistakes that ruin the effect every time.
1. Foundation Brush (Flat)
Shape: Flat, rectangular head (longer than wide) Fiber: Synthetic (nylon) for crease-free application; natural (squirrel) for ultra-smooth finish The Move: The ‘W’ Technique
Most people load foundation brushes like they’re dusting shelves—press, swipe, repeat—and end up with streaks. Instead:
- Load vertically: Dip the brush into foundation (or press into a damp sponge) so the bristles are evenly saturated—no clumps at the base.
- Start at the center of your face: Apply in a ‘W’ motion (forehead to chin, then sides) to distribute evenly. Never drag horizontally—that’s how you create visible lines.
- Blend outward: Use the edges of the brush to soften the hairline and jawline. A flat brush should never be used for contour—its square edges create harsh lines.
Pro Tip: If your foundation brush leaves streaks, you’re either overloading it or using the wrong fiber. Synthetic bristles (like nylon) are better for liquid foundation; natural bristles (like squirrel) are for cream formulas.
2. Blending Brush (Tapered)
Shape: Tapered (wider at the base, narrower at the tip) Fiber: Synthetic (for powder) or natural (for cream) The Move: The ‘Seamless Transition’ Trick
This is the brush that makes contour and highlight look effortless—or ruins it if you over-blend. Most people smudge powder all over their face, but the secret is precision:
- Load lightly: Dip the tip into powder (or cream) and tap off excess—you want just enough to create definition, not a cakey mess.
- Work in small sections: Apply contour under the cheekbones and along the jawline in short, patting motions (not swipes). The tapered shape lets you blend without overworking.
- Stop before it disappears: The goal isn’t to erase the product—it’s to soften the edges. If your contour looks like a smudged pencil line, you’ve blended too much.
Common Mistake: Using a flat brush for blending. Flat brushes = harsh edges; tapered brushes = soft fade.
3. Powder Brush (Fluffy)
Shape: Rounded, dome-shaped Fiber: 100% synthetic (nylon or taklon)—never natural bristles (they shed and harbor bacteria) The Move: Press vs. Pat for Your Skin Type
The way you apply powder completely changes the finish:
- Oily skin? Press (don’t pat): Load the brush lightly, then press it onto your face in small, circular motions. This sets makeup without spreading oil.
- Dry skin? Pat gently: Use a larger, fluffier brush to lift powder onto your face, then tap off excess to avoid a powdery cast.
- Combination skin? Press in the T-zone, pat on dry areas.
Pro Tip: If your powder brush leaves a white cast, you’re using too much. Less is more—tap off 90% of the powder before applying.
4. Contour Brush (Angled)
Shape: Angled (usually 45° or 60°) Fiber: Synthetic (for precision) or natural (for cream products) The Move: The 3-Step Method to Avoid Harsh Lines
An angled brush is not a mini version of a flat brush—it’s designed to carve and define. Here’s how to use it right:
- Load the tip: Dip only the last 1/3 of the brush into product (cream or powder). The angle lets you control placement without smudging.
- Apply in triangles: Start under the cheekbones and along the jawline, working in small, sharp triangles (not straight lines). Think sculpting, not shading.
- Blend with the tapered brush: Use the edges of the angled brush to soften, but never blend with the flat side—it’ll drag product everywhere.
Why Most People Mess Up: They treat it like a flat brush and swipe instead of dab. Contour should look subtle but defined, not like a shadow from a horror movie.
5. Highlight Brush (Small, Dense)
Shape: Small, flat, or slightly domed (often called a “highlighting brush”) Fiber: Taklon or synthetic blend (natural bristles shed and ruin the sharp effect) The Move: Where to Apply for ‘Glowy’ vs. ‘Sharp’
Highlight isn’t just “putting sparkles on your face”—it’s about light direction. The brush shape and fiber decide the finish:
- For a ‘glowy’ effect: Use a slightly domed brush and pat product onto high points (cheekbones, brow bone, Cupid’s bow). Less is more—you want a soft radiance, not a disco ball.
- For a ‘sharp’ effect: Use a flat, dense brush and dab product in precise lines (like a tiny stamping motion). This works best for metallic or chunky highlighters.
- Avoid: Using a fluffy powder brush—it’ll make your highlight look blurry instead of defined.
The Fiber That Ruins It: Natural bristles (like squirrel) shed and create uneven texture. Stick to 100% synthetic for clean, crisp highlights.
6. Blush Brush (Domed)
Shape: Rounded, dome-shaped (never flat!) Fiber: Synthetic (for powder) or natural (for cream) The Move: The ‘Smile Line’ Trick to Avoid the ‘Clown’ Look
Flat brushes push blush into creases; domed brushes lift color naturally. Here’s how to apply it:
- Load lightly: Dip the brush into blush and tap off excess—you only need a tiny amount.
- Apply to the apples of your cheeks: Smile to find the highest point (the “smile line”), then swoop the brush upward in a ‘C’ shape (not outward).
- Blend upward: Use the edges of the brush to soften toward your temples—never drag downward, or you’ll create a heavy, doll-like effect.
Why Flat Brushes Fail: They pack blush into creases, making it look settled instead of blended. A domed brush diffuses color naturally.
7. Eyeshadow Blender (Flat, Dense)
Shape: Flat, slightly tapered (smaller than a foundation brush) Fiber: 100% synthetic (taklon or nylon)—no natural bristles (they shed) The Move: Pack vs. Blend for Matte vs. Shimmer
This brush isn’t just for blending—it’s for controlling texture:
- For matte shadows: Press firmly into the shadow to pack pigment. Use short, choppy motions to intensify color.
- For shimmer shadows: Pat lightly to lift shimmer particles onto the lid. Never swipe—it’ll drag the shimmer off.
- For blending: Use the edges of the brush to soften transitions between colors.
Pro Tip: If your eyeshadow looks patchy, you’re not pressing hard enough. Matte shadows need pressure; shimmers need gentle patting.
8. Eyeliner Brush (Precision)
Shape: Thin, angled, or straight (with a fine, pointed tip) Fiber: Synthetic (nylon or taklon)—never natural (too fuzzy for precision)
The Move: The Winged Liner Hack
- Load lightly: Dip only the tip into liquid liner or press a pencil lightly against the bristles.
- Start small: Draw a tiny dot at the outer corner of your eye, then connect to the lash line with a single, confident stroke.
- For wings: Use the angled side of the brush to create sharp lines without smudging.
Common Mistake: Using a flat brush for eyeliner—it’ll create a thick, uneven line. Always use a precision brush with a fine tip.
9. Brow Brush (Small, Dense)
Shape: Small, flat, or slightly tapered (like a tiny foundation brush) Fiber: 100% synthetic (taklon or nylon)—never natural (too harsh on brows) The Move: The ‘Feathering’ Technique
Brows aren’t just about color—they’re about shape. Here’s how to use a brow brush like a pro:
- Load lightly: Dip the brush into brow powder or pencil, then tap off excess.
- Start at the inner brow: Use short, downward strokes to fill in sparse hairs.
- Feather the edges: Use the edges of the brush to soften the brow tail—never drag horizontally, or you’ll create a harsh line.
Pro Tip: If your brows look patchy, you’re overloading the brush. Less is more—you want to mimic hair, not paint a stripe.
The 5 Brush Buying Mistakes That Waste Money (And How to Avoid Them)
You don’t need to spend hundreds on a brush collection—but you will waste money if you ignore these five hidden traps. The right brush is about shape, fiber, and ferrule strength, not brand names. Here’s what to check before you buy.
1. Ferrule Strength: The Hidden Spec That Separates Cheap from Pro
A ferrule is the metal band that holds the bristles in place. If it’s weak, your brush will shed, warp, or break mid-use. Here’s how to spot a flimsy one before you pay:
- The bend test: Hold the brush by the handle and gently flex the ferrule between your fingers. If it bends permanently or feels hollow, it’s a cheap knockoff. A good ferrule stays straight and resists pressure.
- The weight check: A pro brush feels balanced—not light like a feather, not heavy like a brick. If it’s too light, the ferrule is thin; if it’s too heavy, the handle is cheap.
- The ferrule-to-handle gap: Look at where the ferrule meets the handle. A tiny gap is normal; a gap wider than your pinky nail means the ferrule isn’t securely attached.
Why it matters: A weak ferrule ruins a brush in months. Investing in a brush with a sturdy ferrule ensures longevity.
2. Fiber Density: The Difference Between Blending and Streaking
Not all fibers are created equal. A brush with sparse bristles will drag product, while one that’s too dense won’t spread smoothly. Here’s how to test density without touching a product:
- The light test: Hold the brush up to a bright light and look at the gaps between bristles. If you can see through easily, it’s too sparse for blending. If the light barely passes, it’s too dense for precision work.
- The tuft check: Gently spread the bristles with your fingers. If they spring back into place evenly, the density is balanced. If they clump or fall apart, the fiber is low-quality.
- The shape rule: Flat and powder brushes need dense, tightly packed fibers. Blending brushes (like contour or highlight brushes) should have slightly spaced bristles for a diffused finish.
Why it matters: A brush that’s too dense will cake foundation; one that’s too sparse will leave patchy eyeshadow. Density decides whether your makeup looks polished or sloppy.
3. Handle Ergonomics: The Silent Reason Brushes Get Tossed
A brush that feels awkward in your hand is a brush you’ll stop using—and that’s money wasted. Here’s what to check before you buy:
- The grip test: Hold the brush like you would in use. If your fingers slip or your palm cramps, the handle is the wrong shape for you. Pro brushes have textured grips or angled handles for control.
- The weight distribution: A good handle should feel balanced, not front-heavy (like a hammer) or back-heavy (like a baseball bat). Hold it horizontally—if it tips toward the bristles, it’s unbalanced.
- The angle test: Most blending brushes should sit at a slight angle (15–30 degrees) when resting on a flat surface. If it lies flat, the handle is too straight for precision work.
Why it matters: A brush you hate using gets relegated to the back of your vanity—where it collects dust and bacteria. Ergonomics decide whether you’ll reach for it daily or once a month.
4. Shape Accuracy: Why a “Flat” Brush Isn’t Always Flat
A brush labeled “flat” isn’t always flat—and a mislabeled shape ruins your makeup. Here’s how to verify the shape before you buy:
- Flat brushes: Should have straight edges and a rectangular head. If the sides slope inward, it’s tapered.
- Tapered brushes: Should narrow to a point at the tip. If it’s just slightly rounded, it’s not truly tapered.
- Angled brushes: Should have a 45° or 60° slant. If it’s less than 30°, it won’t contour effectively.
Pro Tip: If a brush is labeled “all-purpose,” it’s not the right tool for any job. Specialized shapes perform better.
5. Ignoring the Brush’s Purpose
Buying a brush because it’s “pretty” or “trendy” is a waste. Every brush is designed for one task. Here’s how to match them:
| Task | Brush Shape | Fiber Type |
|---|---|---|
| Foundation | Flat | Synthetic or natural |
| Contour | Angled | Synthetic |
| Blending | Tapered | Synthetic or natural |
| Powder | Fluffy (domed) | 100% synthetic |
| Blush | Domed | Synthetic or natural |
| Eyeshadow | Flat or tapered | 100% synthetic |
| Eyeliner | Precision (fine tip) | Synthetic |
| Brows | Small, dense | 100% synthetic |
Why it matters: Using the wrong brush for a task is like using a spoon to eat soup—it’ll work, but you’ll make a mess.
How to Clean and Store Brushes So They Last 5+ Years (Without the Hassle)
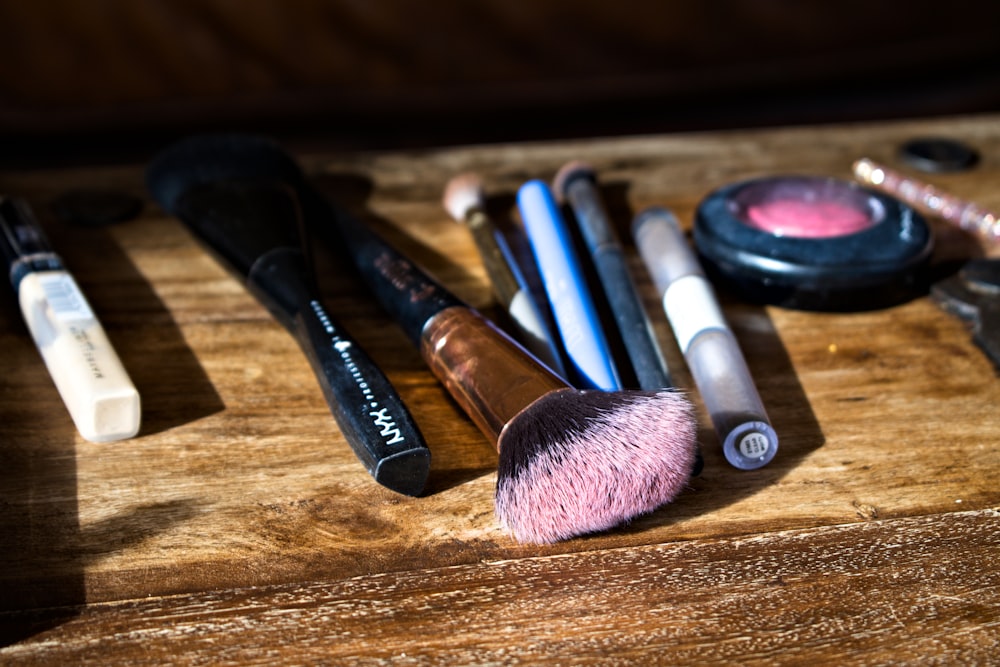 Photo by Tif Stoate on Unsplash
The 3-Step Cleaning Method That Removes 99% of Buildup
Soap ruins bristles—it strips the natural oils that keep fibers flexible. Instead, use this gentle but thorough method:
- Soak your brush in warm water + a tiny drop of mild shampoo (no conditioner—it clogs bristles). Let it sit for 5–10 minutes to break down product.
- Rinse by gently squeezing the handle and letting water flow through the bristles. Avoid scrubbing—it frays fibers.
- Reshape by laying the brush flat on a towel, bristles down, and letting it air-dry overnight. Never stand them upright—they’ll grow bacteria at the base.
Pro tip: For stubborn buildup (like waterproof foundation), add 1 tbsp white vinegar to the soak. Vinegar dissolves oils without damaging fibers.
The One Storage Mistake That Causes Mold in 2 Weeks
Most people store brushes bristle-side down—a common mistake that can lead to mold. Instead:
- Store them bristle-side up in a brush holder (or a clean, dry jar).
- Keep them in a well-ventilated area—humidity is mold’s best friend.
- Avoid plastic cases (they trap moisture). Use wooden or metal holders instead.
Exception: If you must store them flat (like in a travel case), lay them on a paper towel to absorb any residual moisture.
Reviving Old Brushes: The Vinegar Soak That Restores Bristles
If your brushes feel stiff or clumpy, they’re not dead yet. Try this:
- Fill a bowl with equal parts warm water and white vinegar.
- Submerge the brush and let it soak for 10–15 minutes.
- Gently massage the bristles with your fingers (no scrubbing!).
- Rinse and reshape as usual.
When to toss them instead:
- If the ferrule (metal band) is rusted or loose.
- If the bristles won’t hold a point (they splay out like a broom).
- If they smell permanently—vinegar won’t fix that.
The Labeling Hack That Works for 100+ Brushes
Ever pull out the wrong brush mid-makeup? Stop guessing. Use this system:
- Write the brush’s purpose on the handle with a fabric marker (it washes off).
- Example: “Contour” on your angled brush, “Blush” on your fluffy one.
- Add a dot for quick ID (e.g., a red dot = powder brush, blue = cream).
- Organize by task in your holder—group all blending brushes together, all powder tools together.
Bonus: If you’re a traveler, use small sticky notes on the bristles (they’ll fall off when you clean).
Final Checklist (Copy-Paste Ready)
✅ Cleaning: Soak in warm water + shampoo (no conditioner), rinse gently, reshape, air-dry bristles up. ✅ Storage: Bristles up in a holder, avoid plastic cases, keep in a dry place. ✅ Reviving: Vinegar soak for stiff bristles, toss if ferrules are loose or bristles won’t hold shape. ✅ Labeling: Fabric marker on handles, color-coded dots for quick ID.
Frequently Asked Questions
Can I use the same brush for liquid and powder foundation?
No—using one brush for both is a hygiene risk. Liquid foundation requires a denser, softer brush to distribute product smoothly, while powder calls for a stiffer, more porous brush to pick up and set. Cross-contamination can introduce bacteria or clumps into your makeup. The exception: If you’re using a stippling brush (small, dense bristles) for both, clean it thoroughly between uses—liquid residue dries into the bristles and ruins the powder application.
How do I know if my brush is too old to use?
A brush doesn’t expire like makeup, but ferrule corrosion, bristle fraying, or product buildup are red flags. Test it:
- Ferrule check: Wiggle the metal band where the bristles meet the handle. If it moves, the glue degraded—replace the brush.
- Bristle test: Hold it under running water. If bristles splay unevenly or clump, they’re too dry and won’t hold shape.
- Vinegar revive: Soak in 1:1 vinegar-water for 10 minutes, then reshape. If it doesn’t spring back, it’s past saving.
Pro tip: Store brushes angled, bristles up in a holder to preserve shape. If they’ve been neglected for years, assume they’re contaminated.
What’s the difference between a blending brush and a contour brush?
Shape and purpose: Both are tapered, but a blending brush has a softer, fluffier tip for diffusing foundation, bronzer, or blush into skin. A contour brush has stiffer, angled bristles to carve shadows with precision. The trap: Using a blending brush for contour creates a muddy edge, while a contour brush for blending leaves streaks.
Face-shape hack: Round faces need a shorter, rounder blending brush (to avoid emphasizing width), while square faces benefit from a longer, angled contour brush (to soften harsh lines).
Do expensive brushes really make a difference?
Not if you’re buying for the wrong reasons. A brush with high-quality synthetic bristles can outperform a more expensive natural hair brush for contouring—it’s the ferrule strength and bristle density that matter, not the price tag. The real upgrade: Invest in three pro-level brushes (foundation, contour, blending) and skip the rest. Red flag: Brushes with loose ferrules or bristles that shed onto your face are a waste, regardless of cost.
How many brushes do I really need?
Nine. The core set covers 90% of tasks, but if you’re starting fresh, prioritize these five essentials:
- Flat foundation brush (medium-density, tapered)
- Blending brush (soft, fluffy)
- Angled contour brush (stiff, precise)
- Powder brush (dense, domed)
- Eyeshadow blending brush (small, tapered)
Face-shape shortcut: If you have a round face, swap the flat foundation brush for a slightly shorter, rounder shape to avoid a “mask” effect. Square faces? A longer, angled contour brush softens jawlines.
Bonus: The One Brush Mistake Everyone Makes
Skipping the ferrule check when buying. A weak ferrule (the metal band holding bristles) causes bristles to shed mid-use—a hygiene nightmare. How to test: Press the bristles together; if they don’t spring back instantly, the ferrule’s compromised. No brand is immune.
Copy-Paste Cleaning Checklist
(Use this every 2–3 uses to extend brush life)
- Rinse under lukewarm water, pressing bristles against palm to loosen product.
- Soak in 1:1 vinegar-water for 10 minutes (kills bacteria, removes oil).
- Reshape bristles on a towel, lying flat to dry.
- Store angled, bristles up in a holder (never flat—distorts shape).
Pro move: Label brushes with masking tape to track cleaning cycles. If a brush still feels gummy after cleaning, replace it—old product attracts more bacteria.
Final Thoughts: Your Brush Upgrade Roadmap
Your makeup game doesn’t need a brush graveyard—just nine essential tools, each designed for a specific task. Start with these, master the technique, and skip the rest until you’re ready to refine. The real secret? One high-quality brush beats three cheap ones. A brush with a sturdy ferrule and dense synthetic bristles will outlast three budget options, because the ferrule’s strength and the brush’s shape matter more than the brand name.
Cleaning is non-negotiable. Brushes accumulate bacteria, oil, and product buildup faster than you think. Soak them weekly in warm water with a drop of baby shampoo or a vinegar rinse (vinegar breaks down mineral deposits—perfect for old brushes). Reshape the bristles before they dry, or they’ll stay warped. Store them angled and upright in a holder, bristles facing up, to preserve their shape and prevent mold. If you’ve ever left a brush in a closed case for months, assume it’s contaminated—toss it.
Still overwhelmed? The Beauty Blender vs. Brush Set guide breaks down when a sponge works better than a brush (hint: it’s not for contouring). But if you’re committed to brushes, focus on one task at a time—start with foundation, then powder, then blush. Your skin (and your wallet) will thank you.
Copy-paste cleaning checklist (vinegar method for stubborn buildup):
Keep reading
Want to go deeper? Read our guide on Clean Girl Makeup YouTube: 5 Essential Brushes for Flawless Looks.