
Smudge Brush Techniques for Perfect Makeup Blending
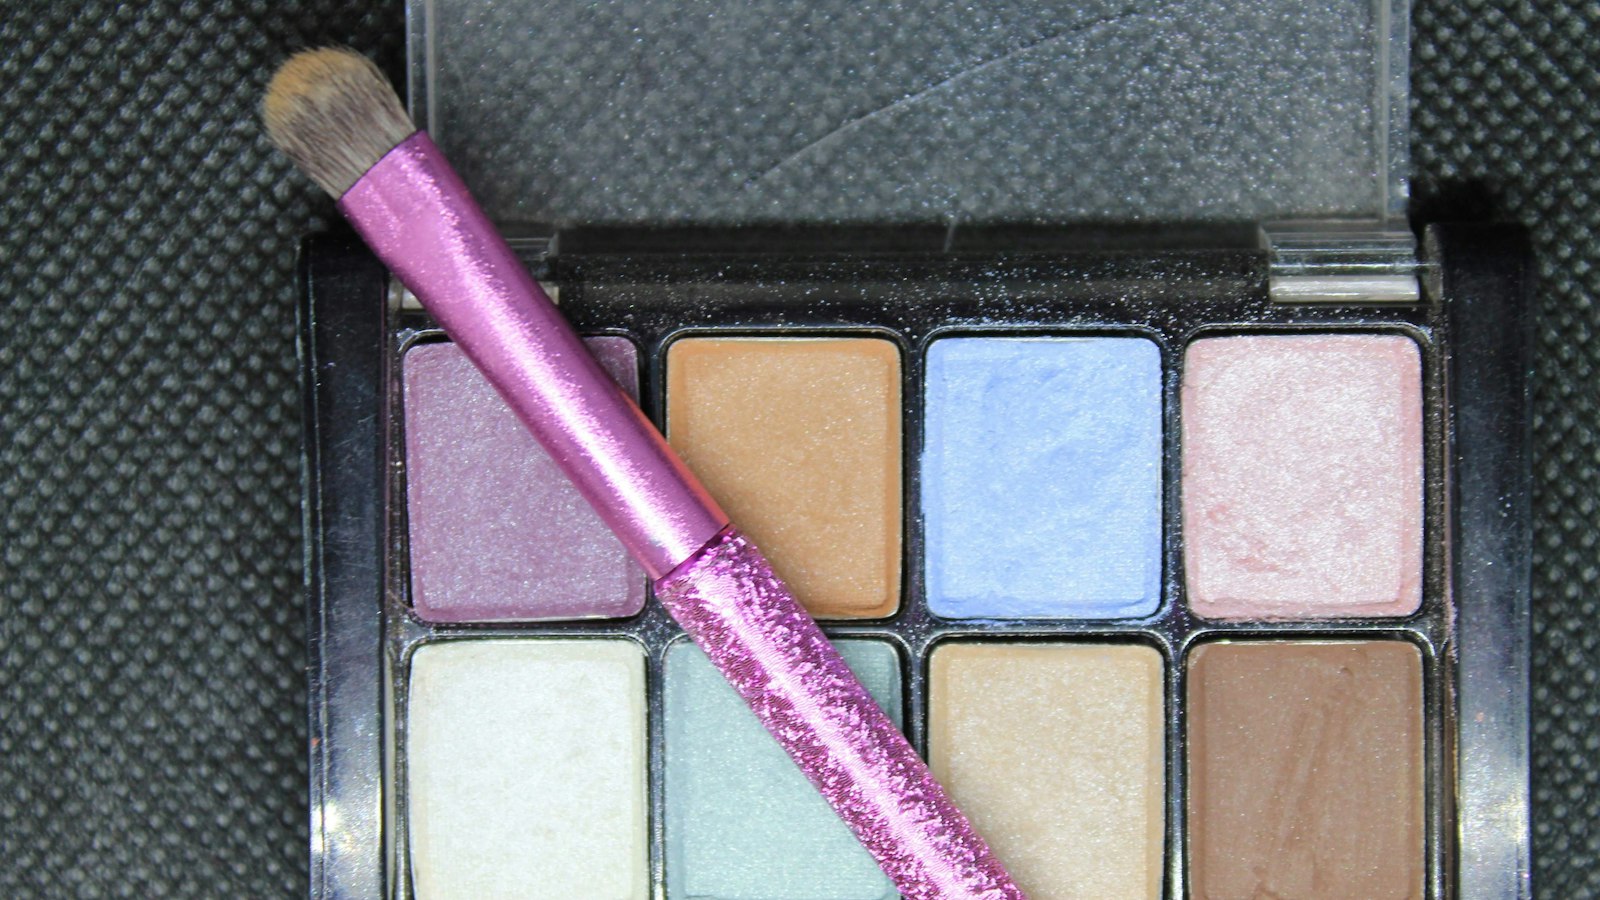
Photo by Clarissa Watson on Unsplash
Key Takeaways
A smudge brush does more than blend—it creates soft edges, texture, and light diffusion. Master these 5 techniques to improve your makeup, and remember: shape and bristle density determine how the brush performs. Press instead of swiping for eyeshadow, angle for liner control, and use the tip, middle, and base of your brush for highlighter—most people skip the base, which is where the best results come from.
- For eyeshadow: Press the brush flat into the lid instead of swiping—this builds color gradually and avoids streaks.
- For liner: Angle the brush at 45 degrees to control sharpness; a straight-on swipe causes bleeding.
- For highlighter: Use the tip for dots, the middle for swipes, and the base for wash—skipping the base leads to patchy results.
- Clean your brush after every use, even practice sessions—old pigment ruins texture and blending quality.
- Not all smudge brushes are the same: Tapered brushes soften edges; flat brushes diffuse light. Choose based on the look you want.
The 3 Smudge Brush Types—and Which One You’re Probably Using Wrong
Most people reach for one smudge brush and expect it to handle everything—blending eyeshadow, diffusing liner, and applying highlighter. But smudge brushes aren’t one-size-fits-all. The shape of the bristles, their density, and even the metal band (called the ferrule) change how the brush behaves. Using the wrong one leads to streaks, patchy application, or a brush that sheds all over your face.
Here’s a breakdown of the three types—and which one to use for each technique.
1. Tapered Smudge Brushes (The Precision Tool)
Best for: Eyeshadow blending, eyeliner diffusion, and sharp-to-soft transitions.
If your smudge brush has a flat top with a pointed tip, it’s a tapered brush. This is the go-to for blending—it lets you create sharp lines with the point while the flat base softens edges. The trick? Don’t swipe. Press the brush into the product first, then gently press and drag to blend. Swiping, as many tutorials suggest, drags pigment and causes streaks. The tapered shape is also the only one that works for liner diffusion—the point controls where the product goes, while the flat edge diffuses it cleanly.
Pro tip: Look for a thin ferrule (the metal band where the bristles meet the handle). A thinner ferrule offers more control, but thicker ones last longer. If the ferrule wobbles, the brush will shed—never buy a wobbly brush.
2. Round Smudge Brushes (The Highlighter Hack)
Best for: Highlighter, contour, and heavy product application—but not liner.
Round smudge brushes have dense, compact bristles and no taper. They’re great for grab-and-blend tasks like highlighter or contour because they pick up more product at once. But here’s the catch: they lack precision. The rounded shape means you can’t control sharp lines, so they’re useless for liner diffusion. Instead, use them for diffusing highlighter—load the tip for subtle glow, the middle for buildable intensity, and the base for dramatic texture.
Warning: If you’re using a round brush for liner, you’re doing it wrong. The dense bristles will smudge unevenly, and you’ll end up with a messy, patchy line.
3. Fan Smudge Brushes (The Smokey Eye Specialist)
Best for: Dramatic smokey eye texture—not blending.
Fan smudge brushes are rare and often mistaken for blending brushes. They have spread-out bristles that create soft, diffused texture—think of them as a cross between a blending brush and a smudging tool. Most people use them for blending, but that’s not their strength. Instead, they’re designed for building smokey eye layers with a feathery, airy finish.
Why you’re probably using them wrong: If you’re pressing and blending with a fan brush, you’re missing its purpose. Use it to sweep product outward from the lash line for a dramatic, smudged effect—like a softer version of a blending brush.
The Ferrule Matters (And Most People Ignore It)
The ferrule (the metal band where the bristles meet the handle) isn’t just decorative—it affects control and durability.
- Thin ferrules = More precision (better for blending).
- Thick ferrules = More durability (but less control).
- Wobbly ferrules = Shedding disaster. If the brush moves when you grip it, it’s already failing.
Never buy a brush with a loose or wobbly ferrule. It’ll shed bristles onto your face, and you’ll end up with a brush that looks like it’s been through a war.
Which One Should You Use?
| Task | Best Brush Type | Why? |
|---|---|---|
| Eyeshadow blending | Tapered | Precision for sharp-to-soft edges. |
| Liner diffusion | Tapered (point + flat) | Control sharp lines while diffusing. |
| Highlighter application | Round | Dense bristles grab more product for buildable glow. |
| Contour | Round | Compact shape for defined edges. |
| Smokey eye texture | Fan | Spread-out bristles create feathery diffusion. |
| Brow cleanup | Tapered (flat base) | Softens harsh lines without over-blending. |
Most people only own one smudge brush—and that’s a mistake. If you’re serious about blending, invest in at least a tapered and a round for versatility. (The fan is a nice-to-have for dramatic looks.)
Next up: We’ll show you how to use each brush type for flawless blending, liner diffusion, and highlighter tricks—without the streaks or patchiness.
Technique #1: The ‘Press-Don’t-Swipe’ Eyeshadow Blend (Avoids Streaks)
Here’s what you need to know: swiping a smudge brush across eyeshadow causes streaks. Most tutorials treat the smudge brush like a blender, but that’s not how it works. The key? Press, don’t swipe. This one change—from dragging to pressing—eliminates streaks and gives you a seamless, professional-grade blend every time.
Why Swiping Fails (And What to Do Instead)
A smudge brush is designed to transfer pigment, not scrape it. When you swipe, you’re essentially dragging loose particles across your lid, which creates streaks. Instead, press the brush firmly into the shadow, then lift it straight up—like you’re stamping a postage mark. This method deposits pigment evenly, without disturbing the texture of your shadow. For transition blending (like fading from matte to shimmer), start with a light press near the crease, then gradually increase pressure toward the lid. The brush’s tapered shape does the fading for you—no extra strokes needed.
Pro Hack: Before blending, dip your smudge brush in setting spray (just a light mist). This helps powder shadows adhere better, so they don’t flake or streak when you press. Skip this step with cream shadows—they’ll just smear.
The Common Mistake (And How to Fix It)
The biggest error? Overloading the brush. A swipe loads too much product, which clumps and streaks. Instead, tap the brush lightly against your shadow (not swipe it)—just enough to pick up pigment for 3–5 blends. Think of it like dipping a paintbrush: one light tap is all you need. If your shadow is too dark after blending, you’ve either pressed too hard or used too much product. Start lighter and build up.
The Brush That Makes This Easier
Not all smudge brushes are created equal. Look for one with aligned bristles and a firm ferrule—this ensures even pressure distribution. A brush with a tapered shape (wider at the base, narrower at the tip) gives you more control for both crease work and lid blending.
Remember: The press-don’t-swipe rule works for all eyeshadow formulas—powder, cream, or loose. Master this, and you’ll never have to fight streaks again.
Technique #2: The ‘Angle Hack’ for Flawless Liner Diffusion
Here’s what you need to know: your smudge brush is bleeding your liner because of the angle. Most tutorials treat the brush like an eraser, but the real secret is the angle. A 45-degree tilt is the difference between a crisp wing and a smudged mess.
Why Angle Matters
The angle of your brush determines how much of the line you dissolve. Steep (closer to 90 degrees) = sharper edges. Flatter (closer to 30 degrees) = softer fade. This isn’t just theory—it’s physics. The bristles act like a wedge: the narrower the angle, the more pigment you pick up per stroke. That’s why a flat angle creates a gradient, while a steep angle lets you preserve definition.
The Winged Liner Fix
Winged liner is where this hack shines. Don’t smudge—lift. Press the tip of the brush into the liner at the wing’s point, then drag upward (not sideways). This diffuses the sharp edge without touching the wing itself. Think of it like shaping clay: you’re not erasing, you’re sculpting. The key? Avoid overloading. One light tap on the liner is enough—excess pigment turns your diffusion into a disaster.
The Cold Reset
Already smudged? Chill your brush for 30 seconds in the fridge. Cold bristles grip pigment less aggressively, giving you finer control. It’s the makeup equivalent of a reset button—no need to buy a new brush, just a quick pause.
The Mistake Everyone Makes
Here’s what you’re probably doing wrong: swiping horizontally. That’s how you get feathered edges and lost wings. Instead, work in small, vertical motions—like you’re painting a fence. And never, ever press straight down. That’s how you turn a sharp line into a smudge.
Image: 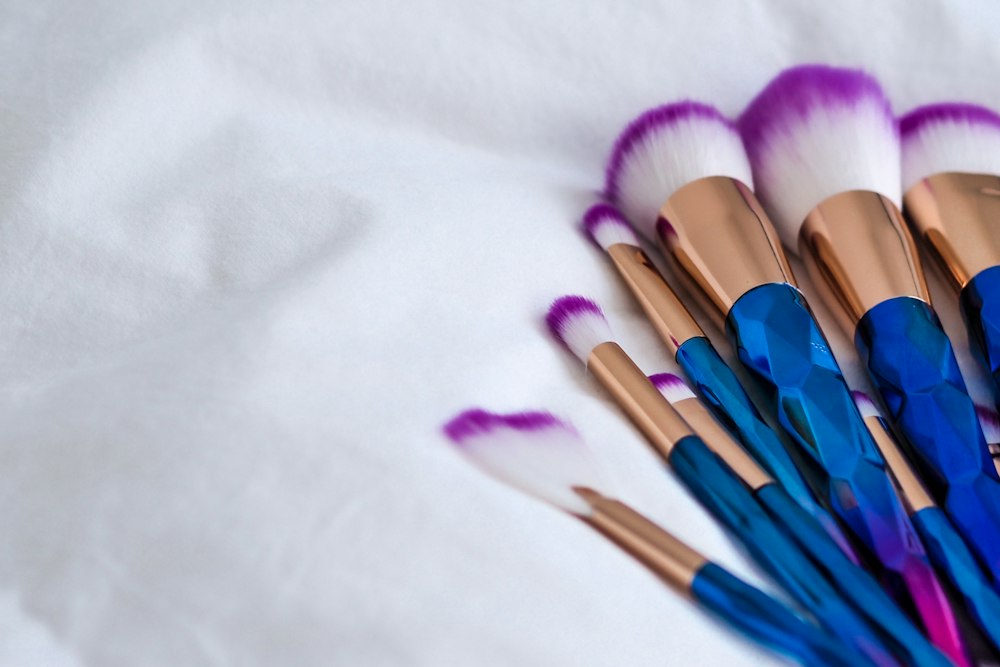 Photo by Laura Chouette on Unsplash
Technique #3: Highlighter Smudge Brush Tricks (No More Patchy Glow)
Flawless Blending in 5 Minutes: The Pro Makeup Artist’s Brush System for Busy Creators — If blending feels like a guessing game—especially with hooded lids or busy schedules—this system turns technique into a 5-minute routine with pro-level precision. Includes 1 free bonus resource. 5-minute pro makeup blending system for busy creators
Your smudge brush isn’t just for blending—it’s also great for highlighter. The trick? Using different parts of the brush for different jobs. Most guides treat the smudge brush like a one-size-fits-all tool for highlighter, but the tip, middle, and base each do a different job. Here’s how to use them right—and why a dirty brush is your biggest enemy.
The Brush Anatomy for Highlighter
Think of your smudge brush like a three-part toolkit:
-
The Tip – For dots (cheekbones, brow bone, Cupid’s bow).
- Press lightly—don’t swipe. Pressing builds the glow gradually without dragging.
- Pro tip: Use a sideways angle (45 degrees) to avoid streaks. Most people hold it flat, which flattens the highlight.
-
The Middle Section – For swipes (temples, under the eyes, inner corners).
- Swipe in one direction, then blend immediately with the same brush to soften.
- The middle’s medium-density bristles pick up just enough product for a sheer wash—no clumping, no patchiness.
-
The Base – For washes (inner corners, under eyes, jawline).
- The dense bristles here diffuse light softly—no sharp edges, just a luminous glow.
- Press lightly and stipple (tap gently) for a blurred, diffused effect.
The 3-Pass Highlighter Layering Trick
Most people apply highlighter in one go and call it done. Wrong. For a flawless, long-lasting glow, layer in three passes:
- First Pass (Base Layer) – Lightly press the brush (tip or middle) and tap the highlighter into place. This sets the foundation without overpowering.
- Second Pass (Intensity Boost) – Press slightly harder and swipe in the direction of your cheekbones for a subtle lift.
- Third Pass (Set It) – Dust a tiny bit of translucent powder over the highlighter with the brush (or a fluffy brush) to lock it in.
This method prevents settling and keeps the glow bright all day.
The Most Common Mistake: A Dirty Brush
Old highlighter residue makes your brush grab unevenly, leading to:
- Patchy application (some areas darker than others).
- Streaky blending (the brush leaves lines instead of diffusing).
- Clumping (if the product is powder or cream-based).
Fix it: Clean your smudge brush after every use with micellar water or a gentle brush cleaner. A clean brush = even product pickup = flawless glow.
When to Use a Smudge Brush vs. a Highlighter Brush
Some makeup artists swear by a dedicated highlighter brush, but your smudge brush can do just as well—if you use the right technique. The key difference?
- Smudge brush = diffusion (soft edges, blending).
- Highlighter brush = precision (sharp cuts, defined edges).
For contour-heavy looks, a highlighter brush might be better. But for glowy skin, the smudge brush wins—as long as you use the right part of it.
Pro Move: Want a brush that handles highlighter like a dream? A round smudge brush with dense bristles picks up more product without clumping—perfect for cheekbones and brow bones.
Final Rule: Highlighter isn’t just about where you put it—it’s about how you put it. Use the tip for dots, the middle for swipes, and the base for washes. Layer in three passes, and never skip the cleanup. That’s how you get glow that lasts.
Technique #4: The ‘Smudge-to-Blend’ Transition for Smokey Eyes
Here’s the secret: smokey eyes aren’t built with blending alone—they’re sculpted with a smudge brush’s shape. The brush’s angled ferrule and tapered bristles are designed to diffuse color, not just smear it. That’s why the best smokey eyes start with a press, not a swipe.
Step 1: The Base Layer (Press, Don’t Swipe)
Most tutorials have you swipe a smudge brush across shadow—that’s the fastest way to streaks. Instead:
- Load the brush with a cream shadow—powder shadows may not blend as smoothly.
- Press the brush firmly into the shadow on your lid, then drag it horizontally (not vertically) across the lid. This creates a soft gradient without streaks.
- Repeat in the crease, but this time press and drag diagonally (toward the outer corner) to avoid that harsh line between lid and crease.
Why it works: The brush’s shape naturally diffuses color outward, while the horizontal drag prevents the bristles from catching on the lash line.
Step 2: Building Depth (The ‘Melt’ Technique)
For that dramatic smudged look, you need depth. Here’s how:
- Pick a dark shadow (matte, not shimmer—it shows streaks).
- Press the brush into the shadow, then drag it upward into the crease at a 45-degree angle. This “melts” the color into the skin, avoiding the sharp crease line that ruins a smokey eye.
- For extra drama, use a fan smudge brush—its wider bristles spread color more dramatically than a tapered brush.
Pro tip: If your blend looks muddy, you’re missing the transition shade. Layer a medium-toned shadow between your dark and light shades—the smudge brush smooths this better than a fluffy brush ever could.
The Fan Brush Advantage (When to Switch)
Not all smudge brushes are equal. Fan-shaped smudge brushes (with their wide, flat bristles) excel for:
- Diffusing shadow into the crease (their spread-out bristles cover more area).
- Softening harsh liner edges.
- Creating a gradient on the lid (their shape naturally diffuses color outward).
If you’ve only got a tapered smudge brush, you’ll need to work in smaller sections and press harder to get the same effect.
Fixing Common Mistakes
- Streaks? You’re swiping instead of pressing. Press first, then drag.
- Harsh lines? Your angle is wrong. 45 degrees is key—not straight up or down.
- Muddy blend? You skipped the transition shade. Medium tones are your friend.
Why This Works (The Physics of It)
The smudge brush’s angled ferrule and tapered bristles are designed to diffuse, not just blend. When you press and drag, you’re using the brush’s natural shape to spread color evenly, while the horizontal motion prevents the bristles from snagging on the lash line.
Final rule: If your smokey eye looks flat, you’re not using the brush’s shape—you’re just smearing. Press, angle, and drag for that pro-level diffusion.
Next up: Technique #5: The ‘Cleanup Smudge’ for Flawless Brows—because your smudge brush isn’t just for eyes.
Technique #5: The ‘Cleanup Smudge’ for Flawless Brows
Here’s the secret: your smudge brush isn’t just for eyes—it’s the ultimate brow tool. Most guides treat brows as a separate category, but the right smudge brush can soften harsh lines, fill sparse areas, and even replace a brow pencil. The trick? You’re not blending—you’re sculpting.
The Two-Product Hack for Instant Brow Perfection
Start with translucent powder (or your usual setting powder) and a lightly tinted shadow (taupe or a matte brown). Dip just the tip of the brush into the powder—no need to load it heavily—and press along the brow edge to erase sharp lines. For filling in sparse brows, switch to the tinted shadow and press the brush into the hairs (don’t swipe!) to mimic natural strokes. The key? A tiny bit of powder or setting spray on the brush makes it glide without pulling hairs.
Why This Works (And Why Most Guides Skip It)
Smudge brushes are designed for precision, not broad strokes. Their angled ferrule and tapered bristles let you work close to the brow bone without smudging too much. Most tutorials treat brows as a pencil-and-brush job, but the smudge brush’s shape lets you blend and define in one motion—no extra tool needed.
The Pro’s Non-Negotiable Rule
Store your smudge brush vertically in a holder. Brows demand sharp, defined lines, and a brush that’s been left flat will lose its shape over time. A slouchy brush = imprecise strokes = the whole look falls apart. (Yes, this matters more than you think—ask any professional.)
What Happens When You Get It Wrong
- Using the brush dry? You’ll pull hairs and create patchy gaps.
- Swiping instead of pressing? You’ll blur the brow instead of refining it.
- Skipping the powder? The brush will drag, leaving streaks instead of a smooth edge.
This isn’t just a quick fix—it’s a big deal for brows, and the best part? You already own the brush. Now go try it.
How to Pick a Smudge Brush That Won’t Let You Down
A smudge brush isn’t just a tool—it’s the difference between a sharp, polished look and a muddy mess. But with so many shapes, sizes, and bristle types out there, how do you pick the one that actually works for your makeup? The answer isn’t about brand names or price tags. It’s about three non-negotiable criteria that decide whether a brush will deliver flawless blending, liner diffusion, or even highlighter magic.
1. Ferrule Shape: The Hidden Key to Control
The ferrule—the metal band that holds the bristles—is where most people go wrong. A straight ferrule (flat or slightly angled) is the workhorse for eyeshadow blending, while a deeply angled ferrule (like a 45° or 60° taper) is your secret weapon for liner diffusion and highlighter definition. Here’s how to check:
- Hold the brush at eye level. If the bristles fan out like a triangle when you angle it, you’ve got a deep ferrule—perfect for liner and brow work.
- Compare it to your current brush. If the new one’s ferrule is shallower than what you’re used to, you’ll fight for control when diffusing liner. If it’s deeper, it’ll feel awkward for eyeshadow blending.
- The rule: Your smudge brush should match the most frequent job you use it for. If you do more liner than shadow, prioritize the angle.
2. Bristle Density: Dense for Diffusion, Sparse for Precision
A smudge brush with tightly packed bristles (like a chisel tip) is built for diffusing hard edges—eyeshadow, liner, or even brow pencil. But if the bristles are too sparse, you’ll get patchy highlighter or streaky shadow. Here’s the test:
- Press the bristles against your skin. If they leave a solid line without gaps, the density is right for blending. If they skip or drag, the bristles are too sparse.
- Check the tip. A tapered tip (narrower at the end) is ideal for liner and brow work. A straight tip works better for eyeshadow.
- The rule: For highlighter, you need a brush with medium-density bristles—dense enough to pick up product but soft enough to feather it out. For liner, look for a firm, tapered tip that won’t fray.
3. Handle Ergonomics: The Make-or-Break Detail
A brush that feels awkward in your hand will make you rush, and rushing is how streaks happen. Look for:
- A slightly angled handle (not too extreme—you’re not gripping a paintbrush). This lets you rest your wrist naturally when blending.
- A weight you can control. Too light, and the brush will feel flimsy; too heavy, and your arm will tire mid-blend. The right one should feel like an extension of your fingers.
- The rule: If you’re doing heavy smokey eyes or liner work, prioritize a sturdy, slightly weighted handle. For highlighter or brow touch-ups, a lighter brush is fine.
The Trap to Avoid: Assuming “Smudge Brush” Means One Thing
Here’s the truth: Not all smudge brushes are created equal. Some are designed for eyeshadow, others for liner, and a few are hybrids. If you’re using a brush with a flat ferrule and sparse bristles for liner diffusion, you’ll end up with a muddy line. If you’re using a deeply angled brush with dense bristles for eyeshadow, you’ll get streaks.
The fix? Match the brush to the job:
- Eyeshadow blending? Straight ferrule, medium-density bristles, slightly angled handle.
- Liner diffusion? Deeply angled ferrule (45°–60°), firm tapered tip, sturdy handle.
- Highlighter or brows? Medium-density bristles, tapered tip, lighter handle.
Where to Find the Right One
You won’t see these details on packaging (brands don’t advertise the ferrule angle), so your best bet is to:
- Hold the brush in-store (if possible) and test the ferrule angle.
- Check the bristle density by pressing it against your skin.
- Grip it like you would in use—if it feels unnatural, put it back.
Final Decision Rule
If you’re still stuck, here’s the shortcut:
- Do you blend more eyeshadow than liner? Pick a straight-ferrule brush with medium-density bristles.
- Do you do more liner than shadow? Go for a deeply angled ferrule with a firm tapered tip.
- Do you use it for highlighter or brows? A medium-density, tapered brush is your best bet.
The brush that fits these criteria for your needs is the one that won’t let you down.
Smudge Brush vs. Blending Brush: When to Use Each
Here’s what you need to know: your smudge brush and blending brush aren’t interchangeable. One is for precision; the other is for coverage. The difference isn’t just in the bristles—it’s in how they move and what they’re built to do.
A smudge brush has shorter, denser bristles packed tightly into a compact shape. It’s designed for sharp edges, texture, and controlled diffusion—think softening harsh eyeliner, smudging highlighter dots into a glow, or refining smokey eye edges. The key? Precision. You’re not spreading color; you’re shaping it. That’s why you’ll never see a pro use one for full-face contour—the bristles would clump and streak.
A blending brush, on the other hand, has longer, softer bristles that fan out wider. It’s built for smooth gradients and large-area diffusion, like blending eyeshadow across the lid or softening contour into the cheekbone. The goal here is coverage, not control. Swap them, and you’ll end up with either patchy highlighter or streaky liner.
When to Use Each (And Why You’re Probably Wrong)
-
Use a smudge brush when:
- You need sharp edges (e.g., smudging tight-liner wings or brow gel).
- You’re working with small, defined areas (highlighter dots, eyeshadow cutouts).
- You want texture (e.g., diffusing a matte liner into a smokey eye).
- You’re refining—not building—color (e.g., cleaning up smokey eye fallout).
-
Use a blending brush when:
- You’re creating smooth gradients (e.g., blending shadow from lid to crease).
- You need full coverage (e.g., diffusing contour or bronzer across the face).
- You’re working with large areas (e.g., blending eyeshadow across the entire lid).
Pro tip: Pair them. Start with a blending brush to lay down your base color, then use the smudge brush to refine edges and add definition. That’s how pros get flawless diffusion without streaks—and why most tutorials leave you guessing.
The Confusion (And Why It Matters)
Most guides treat these brushes like they’re the same tool with different names. They’re not. The shape of the ferrule (the metal part at the base) and bristle density are engineered for specific jobs. A smudge brush’s compact head lets you work in tight spaces without smudging unintended areas, while a blending brush’s wider shape is built to glide over larger surfaces.
Here’s the trap: If you’re using a blending brush to smudge liner, you’re fighting the tool’s design. The longer bristles will grab and drag, causing feathering or uneven diffusion. Conversely, using a smudge brush to blend full-face contour? You’ll end up with a muddy mess because the bristles can’t hold enough product.
The Fix (One Rule to Rule Them All)
Ask yourself this before you pick up a brush:
- Am I building a base, or refining an edge?
- Base? Blending brush.
- Edge? Smudge brush.
That’s it. No guesswork. No “close enough.” The right tool for the job isn’t just about avoiding streaks—it’s about speed and control. And once you master this, you’ll never go back to swapping them willy-nilly.
Frequently Asked Questions
Can I use a smudge brush for foundation?
No—this is the most common mistake beginners make. A smudge brush can handle liquid or cream formulas. Its tapered shape and firm bristles push foundation into pores, creating a cakey, uneven finish. Instead, use a dense, fluffy blending brush (like a stippling brush) for foundation. The difference? A smudge brush’s angled ferrule is meant to diffuse hard edges (like eyeshadow or liner), not distribute fluid formulas. If you’re desperate for a quick fix, try the tip of a smudge brush—but only for light coverage on dry skin, and never for full-face application.
How do I fix a smudge brush that’s shedding bristles?
Shedding usually means two things: you’re cleaning it wrong, or the bristles are too old. Here’s the fix:
- Stop the rinse-and-pat method. That weakens the ferrule glue. Instead:
- Dip the bristles in lukewarm water (no soap—it dries them out).
- Gently squeeze between your palms (like wringing a dishrag) to remove product.
- Reshape the bristles by holding the ferrule in one hand and fanning the bristles with the other.
- Check the ferrule. If the glue joint is cracked, the brush is done—no amount of cleaning will save it. Replace it before the bristles clump into a useless lump.
- Prevent future shedding: Never leave your brush bristle-down in a cup (it warps the shape), and air-dry flat on a towel, not upright.
What’s the difference between a smudge brush and a smokey eye brush?
They’re not the same tool, and mixing them up ruins your blend. Here’s how to tell them apart:
- Smudge brush: Tapered bristles, angled ferrule, and a shorter handle. Designed for diffusing sharp lines (liner, shadow) and softening transitions. The tip is the most precise part—use it for liner; the middle for shadow.
- Smokey eye brush: Longer handle, denser bristles, and a flatter shape. Built for packing shadow into the crease and building intensity, not blending. If your brush looks like a blending brush but with a slanted ferrule, it’s a hybrid—but it’s still not a true smudge brush.
Pro tip: If you only own one brush, the smudge brush is the Swiss Army knife. The smokey eye brush is a specialist—skip it unless you’re doing heavy smokey eyes daily.
How often should I clean my smudge brush?
After every use. Eyeshadow, liner, and highlighter gunk hardens into the bristles, turning your brush into a streaky mess. Clean your smudge brush thoroughly between uses. Rinse immediately after use (even if you’re not done with your look). 2. Reshape the bristles while wet to maintain the taper. 3. Air-dry flat—never upright, or the bristles will warp into a useless blob.
Why this matters: A dirty smudge brush is the fastest way to ruin a flawless blend. The bristles pick up old product and transfer it to your skin, creating muddy patches. No exceptions. If you’re lazy, invest in a brush-cleaning spray (like the ones with a brush holder)—it saves time and effort.
Bonus: The One Question No One Asks (But Should)
Why does my smudge brush leave streaks when I blend eyeshadow? You’re swiping instead of pressing. The most common cause of streaks is using the brush like a blending brush—dragging it across the lid. Here’s the fix:
- Press the bristles into the shadow (like pressing a sponge into paint).
- Drag downward (not side-to-side) to diffuse the edge.
- Use the tip for precision, the middle for broader blends, and the base for lifting color (not smudging).
Most tutorials teach swiping because it’s easier to demonstrate—but it’s the opposite of what a smudge brush is designed for. Press. Don’t swipe. That’s the secret to streak-free blending.
Your Smudge Brush Upgrade Plan
Ready to improve your blending? Here’s how to do it right—without wasting money or time.
Start with one technique. Master the press-don’t-swipe method for eyeshadow first. Swiping creates streaks; pressing builds seamless color. Once that’s second nature, move to the 45-degree angle hack for liner diffusion, then highlighter tricks. Adding techniques too soon muddies your skill.
Invest in two brushes. A tapered one handles liner and eyeshadow; a round one excels at highlighter. (No, a single brush can’t do both well.) Skip the “one brush for everything” myth—it’s the fastest way to patchy makeup.
Clean after every use. A dirty brush is a streaky brush. Rinse bristles under lukewarm water, reshape them with your fingers, and lay flat to dry. Skipping this step clogs bristles and shortens your brush’s life—like using a dull knife.
Play with angles and pressure. The same brush can create sharp lines or soft blends. Hold it at 45° for liner diffusion, nearly flat for eyeshadow, and tap lightly for highlighter. Pressure controls intensity—press harder for deeper color, lighter for a sheer wash.
Upgrade smart. No need to buy every brush on the market. Focus on these two first, then expand. And always clean them—your future self will thank you.
(Want to go further? Try the smudge-to-blend transition for smoky eyes—it’s where the real magic happens.)
Keep reading
Keep exploring the topic with these related guides:
- Clean Douyin Makeup: 7 Steps to Flawless Blending
- Clean It Zero Makeup Remover Pad: Expert Tips for Flawless Use
Next step: Ready to blend like a pro in half the time? Grab the step-by-step guide to master your smudge brush—no shortcuts, just science-backed speed. digital guide to perfect smudge brush techniques fast