
Blending Sponge Secrets: 5 Hidden Pro Traits That Set Them Apart
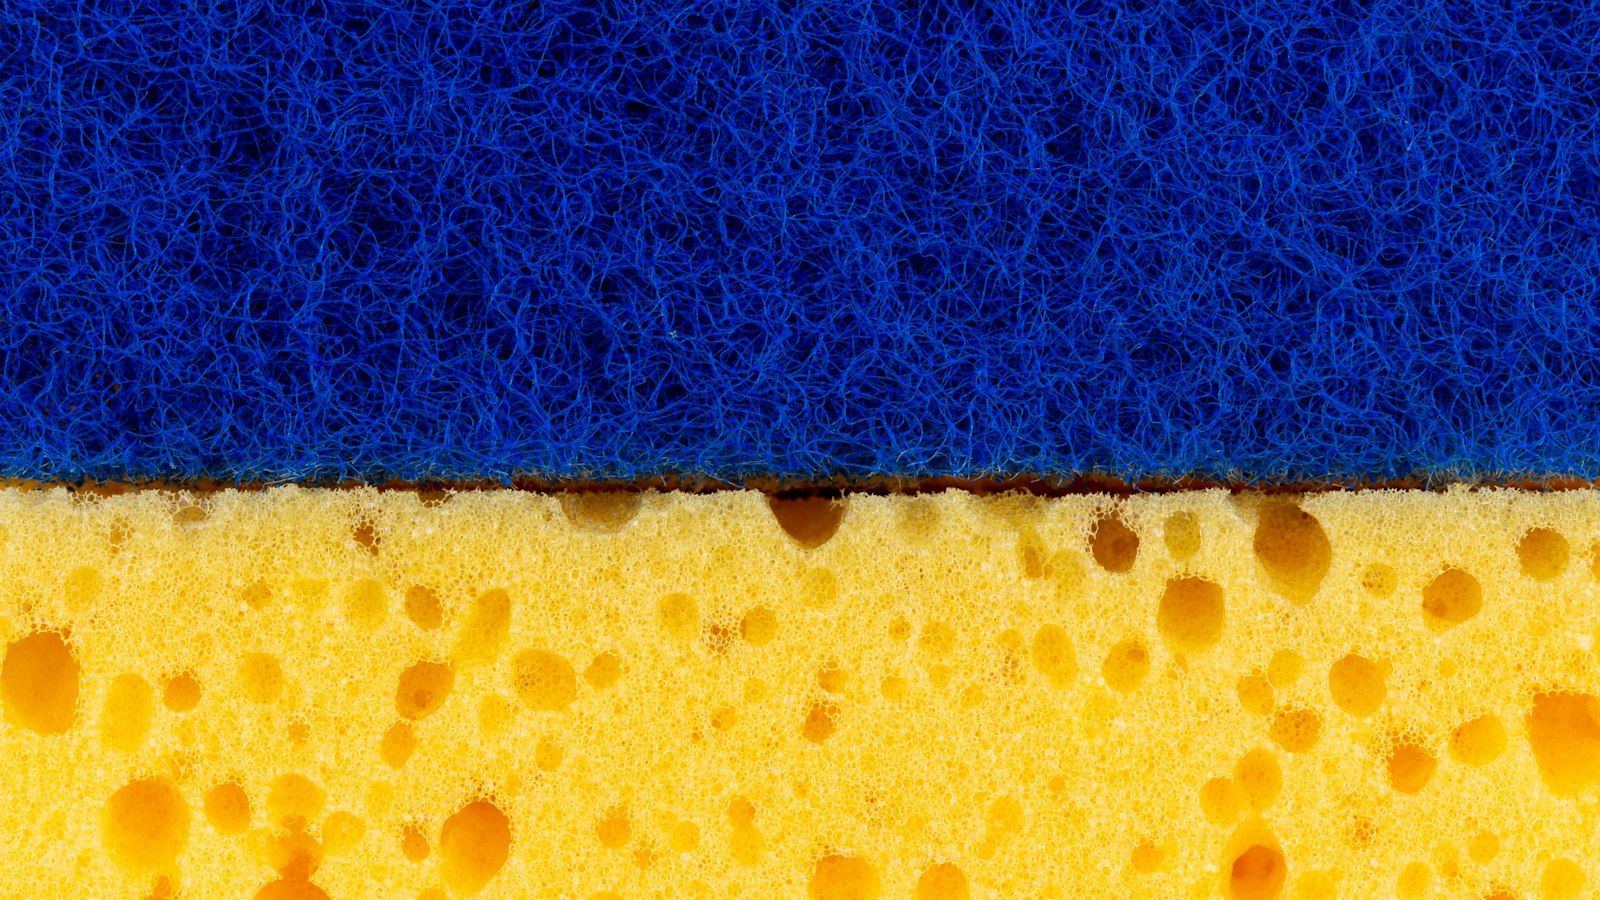
Photo by Volodymyr Hryshchenko on Unsplash
Key Takeaways
A blending sponge’s effectiveness hinges on five key traits, not price or brand. Ignore marketing and prioritize these instead:
- Cell structure (open vs. closed pores) dictates absorption—poor design leaves streaks or dry patches.
- Edge shape (beveled, rounded, or flat) affects precision; wrong edges mean extra blending time.
- Reusable vs. disposable impacts hygiene (disposable sponges harbor bacteria) and durability (reusables last longer).
- Material (latex-free, vegan, or synthetic) can cause allergies or microplastic shedding—check labels.
- Always verify edge type, latex content, and absorption before buying to match your routine’s needs.
What Decides a Sponge’s Blending Success
| Criterion | Why it decides the outcome | How to check it yourself | Red flag |
|---|---|---|---|
| Cell structure | Determines how product absorbs and releases—open cells dry faster but blend liquid well; closed cells hold cream longer but risk buildup. | Press the sponge firmly: if it springs back instantly, it’s open-cell (ideal for liquid foundation). If it has slight give, it’s closed-cell (better for cream). | Sponge feels mushy or collapses under pressure—likely poor cell integrity. |
| Edge shape | Dictates line definition (beveled) vs. soft diffusion (rounded)—critical for contour vs. seamless blends. | Hold the sponge to the light: a beveled edge has a visible angle; a rounded edge is smooth all around. Run your finger along it—beveled feels like a chisel, rounded glides like a spoon. | Jagged or uneven edges—will pill (fray) quickly and create uneven application. |
| Reusability vs. disposability | Affects hygiene (disposables prevent bacteria buildup) and longevity (reusables last months if cared for properly). | For reusables: squeeze and release—if it holds shape after 3 washes, it’s durable. For disposables: check if it’s labeled “sterile packaging” (no mention = assume contaminated). | Loses shape after one wash (reusables) or lacks hygiene claims (disposables). |
| Material composition | Influences skin safety (latex allergies, microplastics) and product adhesion (synthetic vs. vegan). | Look for labels: “100% latex-free,” “phthalate-free,” or “hypoallergenic.” If missing, test on skin—if it causes irritation, avoid. | No material safety claims or “natural” sponges that shed fibers when wet. |
| Density vs. softness | Balances control (dense resists collapse) and conformability (soft blends smoothly)—too soft = streaks; too dense = stiff application. | Press with moderate force: if it deforms easily, it’s too soft (will absorb unevenly). If it barely budges, it’s too dense (won’t conform to skin). Aim for slight give—like a damp washcloth. | Feels like a brick (too dense) or a wet paper towel (too soft). |
| Hygiene construction | Seams, glue, or porous materials trap bacteria—critical for reusables. | Inspect for visible stitching, adhesive lines, or rough edges. For disposables, verify “sterile packaging” on the product page. | Visible seams, glue, or no hygiene claims (reusables); no sterile packaging label (disposables). |
| Edge durability | Poor-quality edges pill (fray) or dull over time, ruining precision. | Rub your thumb along the edge—if it feels rough or fibers lift, it’s poorly made. Test with foundation: if it leaves a fuzzy residue, the edge is degrading. | Fibers snag or lift when touched; leaves texture on skin during application. |
The 5 Specs That Actually Separate Pro-Grade Sponges
Here’s the truth: A blending sponge’s performance boils down to five specs—none of them price, brand, or marketing fluff. If you’re comparing sponges, ignore the hype and focus on these instead. They’re the only things that actually decide whether your foundation stays put, your contour stays crisp, and you don’t end up with a sticky mess.
1. Cell Structure: Open vs. Closed
This is the #1 deciding factor—most guides skip it, but it’s the difference between a sponge that works for liquid foundation and one that’s useless for powder. Open-cell sponges (like the original Beautyblender) absorb more product but dry out faster. Press firmly: if it springs back instantly, it’s open-cell. Closed-cell sponges (common in Korean teardrop sponges) hold moisture longer but can clog with product buildup. The trade-off? Open-cell for quick, high-absorption blending; closed-cell for longevity with cream products.
Check this before you buy: Does it spring back when pressed? Open-cell = instant rebound. Closed-cell = slight give.
2. Reusability vs. Disposability
Reusable sponges (latex-free foam, vegan cellulose) last 6–12 months—if you clean them properly. Check the sponge’s integrity after washing: if it falls apart or loses shape, it’s worn out. Disposables (cotton pads, single-use blending sponges) are hygienic but wasteful. The real test? Look for ‘machine-washable’ in the care instructions—and don’t assume ‘reusable’ means it’ll survive a cycle.
Red flag: If the sponge loses shape after one wash, it’s not worth the hassle.
3. Edge Design: Beveled vs. Rounded
A beveled edge (like on Real Techniques’ sponges) creates sharp lines for contour; a rounded edge (like the original Beautyblender) blends softly. Flat edges (common in powder puffs) may not work well with liquid foundation—they can smear instead of blending. The edge shape isn’t just about aesthetics: it’s about control. Need definition? Go beveled. Prefer a seamless finish? Rounded.
Quick test: Hold the sponge up to the light. A beveled edge has a slight angle; a rounded edge is smooth all the way around.
4. Material Composition: Latex-Free vs. Synthetic
Latex-free sponges (vegan cellulose, synthetic microfiber) are safer for sensitive skin but may not hold product as well. Missing ‘phthalate-free’ or ‘hypoallergenic’ labels? That’s a red flag—potential irritation ahead. The material isn’t just about comfort; it’s about durability and product adhesion. A cheap synthetic sponge might feel soft but fall apart after a few uses.
What to look for: “100% latex-free,” “phthalate-free,” and “hypoallergenic” in the ingredients.
5. Density vs. Softness
A denser sponge (like Korean ‘velour’ sponges) resists collapse under pressure but can feel stiff. A softer sponge (like e.l.f.’s Beauty Sponge) conforms to skin but may absorb unevenly. Press with moderate force: if it deforms easily, it’s too soft. If it barely budges, it’s too dense. The sweet spot? A sponge that gives slightly but doesn’t flatten out—just enough to blend without losing structure.
Pro move: Test with foundation before buying. If it soaks up product like a vacuum but leaves streaks, it’s too dense. If it feels like a wet paper towel, it’s too soft.
The Decision Flowchart
Still stuck? Here’s how to pick:
- Liquid foundation? Prioritize open-cell structure and a beveled edge.
- Powder or cream? Closed-cell and rounded edges win.
- Sensitive skin? Latex-free, phthalate-free—no exceptions.
- Daily use? Reusable (but check washability—really check it).
- Quick fixes? Disposable (but expect to replace it often).
Skip the guesswork: Verify these five specs before you pay. The right sponge isn’t about the brand—it’s about how it works for you.
How to Test a Blending Sponge Before You Buy (No Expert Needed)
Don’t gamble on a sponge that won’t live up to the hype. The right one should feel like an extension of your hand—not a gamble. Here’s how to test any sponge before you buy, using only your fingers and a little foundation.
The Absorption Test: Closed Cells vs. Open Cells
Cell structure is the single most overlooked spec in blending sponges. Closed cells (where product beads up on the surface) are ideal for cream foundations—they create a smooth, buildable layer. Open cells (where product soaks in instantly) work better for liquid foundations but dry faster. To test:
- Dab a dime-sized amount of foundation onto the sponge.
- Press firmly. If the product pools on top, it’s closed-cell. If it disappears instantly, it’s open-cell.
- Pro tip: If you’re using a cream product, closed cells are your friend. For liquid foundations, open cells let you work faster—but they’ll need frequent reapplication.
The Edge Test: Beveled vs. Rounded
A sponge’s edge determines whether your blend is sharp or soft. Beveled edges (like a chisel) create crisp, defined lines—perfect for contouring or sharp cut creases. Rounded edges blend softly, ideal for diffused foundation or powder application.
- Run your finger along the edge. A beveled edge will feel like a knife’s blade; a rounded edge will glide smoothly.
- Red flag: If the edge feels jagged, the sponge is poorly manufactured and will pill (fray) over time.
The Hygiene Check: Seams, Glue, and Sterility
Reusable sponges with visible seams or glued edges are breeding grounds for bacteria. If the packaging claims sterility, verify it with the manufacturer’s product details.
- For reusable sponges, check for stitching or adhesive lines. These weak points trap grime.
- For disposables, scan the product page for a hygiene claim. No mention? Walk away.
The Weight Test: Density Matters
A sponge that’s too light will collapse under pressure; one that’s too heavy won’t conform to your skin. The ideal sponge should feel like a soft, damp washcloth—light enough to move freely, but dense enough to hold its shape.
- Hold the sponge in your palm. If it feels flimsy, it’s low-density and will flatten after a few swipes. If it’s rigid, it’s over-dense and won’t blend smoothly.
- Trade-off: Lighter sponges are easier to carry but less durable. Heavier ones last longer but may feel bulky.
The Manufacturer’s Claim Audit: Don’t Trust the Label
Brands lie. If a sponge is labeled latex but the care instructions say “machine-washable,” it’s a red flag—latex degrades in water. Always cross-check:
- Does the product page match the care instructions?
- Is it labeled for your skin type? (e.g., “oil-free” for acne-prone skin?)
- If it’s reusable, can it be sanitized properly? (Latex and some synthetics can’t.)
The Most Common Mistake? Picking based on price or brand instead of these five tests. Most guides ignore the cell structure vs. edge shape trade-off—it’s the difference between a sponge that works and one that’s just a damp cloth.
Need a quick checklist? Bookmark this: ✅ Absorption: Closed cells for cream, open for liquid. ✅ Edge: Beveled for sharp lines, rounded for soft blends. ✅ Hygiene: No seams on reusables; sterile packaging on disposables. ✅ Weight: Feels like a damp washcloth, not a brick. ✅ Claims: Latex + machine-washable = lie. Verify compatibility.
Run these tests before you buy, and you’ll never waste money on a sponge that won’t perform.
Which Type Fits Your Makeup Routine?
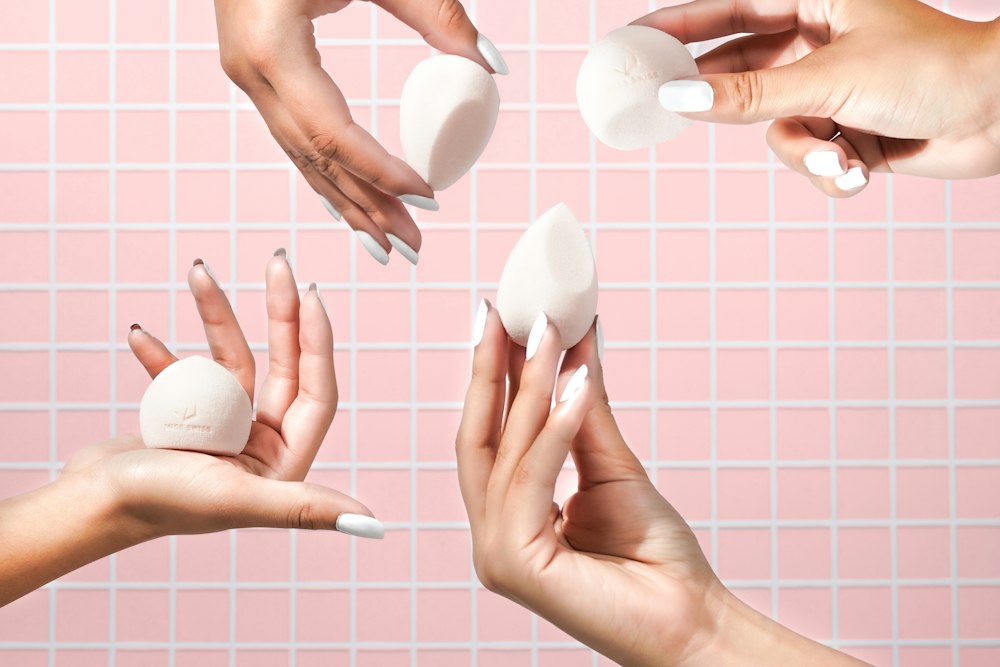 Photo by Ashley Piszek on Unsplash
The right blending sponge isn’t just about brand or price—it’s about how your makeup behaves. Liquid foundation? You need open-cell, high-density sponges with beveled edges to lock in product and prevent streaking. Powder or cream? Go for closed-cell, softer sponges that won’t absorb too much and can double as setting tools. Oil-based or heavy creams? Extra-dense, velour-textured sponges resist clogging and greasy residue. Traveling or minimalist? Disposable cotton or bamboo sponges are hygienic and compact, while collapsible designs save space. Sensitive skin? Hypoallergenic, phthalate-free materials with non-comedogenic labels are non-negotiable.
The #1 deciding factor isn’t just cell structure—it’s how the edge shape interacts with your product. A beveled edge glides under liquid foundation, while a straight edge works better for powder. Here’s how to match your routine to the right sponge:
Liquid Foundation Users
Your sponge’s job is to absorb excess product without leaving streaks. Prioritize:
- Open-cell, high-density sponges (think of them as a three-dimensional lattice—they grip product like a net).
- Beveled edges (the angled rim helps you blend sharply without dragging).
What to verify before buying:
- Does the sponge’s cell structure look like a honeycomb or a sponge cake? Honeycomb = open-cell, better for liquid.
- Is the edge beveled (angled) or straight? Beveled = easier control.
Candidates to investigate: Korean teardrop sponges, Beautyblender Original.
Powder or Cream Products
These sponges need to release product evenly without absorbing too much. Look for:
- Closed-cell, softer sponges (they’re firmer than liquid sponges but still yield under pressure).
- Triangle powder puffs (the shape helps distribute product evenly).
Critical spec to check:
- Latex-free? If you have sensitive skin, this is non-negotiable.
- Reusable? Some powder puffs are disposable; others can be washed.
Candidates to investigate: e.l.f.’s Beauty Sponge, triangle powder puffs.
Oil-Based or Heavy Creams
Thick products clog open-cell sponges like a filter. You need:
- Extra-dense, velour-textured sponges (they resist oil absorption and glide instead of sticking).
- Avoid sponges labeled “for liquid foundation only”—they’ll turn into a greasy mess.
Red flags to spot:
- If the sponge feels too porous, it’ll soak up oil and leave a residue.
- If it’s too stiff, it won’t conform to your skin.
Candidates to investigate: Korean “blending brush-sponge hybrids,” velour-textured sponges.
Travel or Minimalists
Space and hygiene matter. Choose:
- Disposable cotton or bamboo sponges (compact, easy to toss).
- Collapsible, ultra-compact designs (some Korean sponges fold flat).
Non-negotiables:
- Vegan material? If you avoid animal products, check the label.
- Dishwasher-safe? If you’re not hand-washing, this is a must.
Candidates to investigate: e.l.f.’s travel sets, pocket sponges.
Sensitive or Acne-Prone Skin
Your sponge can’t introduce irritants. Opt for:
- Hypoallergenic, phthalate-free materials (vegan cellulose or synthetic microfiber).
- Non-comedogenic labels (won’t clog pores).
Cleaning is non-negotiable:
- Dishwasher-safe? If you’re not scrubbing by hand, this is critical.
- Latex-free? Always double-check.
Candidates to investigate: Vegan cellulose sponges, synthetic microfiber blends.
The Decision Flowchart
- What’s your product? (Liquid → open-cell; powder → closed-cell; oil → velour-dense)
- What’s your edge shape preference? (Beveled for sharp blends; straight for powder)
- What’s your biggest priority? (Hygiene? Space? Skin sensitivity?)
- What’s the one spec you’ll verify? (Cell structure? Latex-free? Dishwasher-safe?)
Most guides ignore the edge shape vs. cell structure trade-off. That’s the real difference-maker—not brand names. Verify these before you pay:
- Is the edge beveled or straight?
- Is it open-cell or closed-cell?
- Is it labeled latex-free or phthalate-free?
- Can it be cleaned easily (or is it disposable)?
The right sponge feels like an extension of your hand—not a gamble. Pick the one that matches your routine’s demands, not the one with the flashiest name.
The Blending Sponge Decision Table: What to Verify Before You Pay
The right blending sponge isn’t about price or brand—it’s about two hidden trade-offs most guides ignore: cell structure vs. edge shape, and whether your foundation is liquid or powder. Before you buy, verify these five things in this order:
1. Cell Type: Open vs. Closed
Liquid foundation? You need open-cell—the air pockets lock in product and prevent streaks. Powder? Closed-cell keeps the formula dry and avoids cakeiness. Check: Look for “open-cell” or “closed-cell” in the description. If it’s not there, squeeze the sponge: open-cell springs back slowly; closed-cell snaps back fast.
2. Edge Shape: Beveled vs. Straight
A beveled edge (tapered) blends smoother into skin folds and hard-to-reach areas. A straight edge is sharper for precision but risks visible lines. Check: Hold it up to light—beveled edges cast a soft shadow; straight edges are uniform. Pro tip: If the edge looks like a knife blade, it’s straight.
3. Density: High vs. Low
High-density sponges (thicker, firmer) hold more product but require more pressure. Low-density (softer, thinner) is gentler but can pill under heavy application. Check: Press it—high-density resists; low-density gives slightly. Liquid foundation? Prioritize high-density to avoid dragging.
4. Material: Latex-Free vs. Synthetic
Latex (natural rubber) is porous but can irritate sensitive skin. Synthetic (polyurethane or foam) is hypoallergenic but may lack breathability. Check: Look for “latex-free” or “synthetic blend” in the details. Sensitive skin? Synthetic is safer.
5. Size: Full-Face vs. Mini
Full-face sponges (larger, ~3–4 inches) are ideal for liquid foundation and contouring. Mini sponges work for powder or touch-ups. Check: Hold it against your face—if it covers your cheekbone to jawline, it’s full-face.
The Decision Flowchart
Use this to narrow it down:
- Liquid foundation? → Open-cell, high-density, beveled edge.
- Powder? → Closed-cell, low-density, straight edge.
- Sensitive skin? → Synthetic material.
- Travel or touch-ups? → Mini sponge.
Never buy without verifying these first. A sponge that checks all five boxes for your formula will last longer, blend cleaner, and save you money on replacements. Skip the hype—focus on the specs.
Frequently Asked Questions
Can I use a blending sponge for both liquid foundation and powder?
Not without compromising results. For liquid foundation, choose a sponge that holds product without streaking—test it on your skin to confirm. Powder, on the other hand, needs a closed-cell, denser sponge to avoid dragging and flaking. The key trade-off? Cell structure vs. edge shape. A sponge optimized for liquid will leave powder patchy, and vice versa. If you’re blending, use two sponges or pick one designed for both tasks (check the product description).
How do I know if my sponge is dirty?
A dirty sponge doesn’t just look grimy—it feels gummy, leaves streaks, or fails to blend smoothly. Here’s how to test it:
- The squeeze test: Press the sponge firmly against your palm. If it releases a film or feels sticky, it’s time to clean.
- The streak test: Apply a thin layer of foundation or powder. If it drags or leaves residue, the pores are clogged.
- The smell test: A faint, milky odor means bacteria or old product has built up.
Cleaning method: Soak in warm water + a drop of dish soap (no harsh chemicals—latex degrades fast). Rinse thoroughly and air-dry flat (never in direct sunlight, which weakens the material). Replace if it cracks, loses shape, or smells even after cleaning.
Are Beautyblender sponges really worth the hype?
The Beautyblender’s reputation comes from three specs most sponges ignore:
- Latex-free formula (hypoallergenic for sensitive skin).
- Beveled edges (prevents sharp lines in contouring).
- Silicone-like material (holds liquid foundation without saturation).
But here’s the catch: its performance depends entirely on your technique. If you’re not using the right pressure (firm but not aggressive) or proper cleaning, even the best sponge will fail. The hype isn’t about the sponge itself—it’s about how it’s used. Before you buy, ask: Do I need a latex-free option? If yes, verify the label says “100% latex-free” (some “hybrid” sponges mix materials). If not, a beveled-edge, high-density sponge from any brand will do the job just as well.
What’s the difference between a blending sponge and a powder puff?
The difference isn’t just texture—it’s function and material:
- Blending sponge: Designed for liquid or cream products. Uses open-cell latex or foam to absorb and distribute product evenly. The beveled edges help with contouring.
- Powder puff: Built for loose or pressed powder. Made from closed-cell foam or cotton to minimize drag. The fluffier texture prevents smudging.
Red flag: Some “hybrid” sponges claim to do both but fail at one or both jobs. Always check:
- For liquid: Look for open-cell structure and beveled edges.
- For powder: Seek denser fibers and a softer, flatter shape.
How long do blending sponges last?
A pro-grade sponge should last 6–12 months—but only if you clean it properly and replace it when it fails. Here’s how to know when it’s time to go:
- Shape: If it no longer holds its form (sags, stretches, or cracks), the latex has broken down.
- Blending power: Does it leave streaks or drag product instead of blending smoothly?
- Hygiene: Even with cleaning, latex degrades over time and becomes a bacteria magnet.
Pro tip: Keep a spare sponge on hand. The moment you notice uneven blending or product buildup, replace it—no amount of scrubbing will fix a worn-out sponge. The best sponges (regardless of brand) won’t last longer than 12 months if you’re using them daily, because latex loses elasticity over time.
The Streak-Free Sponge: Cell Structure vs. Edge Design (And Why It’s the Only Thing That Matters)
The real secret to a streak-free finish isn’t the sponge’s brand—it’s the cell structure and edge design working together. Liquid foundation? You need open-cell, high-density for absorption control, with beveled edges to lock in product and avoid drag. Powder or cream? Switch to a closed-cell, softer sponge—triangle puffs work best—to prevent over-absorption. Never mix them: using the same sponge for liquid and powder is the fastest way to streaks.
Here’s how to pick the right one without guessing:
- For liquid foundation: Test the sponge’s absorption (see How to Test a Blending Sponge). If it soaks up too much, it’ll thin your coverage. If it doesn’t, it’ll leave drag marks.
- For powder/cream: A softer, closed-cell sponge (like a triangle puff) prevents clumping. Overly absorbent sponges turn powder into a cakey mess.
- Edge matters: Beveled edges (like on a teardrop sponge) let you cut creases and contour sharply without feathering. Straight edges? You’ll get a muddy line.
Pro tip: Keep a backup sponge in your bag. If your primary fails (too absorbent, pills, or tears), you’ll avoid last-minute panic. Rotate them weekly to extend their lifespan—latex degrades fast under heat and friction.
The only way to know for sure? Test before you buy (see How to Test). No sponge is universal—your foundation’s consistency, your technique, and even your skin’s texture change how a sponge performs. Cell structure + edge design are the specs that decide it. Everything else is marketing.
Keep reading
Keep exploring the topic with these related guides: