
Brush vs Fingers for Foundation: Which Method Wins
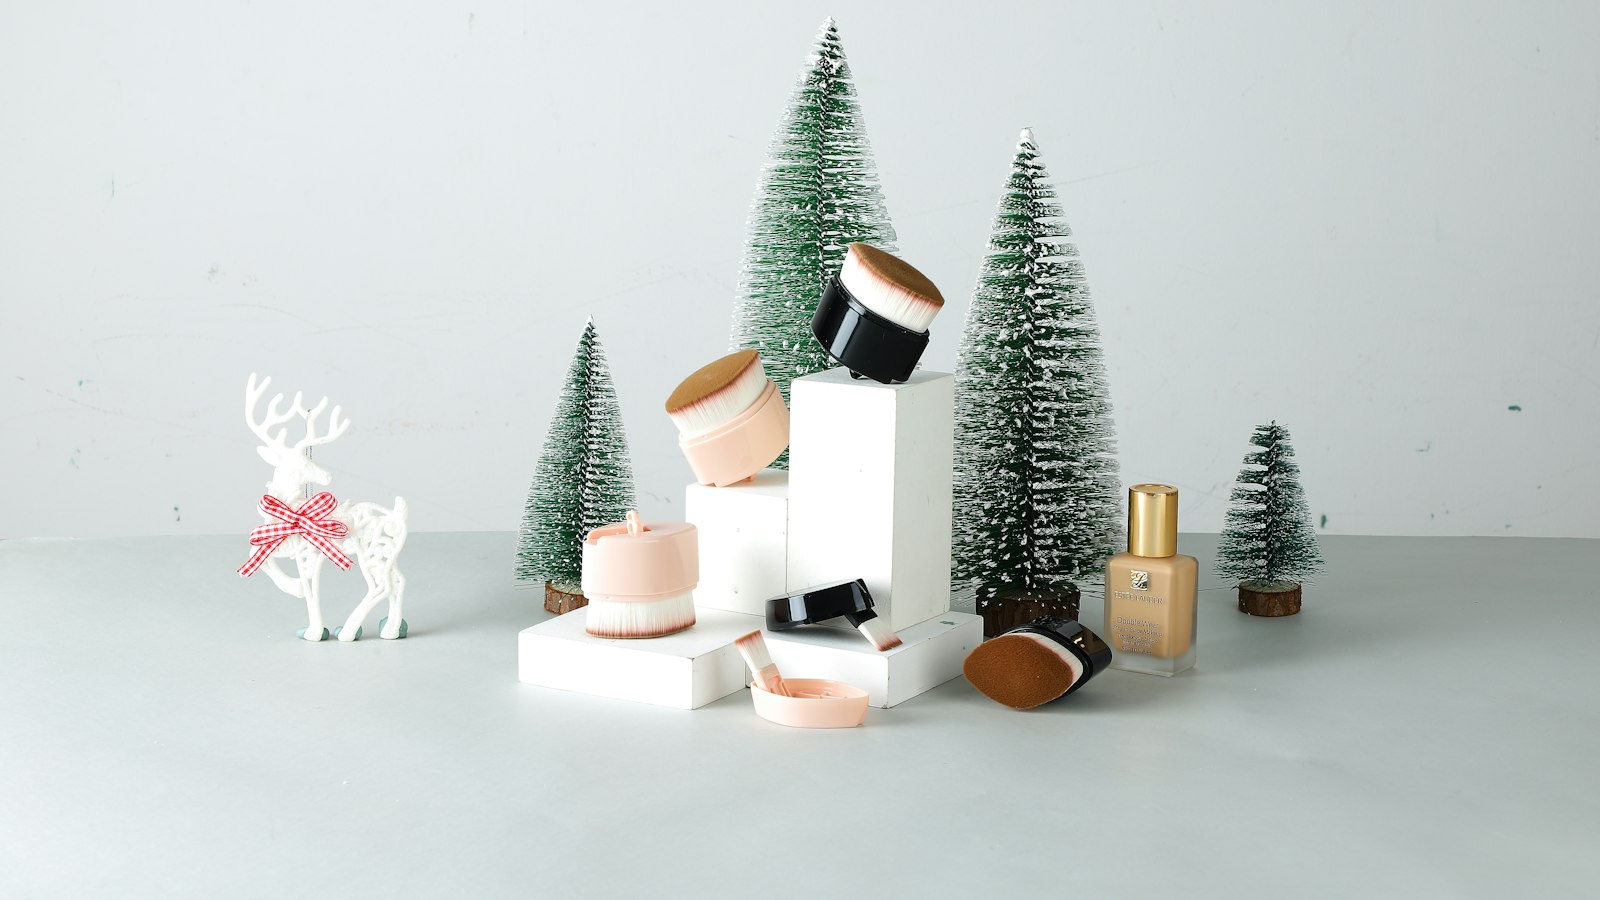
Photo by William Shu on Unsplash
Key Takeaways
Brushes win for matte, full-coverage foundations on oily or acne-prone skin—they control application and absorb excess oil, while fingers excel with lightweight, hydrating formulas on dry or mature skin by warming and blending naturally. Your skin’s oil production (not just type) decides the tool: fingers add moisture, brushes absorb it.
- Formula texture breaks the tie: creams need fingers or a damp sponge; powders need a brush.
- Skip fingers with active breakouts—brushes minimize bacterial transfer.
- Use fingers for the face, a brush for edges—the blending zone changes the tool.
- Oily skin? Brushes control shine; dry skin? Fingers add moisture without streaking.
What Decides Your Foundation Tool
| Criterion | Why It Decides the Outcome | How to Check It Yourself | Red Flag |
|---|---|---|---|
| Oil production rate | Determines whether fingers spread oil or brushes absorb it—directly affecting shine and longevity. | Apply foundation with a brush on one cheek and fingers on the other. After 2 hours, blot both sides with a tissue: if the finger side is shiny, your skin overproduces oil, and fingers will worsen it. If the brush side is dry, your skin needs moisture. | Foundation sliding off midday or a greasy film after touching your face. |
| Formula texture | Thick, matte formulas cake with fingers; lightweight creams drag with brushes. | Hold the foundation between two fingers: if it feels like lotion (smooth, slightly sticky), use fingers or a damp sponge. If it’s gritty or powdery, a brush is required. | |
| Breakout activity | Fingers may transfer bacteria; brushes (if clean) reduce pore clogging. | Check for active blemishes or recent breakouts (within the last month). If present, default to a brush or disposable applicator—even if your skin feels dry. | New pimples appearing 24–48 hours after finger application. |
| Blending zone | The face vs. edges (hairline, jawline) requires different techniques. | Apply foundation with fingers on your cheek and a brush on your hairline/jawline. After 10 minutes, check for smoothness: if the finger side looks streaky, switch to a brush for edges. If the brush side looks cakey, fingers work better on the face. | Visible lines where tools meet (e.g., a sharp contrast between matte edges and dewy cheeks). |
| Skin’s hydration needs | Dry skin benefits from finger warmth; oily skin needs brush absorption. | Press a tissue to your cheek 30 minutes after cleansing: if it’s dry, fingers will help hydrating formulas melt in. If it’s oily, a brush will prevent excess shine. | Foundation settling into fine lines (fingers) or looking patchy (brush on dry skin). |
| Tool cleanliness | Dirty fingers or brushes introduce bacteria, worsening breakouts. | Hold your finger up to the light: if it looks oily or has visible dirt, wash it thoroughly before applying. For brushes, check for flaking product buildup—if present, clean it immediately. | Increased breakouts or irritation after switching tools. |
| Application technique | Wrong motions (rubbing vs. patting) create streaks or creasing. | After applying, tilt your face to the light: if you see drag marks (from brushing) or dragged product (from rubbing), adjust. Brushes should press upward; fingers should warm and pat, not smear. | Foundation clinging to fine lines (nose, lips) or looking “applied” (uneven texture). |
The 3 Skin Rules That Decide Brush vs Fingers
Your foundation tool isn’t about preference—it’s about skin mechanics. Three rules decide which wins, and they all hinge on what your skin does, not what type it is. Here’s how to apply the right one:
Rule 1: Oil Production > Skin Type
Your skin’s natural oil output is the single biggest factor. A brush isn’t just for “oily skin”—it’s for skin that actively produces oil. If your face shines within two hours of application, skip fingers entirely. Here’s why:
- Brushes distribute foundation while helping to spread product evenly—test this by dabbing a clean brush on your skin and observing how it spreads rather than soaks up oil. That’s why matte formulas stay put with a brush but melt with fingers.
- Fingers spread oil—literally. Your skin’s natural sebum mixes with the product, making it harder to control. If you’ve ever seen foundation slide off midday, fingers are the culprit.
- The test: Blot your cheeks with a clean tissue two hours after applying foundation. If it’s shiny, you’re not dry—you’re oily, and fingers will backfire.
Rule 2: Formula Texture Matters More Than Tool
The tool you pick depends on the consistency of your foundation, not your skin type. Here’s the breakdown:
- Cream or liquid foundations? Fingers (or a damp sponge) are non-negotiable. Brushes will clump or cake, creating texture instead of blending. Look for “dewy,” “hydrating,” or “lightweight” on the label—those are finger jobs.
- Powder or matte liquid foundations? Brushes are mandatory. They distribute the product evenly, preventing patchiness. If your foundation is labeled “full coverage” or “long-wear,” fingers will drag and settle into fine lines.
- The tiebreaker: Hold your foundation between two fingers. If it feels like lotion, use your hands. If it’s gritty or matte, reach for the brush.
Rule 3: Breakout Risk = Tool Choice
Bacteria transfer is the silent rule. Fingers introduce your skin’s natural bacteria to your face—every time. Brushes (if cleaned properly) reduce transfer, but only if you’re not using a dirty one. Here’s the hard truth:
- Active acne? Default to a brush or disposable applicators. Your fingers carry bacteria from your hands, pores, and even your phone to your face. That’s a recipe for clogged pores.
- Clean brushes? If you sanitize your tools after every use (and most people don’t), fingers are fine for non-breakout-prone skin. But if you’ve ever skipped washing your hands before applying makeup, fingers are a risk.
- The check: If you’ve had a breakout recently, consider whether your hands may have played a role—wipe your fingers with an alcohol pad before touching your face to test for improvement. Swap for a brush and monitor for two weeks—if your skin clears, you’ve found your answer.
(Hint: It’s not the brush.) Most people misuse their tool by treating it like a paintbrush. Here’s the fix:
- Brushes should press into the skin, not drag. A light patting motion distributes product without over-applying. Drag = cakey patches.
- Fingers should warm the product, not smear it. Rub between your palms first to melt the formula, then press into your face. Smearing = streaks.
- The symptom: If your makeup looks “applied” (visible strokes, uneven texture), you’re using the wrong technique. Reset your motion.
Bottom line: Your skin’s oil, your foundation’s texture, and your breakout history decide the tool—not your skin type. Brushes win for oil control and acne-prone skin; fingers excel with lightweight, hydrating formulas. And if you’re guessing, you’re doing it wrong. Test one rule at a time, and your foundation will finally behave.
How to Test Which Tool Works for Your Skin (No Guesswork)
Brushes or fingers? Stop guessing. The right tool depends on how your skin behaves—not what type it is. Here’s how to test it in three simple steps, using only what you already have.
Step 1: The 2-Hour Test (The Oil Production Rule)
Apply your foundation with a brush on one side of your face and your fingers on the other. Wait two hours, then check for two things:
- Shine? If the brush side stays matte while the fingers side glistens, your skin produces oil faster than your formula can control. Brushes win—they wick away excess sebum while fingers spread it.
- Dry patches? If the brush side looks cakey while the fingers side stays smooth, your skin drinks up hydration too fast. Fingers win—they warm the product, helping lightweight formulas melt into thirsty skin.
Why this works: Oil production isn’t about skin type—it’s about how fast your skin releases oil. A brush can’t fix dryness, and fingers can’t fix shine. The test reveals which your skin needs.
Step 2: The Blot Test (The Absorption Check)
Press a clean tissue to each side of your face. The side that spreads product more evenly is your winner:
- Brush side spreads better? Test by swiping it across your skin—if it leaves a smoother, thinner layer, it’s distributing product more effectively. Brushes are your daily tool.
- Fingers side absorbs better? Your skin’s oil mixes with the product, creating a barrier. Fingers are your daily tool.
Pro tip: If both sides absorb equally, your formula might be too heavy for fingers or too light for a brush. Try a damp (not soaking) sponge—it mimics fingers’ warmth without introducing bacteria.
Step 3: The Longevity Check (The Wear Test)
Reapply after four hours. The side that holds makeup better is your tool for daily wear:
- Brush side lasts longer? Your skin’s oil doesn’t break down the product fast enough. Brushes create a controlled layer that resists melting.
- Fingers side lasts longer? Your skin’s natural oils help the product adhere longer. Fingers work because they warm the formula, making it bond better.
Why this matters: Longevity isn’t about the tool—it’s about whether your skin’s oil helps or hurts the product. The test shows which side of that equation your skin falls on.
The Formula-Texture Tiebreaker
Your foundation’s texture changes the rules:
- Cream or liquid formulas? Fingers warm them, helping them melt into skin. Brushes can drag them, leaving streaks.
- Powder or matte formulas? Brushes distribute them evenly. Fingers can clump them, especially on oily skin.
Exception: If you’re torn, a damp sponge bridges the gap—it warms like fingers but controls like a brush.
What to Do Next
If the brush wins, invest in a dense, flat-top brush (like a beauty blender’s stiffer cousin) for even coverage. If fingers win, keep your hands clean—oil and bacteria are the real enemies of smooth application. And if you’re still unsure? Try the sponge. It’s the middle ground for indecisive skin.
No more guesswork. Your skin tells you the answer—you just have to listen.
The Hidden Flaws of Each Tool (And How to Fix Them)
Here’s the truth: no tool is perfect. Every method for applying foundation has a flaw—and most people use it wrong. The result? Streaks, creasing, uneven texture, and wasted product. But the fixes are simple, once you know the mistakes to avoid.
Fingers: The Over-Blending Trap
The biggest mistake with fingers? Rubbing. When you rub foundation into your skin, you’re not just blending—you’re forcing it into fine lines and pores, where it can’t sit flat. That’s how creasing happens, especially around the nose and jawline. The fix? Pat, don’t rub. Use your ring finger to press foundation into your skin in small, upward motions—test which finger gives you the most control by trying it on your forearm first. For edges—like the hairline or under the jaw—switch to a brush. Fingers work best for lightweight, hydrating formulas, but if your foundation is thick or matte, your fingers will cake it on. Thin it with a drop of moisturizer first, or you’ll end up with a mask-like finish.
Brushes: The Overloading Mistake
A loaded brush isn’t your friend. When you dip too deep or press too hard, you pick up more product than your skin can absorb—leading to streaks and uneven coverage. The fix? Tap off excess on your wrist before applying. Lightly tap the bristles against your wrist until they’re just barely dusted with product. Then, use short, upward strokes to apply. Brushes are ideal for matte, full-coverage foundations, but if you’re using a dewy or liquid formula, the brush will drag and pull, leaving drag marks. In that case, fingers (or a damp sponge) will give you a smoother finish.
Sponges: The Bacteria Time Bomb
Sponges are porous, and that’s a problem. If you leave them wet between uses—or worse, store them in a damp bag—they become a breeding ground for bacteria. The fix? Rinse with micellar water after every use, then let them air-dry completely. Never store them in a closed container. Sponges are great for buildable coverage with lightweight formulas, but if your foundation is thick or powdery, it’ll cake or clump. For those, a brush or fingers work better.
Formula Flaws: Thick Foundations Need a Helper
Here’s the rule you’re probably breaking: thick, matte foundations cake when applied with fingers. That’s because your skin’s natural oils can’t break them down fast enough, leading to a patchy, uneven finish. The fix? Thin it with a drop of moisturizer before applying—or use a brush to spread it evenly. On the flip side, if you’re using a lightweight, hydrating formula, fingers (or a damp sponge) will give you a natural, skin-like finish. But brushes? They’ll drag and pull, leaving streaks.
The Zone-Specific Fix
Your tool choice isn’t one-size-fits-all. For dry areas (like the cheeks), fingers or a damp sponge work best—they add hydration as they blend. For oily zones (forehead, T-zone), a brush controls shine and absorbs excess oil. And for delicate areas (under-eyes, neck), fingers are gentler and less likely to pull at sensitive skin. The key? Match the tool to the zone’s needs, not just your preference.
The Bottom Line
Most people use their foundation tool wrong—and that’s why their makeup doesn’t last. Brushes need tapping, fingers need patting, and sponges need rinsing. And if your formula is thick, you’re doing yourself a disservice by applying it with the wrong tool. The fix is simple: adjust your technique, not your tool. Start with these corrections, and your foundation will look—and last—better than ever.
When to Use Each Tool by Skin Zone
Here’s the rule: your foundation tool isn’t universal—it’s a zone-by-zone decision. The same product can look flawless on one part of your face and disaster on another. Here’s how to match the tool to the area, and why the wrong choice creates the exact flaws you’re trying to avoid.
Face (Main Application Zone)
Fingers win for warmth and evenness—they’re the only tool that mimics the natural warmth of your skin, which helps lightweight, hydrating formulas melt into dry or mature skin without pulling. Brushes win for matte, full-coverage foundations on oily or acne-prone skin because they control application, absorb excess oil, and prevent the sheen that fingers can’t. The T-zone? Brushes here, too: they’re the only way to keep powder formulas from sliding off your forehead and nose.
But here’s the misuse fix: You’re probably pressing too hard with fingers. Light, patting motions (like you’re pressing a warm towel into your face) distribute product evenly. Brushes? You’re likely overloading them. Dip the brush into the foundation once, tap off excess on the rim of the container, then apply—never drag it across the whole face. The goal is to build coverage, not to spread it like frosting.
Neck & Jawline
Brushes for sharp edges. The neck is where foundation meets skin, and a brush’s firm bristles create a clean, defined line that fingers can’t match. Fingers for seamless blending into the face—if your jawline looks like it’s wearing a mask, you’re either using a brush too aggressively or fingers too lightly. The fix? Use a damp sponge for the neck first (to set the product), then blend upward with fingers for a diffused transition.
Pro tip: The neck is the most common zone where foundation creases. If it’s happening, you’re applying too much product. A thin layer of foundation on the neck is all you need—it’s not a canvas for full coverage.
Under Eyes
Damp sponges only. This is the one area where fingers and brushes are both off-limits. Fingers are too harsh—they can tug at delicate skin and may cause creasing. Brushes are too thick—they’ll leave a visible line where the brush strokes end, or worse, drag product into the waterline. A damp sponge (or a silicone applicator) is the only tool that gives you the precision to blend without disturbing the skin.
Misuse alert: You’re probably over-blending. Stop when the product is almost invisible—it’ll settle into the skin on its own. If you see a patchy spot, apply a tiny bit more with the sponge, then let it blend naturally.
Eyes & Lids
Brushes for powder formulas—they’re the only way to get a crisp, even application without feathering. Fingers for cream concealers (warm gently with your hands first to soften the product). The key? Use a small, dense brush for the lid (like a dual-density brush) to avoid smudging, and a fluffier one for the crease where you need more build.
Common mistake: You’re using the same brush for both. A dense brush on the lid will pull at the skin; a fluffy one in the crease will leave streaks. Keep two tools handy—or use your fingers for the crease if you’re working with cream.
The zone-specific rule: If it’s oily or prone to creasing, use a brush. If it’s dry or you need warmth, use fingers. Under the eyes? Sponge only. The rest is just technique.
The Tool You’re Probably Using Wrong (And the Fix)
Most of us apply foundation the way we’ve always done—without realizing we’re making a mistake that ruins the finish. The truth? Every tool has a flaw, and the way you’re using it is likely making it worse. Here’s how to fix the four most common errors, no matter which method you prefer.
Brush Mistake: Loading Too Much Product
The second you pile product onto a brush, you’re setting yourself up for streaks. Overloading forces the bristles to release too much at once, leaving a thick, uneven layer that dries patchy. The fix? The tap-off method: hold the brush vertically and tap your wrist sharply 3-4 times to remove excess. You’ll know you’ve got the right amount when the brush leaves a light deposit on your skin—not a heavy one.
Fingers Mistake: Over-Blending
Rubbing foundation into dry skin is the fastest way to creasing. The friction warms the formula, which then sinks into crevices and settles unevenly. The right way? Pat (don’t rub) in upward motions, letting the foundation melt into your skin for 10 seconds before blending. Think of it like pressing a wet cloth onto a stain—gentle pressure, no scrubbing.
Sponge Mistake: Soaking It
Drenching a sponge in water or setting spray might feel like you’re prepping it, but you’re actually creating a bacteria breeding ground. A damp sponge (not soaked) is all you need—just mist it lightly with water or spray, then tap off the excess. Pro tip: never leave your sponge sitting in liquid, even for a few minutes.
Formula Mistake: Applying to Dry Skin
No matter your tool, dry skin + foundation = patchy disaster. The formula can’t adhere properly, so it clumps and settles unevenly. The fix? Prime with a hydrating mist or serum before applying. A lightweight hydrator (like one with glycerin or hyaluronic acid) ensures your foundation glides on smoothly—no matter if you’re using a brush, fingers, or sponge.
The Real Fix? Skin Mechanics, Not the Tool
The tool isn’t the problem—it’s how you’re using it. Streaks, creasing, and patchiness aren’t flaws of the brush, sponge, or fingers. They’re flaws of technique. Master these fixes, and your foundation will look flawless, no matter what you’re holding. (And if you’re still struggling, your skin might need a different approach—see The 3 Skin Rules That Decide Brush vs Fingers for the full breakdown.)
Frequently Asked Questions
Can I use fingers for powder foundation?
No—fingers are a terrible choice for powder foundation. The issue isn’t just texture (though powder clumps and cakes when finger-applied), but how your skin reacts. Powder foundation relies on a fine, even layer that settles into the skin’s natural contours. Fingers disrupt that process in two ways:
- Overworking the skin – Digging in with fingers drags powder into pores and fine lines, especially on dry or mature skin. The result? A clumpy, uneven finish that settles into texture like wet cement.
- Missed coverage – Powder needs to be tapped or buffed into the skin, not pressed. Fingers push it into crevices (like the sides of the nose or jawline) where it won’t adhere, leaving patchy gaps.
The fix: Use a damp sponge (like a beauty blender) or a fluffy powder brush instead. The sponge mimics the skin’s natural oil slightly, helping powder bind, while a brush distributes it in thin, even strokes without disturbing texture.
Does using fingers for foundation cause breakouts?
Not directly—but how you use them (and what you’re applying) can. Here’s the breakdown:
-
If you’re applying cream or liquid foundation with fingers:
- Yes, if you’re not cleaning properly. Foundation residue, especially if it’s comedogenic (like some mineral or silicone-based formulas), can clog pores when left on the skin overnight. Fingers spread bacteria and oils from your hands, which mix with leftover product and create a breeding ground for acne.
- The fix: Wash your hands thoroughly before applying, and cleanse your face immediately after. Use a micellar water or gentle cleanser to remove every trace of product.
-
If you’re using fingers for powder foundation:
- Less risk, but not zero. Powder itself is less likely to clog pores than cream, but fingers can still transfer oils and bacteria. The real issue is over-application—if you’re pressing powder into the skin aggressively, you’re forcing it into pores, which can irritate sensitive or acne-prone skin.
The better tool: A clean, fluffy brush (like a kabuki or powder brush) or a damp sponge for cream foundation. Both minimize skin contact and reduce transfer of oils/bacteria.
How do I clean my foundation brush properly?
Brushes can contribute to breakouts and streaks—test this by cleaning them thoroughly (as per your brush’s instructions) and observing whether your skin improves. Here’s how to do it right:
- Rinse immediately after use – Don’t let foundation dry on the bristles. Hold the brush under lukewarm (not hot) water and gently swirl the bristles to loosen product.
- Use a mild cleanser – A gentle shampoo, dish soap, or brush-cleaning solution (like Sally Beauty’s brush cleaner) works. Avoid harsh soaps—they strip the brush’s natural oils and fray the fibers.
- Deep clean weekly – For stubborn residue, soak the brush in equal parts water and rubbing alcohol (or a brush-cleaning spray) for 10–15 minutes, then rinse and reshape.
- Reshape and dry – Lay the brush flat on a towel, bristles facing up, and let it air-dry completely (never in a closed container—moisture breeds bacteria).
Pro tip: Store brushes bristles-up in a brush holder (not a closed case) to prevent mildew. If your brush still feels gummy after cleaning, it’s time to replace it—bacteria love old, damp bristles.
Is a sponge better than fingers for sensitive skin?
It depends on the sponge—and how you use it. Here’s the truth:
-
Damp sponges (like beauty blenders) can be gentler than fingers because they:
- Spread product in a thin, even layer, reducing irritation from over-application.
- Wipe away excess instead of pressing it into the skin (which fingers do).
- Mimic skin’s natural oil slightly, helping foundation bind without clinging to texture.
-
But sponges have flaws for sensitive skin:
- Bacteria buildup – Sponges are porous and trap product/bacteria between uses. If you don’t clean them properly (see below), they can cause contact dermatitis or breakouts.
- Over-saturation – Soaking a sponge in product and then pressing it onto the face can clog pores if you’re not careful. The rule: tap, don’t press.
The fix for sensitive skin:
- Use a clean, fresh sponge (replace every 2–3 uses or when it smells off).
- Rinse it thoroughly after each use and let it air-dry.
- Pat foundation on (don’t rub) and wipe off excess with a damp cloth.
- Alternative: A soft, fluffy brush (like a synthetic blending brush) can be even gentler—it doesn’t trap bacteria like a sponge does.
Why does my foundation look cakey when I use a brush?
Cakey foundation from a brush usually means one of three mistakes:
- You’re applying too much product – Brushes distribute foundation in thin layers, but if you load it up like a sponge, you’ll get a thick, chalky finish. Fix: Use a small amount—just enough to coat the brush lightly. For powder, use a dip-and-tap method (dip brush in powder, tap off excess).
- Your brush is the wrong type – Stiff, dense brushes (like kabuki brushes) are for powder, not liquid/cream. For foundations with a dewy or satin finish, use a soft, fluffy brush (like a synthetic blending brush).
- You’re not blending enough – Brushes require light, feathering strokes to melt the product into the skin. Fix: Start with short, gentle taps and build coverage gradually. Avoid pressing—drag the brush instead of pushing it.
Bonus fix: If your foundation is too matte, your skin might be too dry. Try a hydrating primer or a dewy liquid foundation—brushes work best with formulas that have a slightly creamy texture, not powdery ones.
Need more clarity? The key to avoiding cakeiness is less product + the right brush + blending technique. If you’re still struggling, try fingers for liquid foundation (with clean hands!) or a damp sponge—just don’t press.
Which Tool Wins for Your Routine?
Brushes or fingers? The right choice depends on your skin’s behavior—not just its type. Here’s how to pick based on your routine, not product specs.
Oily/Acne-Prone Skin
Brush or disposable applicator wins here. Oil and bacteria thrive on fingers, and a brush (or single-use tool) keeps your T-zone matte all day. For powder formulas, a fluffy powder brush distributes evenly without clumping. The trade-off? Brushes can over-blend, so use light pressure.
Dry/Mature Skin
Fingers (or a damp sponge) add warmth and hydration. Cream formulas benefit most—fingers press the product into fine lines, while a brush can drag dryness. Pro tip: warm the product between your palms first. For powders, a damp sponge mimics skin’s natural oil, preventing cakeiness.
Combination Skin
Zone it: brush for the T-zone (oil control), fingers for cheeks (hydration). Blend edges with a soft blending brush to avoid harsh lines. The key? Start with the driest area—your brush will pick up excess oil, so work outward.
Sensitive Skin
Sponge (micellar-rinsed) or brush minimizes transfer risk. Fingers can irritate, and sponges trap bacteria if not cleaned. For liquid foundations, a silicone-tipped applicator (gentler than fingers) is ideal. Always clean tools after use.
Busy Mornings
Fingers for speed—no setup, no streaks. But if you’re out all day, a brush ensures longevity. For powders, a disposable applicator strikes the balance: quick and streak-free.
Formula matters too. Cream formulas? Fingers or sponge. Powder? Brush or damp sponge. The rule: match the tool to the texture of your product, not just your skin.
Need a tool upgrade? For brush lovers, a dual-fiber set (soft for cream, stiff for powder) adapts to any formula. For speed, a silicone applicator works for both liquid and cream.
Final call: Your routine dictates the tool. Oily skin? Brush. Dry skin? Fingers. Sensitive? Sponge. Busy? Fingers for speed, brush for durability. The goal? Less touch, fewer mistakes.
Keep reading
Keep exploring the topic with these related guides: