
Brush Shedding Fix: 7 Hidden Causes & How to Stop It Instantly
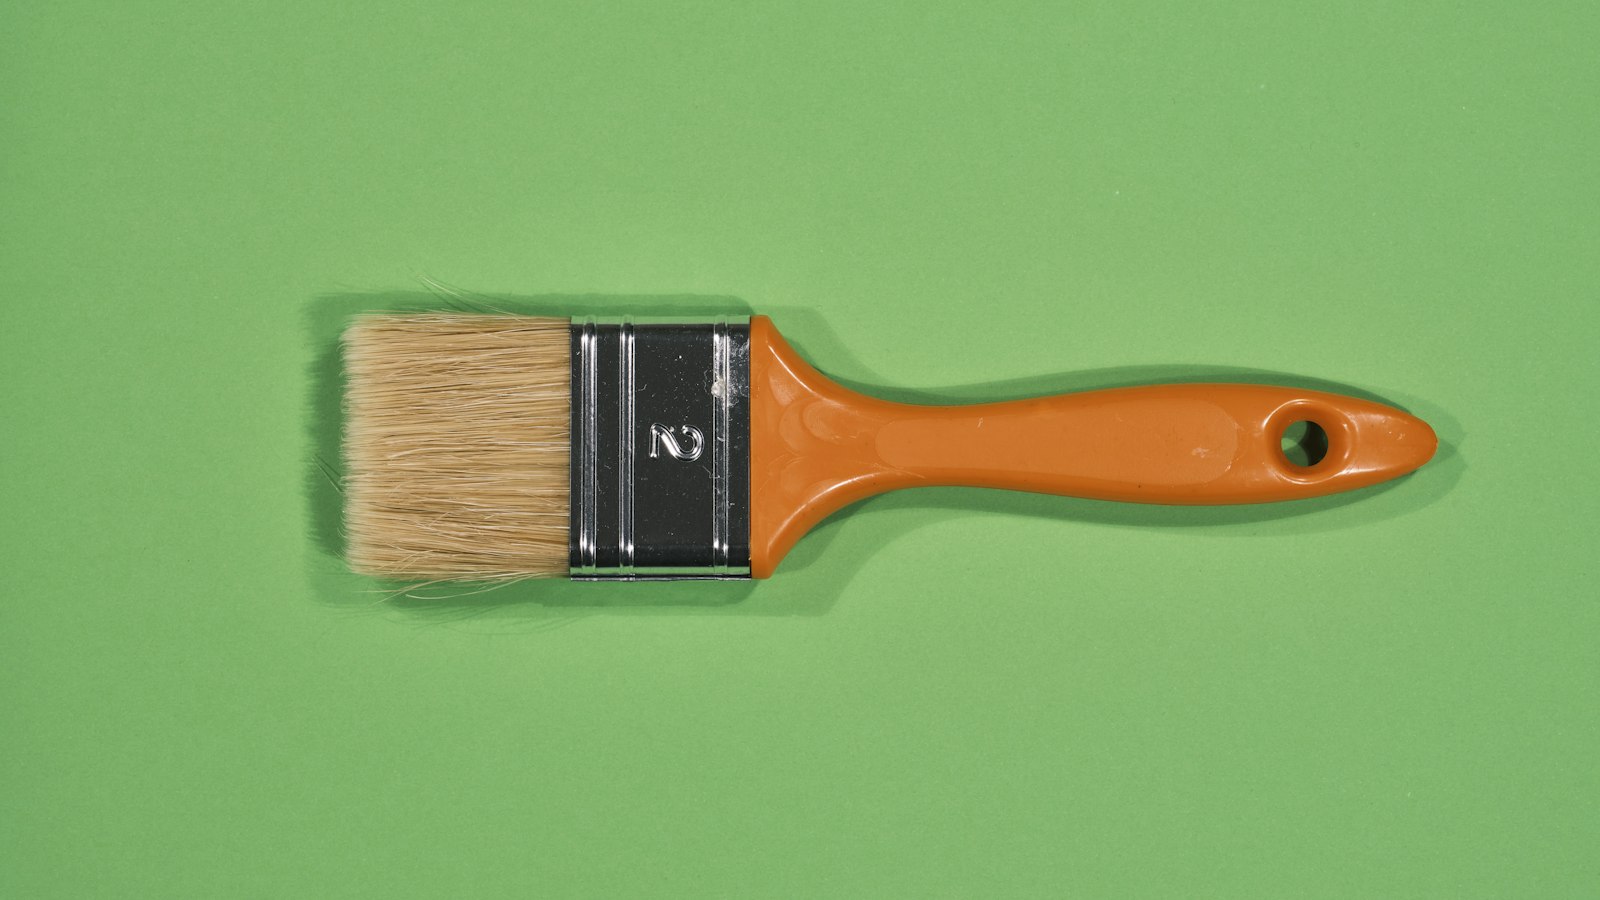
Photo by engin akyurt on Unsplash
Key Takeaways
Brush shedding isn’t normal—it stems from 7 correctable issues, including bristle damage or improper storage. Address the root cause to prevent it.
- Material mismatch (e.g., synthetic bristles on oil-based products) is the top cause—always check the brush’s label for compatibility.
- Storage trauma (moisture, compression, or bristle-side-down placement) damages ferrules faster than anything else; store brushes bristle-side up and dry.
- Hot water and harsh shampoo weaken ferrules—use lukewarm water and gentle cleaners, avoiding soap or scrubbing the ferrule.
- A loose ferrule can be fixed by trimming frayed bristles, applying glue, or replacing the brush if cracked.
- Replace brushes every 6–12 months (or sooner if ferrules loosen, bristles splay, or handles crack).
Part of our complete guide: for the full picture, see 25+ Free Procreate Makeup Brushes for Flawless Digital.
What Causes Your Brush to Shed
| Criterion | Why It Decides the Outcome | How to Check It Yourself | Red Flag |
|---|---|---|---|
| Bristle material mismatch | Wrong bristle type for the product (e.g., synthetics on oil-based formulas) causes clogging and shedding. | Load the brush with the product—if bristles clump or shed immediately, the material is incompatible. For example, synthetics (taklon, nylon) should never be used on heavy creams like foundation; they’ll shed or clump. | Bristles balling up or dropping in chunks when applying thick products. |
| Ferrule looseness | A cracked, bent, or improperly secured ferrule lets bristles slip out with every stroke. | Hold the brush by the handle and wiggle it gently—if bristles move or the ferrule spins, it’s loose. Tap the ferrule against a hard surface: if it sounds hollow or rattles, it’s failing. | Bristles falling out in groups or the ferrule spinning when gripped. |
| Bristle damage from cleaning | Over-washing, scrubbing, or using harsh detergents (soap, alcohol) weakens bristles over time. | Run a fingernail along the bristles—if they feel frayed, split, or uneven, you’ve over-cleaned. Check for stiffness: healthy bristles should bend slightly but spring back; damaged ones stay bent. | Bristles look like a frayed rope or snap when bent. |
| Humidity exposure | Moisture swells bristles, loosens the ferrule, and makes them brittle. | Store the brush in a humid environment (e.g., bathroom) for 24 hours—if bristles feel softer or stick together, humidity is the issue. Press bristles together: if they don’t spring back, they’re waterlogged. | Shedding worsens in summer or after showering; bristles feel gummy or limp. |
| Bristle fatigue (wear) | Bristles degrade from repeated use, bending, or snagging on skin/product. | Run your fingers along the bristles—if they’re rough, uneven, or have bald patches, they’re worn out. Compare to a new brush: old bristles won’t lie flat when combed with your fingers. | More than 10% of bristles missing or bristles splaying outward when not in use. |
| Aggressive use motions | Pressing, twisting, or dragging the brush stresses the ferrule and bristles. | Observe your technique: Are you digging in for contour, pressing hard into powder compacts, or twisting the brush? If yes, you’re damaging the bristles. Test with light taps: if shedding stops, motion is the cause. | Bristles shed only when pressing hard but not when tapping lightly. |
| Storage trauma | Compressing bristles, storing them bristle-side down, or moisture buildup accelerates shedding. | Check your brush holder: if bristles are crushed, bent, or stored sideways, they’ll shed faster. Flip the brush upside-down: if the ferrule is rusted or bristles are matted, storage is to blame. | Bristles look flattened or matted at the base; ferrule shows signs of corrosion. |
The 7 Hidden Causes of Brush Shedding (And How to Spot Them)
Brush shedding isn’t just annoying—it’s a red flag. If your brushes are losing bristles like confetti at a wedding, something’s wrong. The good news? Every shedding pattern tells a story. Here’s how to decode yours.
1. Shedding Only on Certain Products
(Example: Bristles fly off when applying foundation but not powder.)
This is your brush saying, “You’re using me wrong.” Some products—especially thick, creamy foundations or oil-based serums—clog the bristles faster than others. If shedding happens with one formula but not another, the issue isn’t the brush itself. It’s how you’re loading it.
How to spot it:
- Test the same brush on two different products. If one triggers shedding and the other doesn’t, you’re overloading.
- Fix it: Dip, not drag. Press the brush into the product just enough to coat the tips—no deeper. For thick formulas, use a smaller brush or a blending sponge instead.
2. Shedding After Every Use—Even New Brushes
(Example: Bristles drop after one swipe, no matter how gently you use it.)
This is ferrule failure in disguise. The ferrule—the metal band holding the bristles—is cracking or loosening, and bristles are slipping out with every stroke. Even a brand-new brush can do this if the ferrule wasn’t secured properly at the factory (yes, it happens).
How to spot it:
- Hold the brush by the handle and wiggle it gently. If bristles move or the ferrule feels loose, that’s your culprit.
- Fix it: Trim the bristles until they extend just beyond the ferrule’s top edge (use sharp scissors, not nail clippers) and re-glue with clear nail polish or brush glue. If the ferrule is bent or rusted, replace the brush—no amount of glue will save it.
3. Shedding Worsens After Washing
(Example: Bristles shed more after cleaning than before.)
This is bristle damage from aggressive cleaning. Most brushes don’t need soap—just a damp cloth and a gentle squeeze. If you’re scrubbing, soaking, or using products with harsh chemicals (like alcohol-based cleansers), you’re weakening the bristles over time.
How to spot it:
- Check the bristle tips. If they’re frayed, split, or look like a frayed rope, you’ve over-cleaned.
- Fix it: Wash only with a mild shampoo or brush cleanser (no bar soap or alcohol). Reshape bristles with your fingers after drying—never bend them forcefully.
4. Shedding Only in Humid Climates
(Example: Bristles shed in summer but not winter.)
Humidity is the silent brush killer. Moisture swells the bristles, loosens the ferrule, and turns them brittle. If your brushes are fine indoors but shed outdoors or in summer, humidity is the villain.
How to spot it:
- Store brushes in a cool, dry place (not the bathroom). If they’re in a damp case or near a window, they’re absorbing moisture.
- Fix it: Use silicone brush covers or a dehumidifier in your vanity. For synthetic bristles, apply a light dusting of talc powder before storing to absorb excess moisture.
5. Shedding with No Obvious Trigger
(Example: Bristles drop randomly, no matter what you’re doing.)
This is bristle fatigue. Over time, bristles wear down from repeated use, bending, and snagging on makeup or skin. If your brush has been your daily driver for years, it’s time to retire it—even if it still looks “fine.”
How to spot it:
- Run your fingers along the bristles. If they feel rough, uneven, or have bald patches, they’re past their prime.
- Fix it: Replace the brush. No amount of trimming or cleaning will restore worn bristles. A fresh brush should last 6–12 months with proper care.
6. Shedding in a ‘Snowstorm’ Effect (Bristles Flying Off in Clumps)
(Example: Bristles break off in chunks, not individual hairs.)
This is bristle material failure. Some brushes (especially cheap synthetics or poorly made naturals) can’t handle pressure. If bristles snap off in groups, they’re too weak for the job.
How to spot it:
- Press your thumb and forefinger against the bristles. If they bend easily or snap under light pressure, they’re not built for blending or packing.
- Fix it: Switch to a denser, sturdier brush (e.g., a taklon or nylon blend for blending, horsehair for powder). Avoid brushes with thin, sparse bristles—they’re designed for light touch-ups, not heavy-duty work.
7. Shedding Only with Certain Motions
(Example: Bristles shed when you press hard but not when you tap lightly.)
This is bristle compression damage. If you’re pressing too hard (e.g., for contouring or packing powder), you’re forcing bristles against the ferrule, causing them to split or break.
How to spot it:
- Watch how you use the brush. If you’re digging in, twisting, or pressing aggressively, you’re stressing the bristles.
- Fix it:
- For contouring: Use a smaller, firmer brush and pat (not press) the product into skin.
- For powder: Tap off excess instead of pressing the brush into the compact.
- For blending: Use light, feathering strokes—never drag or scrub.
The One Thing Competitors Miss
Most guides stop at “wash your brushes” and “trim the bristles.” But the real fixes? Ferrule repair, humidity control, and motion adjustments. Skip these, and you’re just treating the symptom—not the cause.
Pro Tip: If your brush has shed more than 10% of its bristles, it’s time to replace it. No amount of trimming or cleaning will bring it back to full strength.
Image:
The Brush Shedding Prevention Checklist (Do This Before It Starts)
Flawless Blending in 5 Minutes: The Pro Makeup Artist’s Brush System for Busy Creators — If shedding’s slowing you down, a structured blending system can save time and protect your brushes—by teaching you how to use them right the first time. Includes 1 free bonus resource. 5-minute pro blending ebook for busy creators
Brush shedding isn’t inevitable—it’s a symptom of bad habits. Stop it before it starts by following this checklist, designed to keep your brushes in peak condition for years. The key is consistency: small, regular care beats last-minute fixes every time.
1. Match Your Bristle to the Product
Not all bristles are created equal. Use synthetics (taklon, nylon) for creams and liquids—they’re durable and won’t clump. Goose feather or squirrel hair works best for powders, especially loose ones like setting powder or blush. Mink or synthetic blends handle both, but avoid them for heavy cream textures like foundation—they’ll shed like crazy. Pro tip: If a brush is shedding only when used with one product, it’s the wrong bristle type. Swap it out.
2. Wash Like a Pro (No Shortcuts)
Lukewarm water + a tiny drop of mild shampoo (no conditioner—it gums up bristles). Never scrub—gentle swirling is all you need. Pat dry with a clean towel (never wring), then store upright in a brush holder or on a rack. Air-drying is non-negotiable: damp bristles left in a closed case = bacterial growth and shedding. How to tell if you’re doing it right? Your brush should spring back to shape immediately after drying. If it flops, you’re not dry enough.
3. Trim Bristles Every 3 Months (Or When They Look Ragged)
Split hairs and frayed ends are the most common cause of shedding. Snip the frayed tips with sharp scissors, holding the brush at a 45-degree angle. Why? This removes damaged bristles before they loosen and restores a cleaner shape. Skip this step? You’ll end up with a brush that looks fine but sheds like a fur coat in summer.
4. Sanitize Without Drying Out Bristles
Alcohol is the enemy—it strips oils and weakens bristles. Use a 70% isopropyl spray (lightly mist, don’t soak) or a UV sterilizer (like a compact UV brush sanitizer). Pro move: Run your brushes through the UV light for 5–10 minutes every week, even if they’re not shedding. Sign you’re overdoing it? Bristles that feel stiff or repel product—you’ve killed their natural resilience.
5. Rotate Your Brushes (Use Each 2–3 Times a Week Max)
Overuse is brutal on bristles. Stick to a routine: Use one brush for foundation, another for powder, and a third for cream blush. Switch them up—if you’re using the same brush for everything, it’s working overtime and shedding will follow. Red flag: If a brush feels “tired” after a few uses (bristles don’t bounce back, product pools in the ferrule), it’s time to rest it.
6. Replace When Bristles “Remember” Their Shape
A healthy brush should spring back to its original form after use. If it stays bent, flattens when you press it, or holds a crease like a memory foam pillow, the bristles are fatigued. No amount of trimming or washing will fix this—it’s a sign the fibers have lost their elasticity. Time to retire it. (Pro tip: If you’re sentimental, save old brushes for blending eyeshadow or texturizing—just don’t use them on skin.)
Copy-Paste Prevention Checklist
Save this—your brushes will thank you: ✅ Match bristle type to product (synthetics for creams, naturals for powders). ✅ Wash with lukewarm water + shampoo, pat dry, store upright. ✅ Trim bristles when you notice fraying—just the damaged tips. ✅ Sanitize with 70% isopropyl spray or UV light (never soak in alcohol). ✅ Rotate brushes (use each 2–3 times a week max). ✅ Replace when bristles stay bent—no second chances.
Still shedding? The problem might be deeper—like a loose ferrule or bristle damage from aggressive use. That’s a different fix, and it’s in How to Revive a Shedding Brush (If It’s Not Too Late). But if you’ve checked all these boxes, your brushes should stay put. Prevention isn’t just about fixing—it’s about keeping your tools sharp.
How to Revive a Shedding Brush (If It’s Not Too Late)
 Photo by Richard Bradford on Unsplash
Your brush isn’t beyond saving—even if it’s shedding like a winter coat. The key is acting before the damage becomes permanent. Here’s how to rescue it with five simple steps, no special tools required.
1. Trim the Bristles (The Quick Fix)
Split hairs and frayed ends are the first signs of trouble. Grab a pair of sharp scissors (not your makeup brush scissors—this isn’t surgery, but precision matters) and trim only the frayed tips of the bristles. The goal isn’t to shorten the brush; it’s to remove the damaged fibers clinging to the ferrule. A clean cut tightens the ferrule’s grip and stops the shedding at the source.
Pro tip: Angle the scissors slightly to follow the natural taper of the bristles. If you’re unsure, snip a test section first—you can always trim more later.
2. Re-Glue the Ferrule (If It’s Loose)
A wobbly ferrule is the silent killer of brush longevity. If yours feels loose when you twist it between your fingers, it’s time to re-glue it. Here’s how:
- Use cyanoacrylate glue (the kind that comes in a tiny bottle—super glue). A dab is enough.
- Apply it to the base of the ferrule, where it meets the handle. Don’t glob it on; a thin layer is all you need.
- Press the ferrule firmly into place and hold for 10–15 seconds. Wipe off any excess glue with a damp cloth before it dries.
- Let it cure for 24 hours before using. This isn’t a rush job—patience here means your brush lasts.
Warning: If the ferrule is cracked or the glue job looks shaky, it’s better to replace the brush. A weak ferrule won’t stay put, and you’ll end up with a brush that sheds and falls apart in your hand.
3. Deep-Clean Without Damaging the Bristles
Soap and water aren’t the enemy—how you use them is. Here’s the right way:
- Mix 1 tsp of mild shampoo (no conditioner!) with 1 cup of lukewarm water. Warm water opens the bristle fibers, making them easier to clean without fraying.
- Swirl the brush gently in the solution, not back and forth. You’re not scrubbing—you’re loosening dirt and product buildup.
- Rinse thoroughly under running water until the water runs clear. No suds left behind.
- Pat dry with a clean towel. Do not wring it out—that’s how you stretch the ferrule and snap bristles. Let it air-dry upright, bristles facing down, in a well-ventilated spot.
Why this works: Most people over-clean, which weakens the bristles. This method removes grime without compromising the brush’s structure.
4. Reshape the Bristles (The Final Touch)
After drying, the bristles will look a little wonky. That’s normal. Gently comb them back into shape with your fingers—no brush, no comb, just your fingertips. Start at the base and work outward, following the natural taper. If the bristles resist, they’re still damp; let them dry a bit longer.
Why it matters: Bristles that aren’t aligned shed more easily. This step ensures they’re uniform and ready for use.
5. Test Before Using (The Reality Check)
You’ve done the work—now make sure it stuck. Tap the brush lightly on a dark towel or piece of fabric. If no bristles fall out, it’s ready for light use. If you see even a few, let it dry another 24 hours and test again.
Red flag: If bristles come out in clumps or the ferrule feels unstable, it’s time to retire the brush. Some damage is irreversible, and forcing it will just make things worse.
When to Call It Quits
Not every brush is worth saving. If the ferrule is completely detached, the bristles are frayed at the base, or the handle is cracked or warped, replacing it is the kinder option. But for minor shedding? These steps can bring it back to life—without spending a dime.
Remember: The best way to revive a brush is to prevent it from shedding in the first place. That’s why the Brush Shedding Prevention Checklist is your next stop—because a brush that never sheds is one you never have to fix.
Brush Shedding vs. Bristle Loss: What’s the Difference?
Here’s the hard truth: not all bristle loss is fixable. The difference between shedding and bristle loss isn’t just semantics—it’s the line between a brush you can save and one that’s beyond repair. And if you don’t spot the difference early, you’ll waste time (and money) trying to revive a brush that’s already a lost cause.
Shedding = Fixable (Usually)
Shedding is when bristles fall out in small amounts during use—like a few hairs here and there when you press the brush against your palette or skin. It’s a warning sign, not a death sentence. The bristles are still attached at the root, and with the right fix (washing, trimming, or proper storage), you can stop it before it gets worse.
Red flags for shedding:
- Bristles come out when you press the brush (not just when you tap it).
- The loss is even across the brush (no bald patches).
- You can still see the roots of the bristles—no stubby, broken-off ends.
Fix it: See How to Revive a Shedding Brush for the step-by-step rescue plan.
Bristle Loss = Irreversible (Mostly)
Bristle loss is when hairs are permanently missing—the roots are gone, leaving stubby nubs or bare spots. This isn’t just shedding; it’s structural damage. The bristles are frayed, split, or pulled out at the base, and no amount of washing or trimming will bring them back.
Red flags for bristle loss:
- Bald patches where bristles are completely gone (no roots left).
- Bristles split or fray at the tips or midway down.
- The brush feels uneven—some areas are stiff, others are soft and sparse.
Fix it: If the ferrule (the metal band holding the bristles) is intact but the bristles are shot, you might be able to trim and re-glue them (see Ferrule Repair Guide for how). But if the ferrule is loose, bent, or rusted, replace the brush. No fix works past that.
The Critical Test: Tap vs. Press
Here’s how to tell them apart instantly:
- Tap the brush lightly on a hard surface (like a table or palette). If a few bristles fall out, that’s shedding—fixable.
- Press the brush firmly against your palm or a palette. If bristles pull out while pressing, that’s shedding. If they’re already missing in patches, that’s bristle loss.
Why this matters:
- Shedding = weak adhesion (usually from poor glue, old brush, or improper washing).
- Bristle loss = physical damage (ferrule failure, bristle breakage, or aggressive use).
When to Walk Away
If you see any of these, don’t waste time trying to fix it:
- Rusted or bent ferrules (the metal band at the base).
- Bristles that won’t hold a point (they flop instead of standing straight).
- A brush that’s been shedding for months—the damage compounds.
Pro tip: If your brush has been shedding for over three washes, the bristles are likely too damaged to save. Replace it before the issue spreads to your other tools.
The Bottom Line
Shedding is a treatable condition. Bristle loss is a terminal diagnosis. Learn to spot the difference, and you’ll save yourself frustration—and your brushes.
(Need to diagnose the root cause? Jump to The 7 Hidden Causes of Brush Shedding. Want to know how to revive a shedding brush? See How to Revive a Shedding Brush.)
Frequently Asked Questions
Why does my brush shed more with foundation than powder?
Foundation is heavier and stickier than powder, so it clings to bristles and wears them down faster. If your brush is shedding with foundation but not powder, the issue is usually bristle fatigue—the fibers are fraying from repeated contact with thick, dense formulas. The fix? Swap to a denser, stiffer brush (like a flat or dome) for foundation, and use a softer, more flexible one (like a fluffy blending brush) for powder. Also, rinse immediately after use—leaving foundation to dry on bristles turns it into a cement-like residue that weakens fibers.
Can I use hairspray to stop shedding?
No—hairspray is a terrible fix and will make shedding worse. It coats bristles with a sticky film that traps dirt, oils, and product buildup, which accelerates fraying. If your brush is shedding, the problem is structural (damaged ferrule, split bristles, or weak glue), not a lack of “hold.” Instead, try a quick rinse with lukewarm water and a gentle brush cleaner (like a brush comb or mild shampoo). If the shedding persists, the brush is likely beyond repair—see the section on when to replace your brush for next steps.
How often should I replace my makeup brushes?
There’s no one-size-fits-all answer, but most brushes last 1–2 years if cared for properly. The real question isn’t age—it’s performance. Replace a brush if:
- Bristles split or fray beyond trimming (see how to revive a shedding brush).
- The ferrule (metal band) loosens or rusts (a rusty ferrule is a death sentence—see below).
- The brush no longer holds product well (a sign of worn-out bristles).
- You’ve cleaned it repeatedly—even high-quality brushes degrade with repeated use.
Pro tip: Rotate your brushes. Use one for foundation, one for powder, and one for eyeshadow to extend their lifespan.
Is shedding normal with new brushes?
No. A brand-new brush should not shed at all—if it is, there’s a manufacturing defect (cheap glue, weak bristles, or a poorly secured ferrule). Most reputable brands ship brushes with minimal shedding. If yours is shedding out of the box:
- Check the ferrule—wobble it gently; if it moves, the glue failed.
- Inspect the bristles—run a fingernail along them; if they snag, they’re poorly attached.
- Return or replace it—this isn’t a “break-in period” issue. A shedding new brush is a lemon.
Can I fix a brush with a rusty ferrule?
No—rust means the metal is compromised, and trying to salvage it will only make the problem worse. A rusty ferrule:
- Weakens the glue bond (rust eats away at the adhesive holding bristles in place).
- Can flake into your makeup (safety risk).
- Won’t hold a new ferrule if you try to replace it (rust prevents proper sealing).
Your only options:
- Toss it—no amount of cleaning or trimming will fix rust.
- Upgrade to a brush with a metal ferrule (plastic ferrules rust faster and are less durable).
If you’re sentimental, repurpose the handle for a craft project—but never use a rusty brush on your face.
Bonus: The One Mistake That Ruins Brushes Faster Than Anything Else
Most people focus on washing and drying, but heat is the silent killer. Never:
- Leave brushes in a hot car (even for 30 minutes).
- Dry them near a heater or in direct sunlight (heat dries out glue and weakens fibers).
- Use a hairdryer on high heat (low heat, if you must, but air-drying is better).
Store brushes flat or upright in a cool, dry place (like a brush holder or a jar with a lid). If you must speed up drying, pat them gently with a towel and let them air-dry overnight—never rush it.
When to Replace Your Brush (And How to Choose the Next One)
Your brush is beyond saving when the bristles no longer spring back after use, the ferrule (the metal band holding the bristles) is loose, rusted, or crumbling, or you’ve trimmed it three times with no improvement. If bristles fall out in clumps—not just the occasional hair—it’s time to retire it. These aren’t just cosmetic issues; they’re signs of structural failure that’ll only get worse.
When upgrading, focus on three things:
- A durable ferrule (look for terms like laser-cut or precision-ground on product pages—these indicate tighter tolerances and less flex).
- Bristle material that matches your products (see the prevention checklist above for guidance).
- An ergonomic handle (accidental pressure from a poorly designed grip is a leading cause of shedding).
The right upgrade isn’t just about aesthetics—it’s about preventing future headaches. A brush that’s too stiff for your formula or lacks a secure ferrule will shed again in weeks. Prioritize tools built for longevity, not just looks.
How to Spot a Brush That’s Beyond Repair
Not all bristle loss is permanent, but these red flags mean it’s time to replace:
- Bristles that stay bent after use (they should snap back like a rubber band).
- A ferrule that wobbles or feels hollow when you squeeze it—this is a sign of rust or weak glue.
- Trimming didn’t help after three attempts (each trim weakens the bristles further).
- Clumps of bristles (not just stray hairs) when you tap the brush on a surface.
What to Look for in a Replacement
- Ferrule strength: Avoid thin, flimsy metal—it’s a common weak point. Laser-cut ferrules offer precise construction.
- Bristle type: Match the material to your products (e.g., synthetic for powder, taklon for cream formulas).
- Handle design: A thick, weighted handle reduces accidental pressure, which is often the root cause of shedding.
The Upgrade Trap
Many brushes look identical but fail within months. Avoid cheap knockoffs—they often use inferior ferrules or bristles that shed faster. Invest in a well-made tool, and you’ll extend its life by years.
Pro tip: If you’re unsure whether to fix or replace, revisit the shedding vs. bristle loss guide for a quick diagnostic. But if your brush checks all the boxes above, it’s time to upgrade.
Next step: Ready to blend faster and keep your brushes intact? Grab the system that turns chaos into flawless makeup— digital guide to effortless makeup application
Keep reading
Keep exploring the topic with these related guides: